Time to read: 6 min
There’s a reason kids love Lego. When I was a kid, nothing was more valuable to me than my big blue bucket of the multi-colored bricks. Even when my parents encouraged my interest in engineering with more complex Fischer Technics, nothing replaced the joy of quickly snapping pieces together in increasingly complex shapes. Wouldn’t it be wonderful if that intuitive style of design could continue into adulthood?
Of course, in real-life product assembly, designs must be more complex. But that doesn’t mean we can’t borrow some wisdom from childhood and create designs that naturally self-locate—or designs that fit together smoothly enough to self-fixture during more permanent assembly, such as glueing and welding. So, how can we create designs that can be assembled more intuitively? Two key principles in any design are that parts should be self-locating and self-fixturing.
Self-Locating in Sheet Metal Design
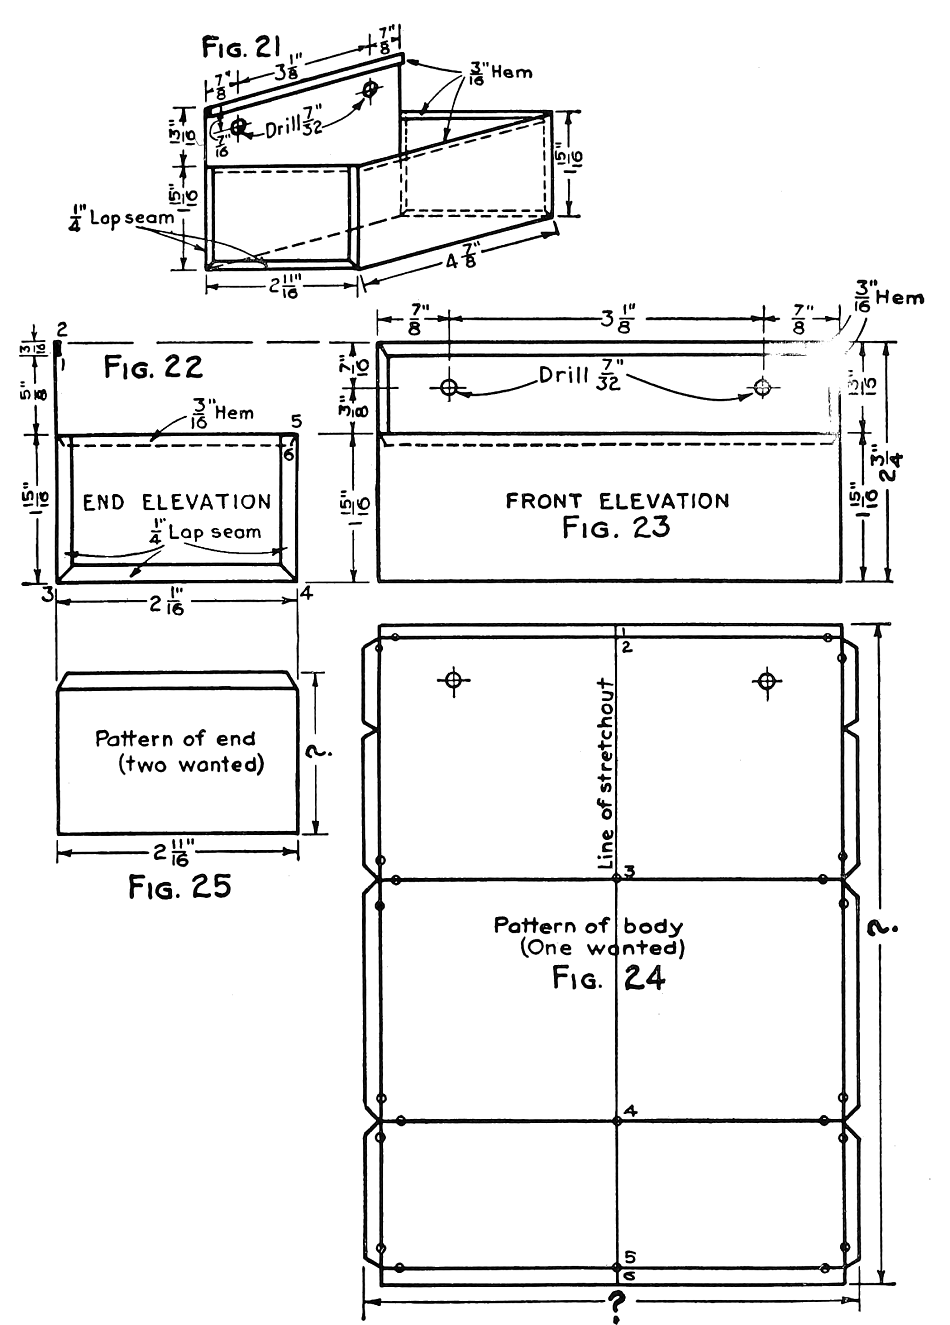
My first job in high school was working in a sheet metal shop making metal boxes, and I’ve held a deep respect for the practicality of sheet metal design ever since. Because sheet metal products have a history of being designed by the guy who actually does the work on the floor, sheet metal products (think HVAC ducting, as well as the lockers in your gym) tend to be excellent examples of design for assembly, especially when looking at self-locating parts, which reduce assembly errors.
One of the easiest places to see this is in the design of the basic sheet metal box. With three sides typically formed from a single piece, the ends of the box could be difficult to align correctly with an open design. Instead, on the typical box, there will be tabs coming out from the main piece that are bent over (“braking”, in our parlance) to hold the end sheets in place. Whether the resulting assembly is spot-welded, riveted or screwed together, these tabs accurately locate the pieces during the operation, removing the necessity of additional fixtures or measurement during assembly. This doesn’t just make it easier to manufacture—these tabs increase accuracy in assembly, remove the added expense of tooling creation to make fixtures, and reduce assembly time.
Self-Fixturing for Welding
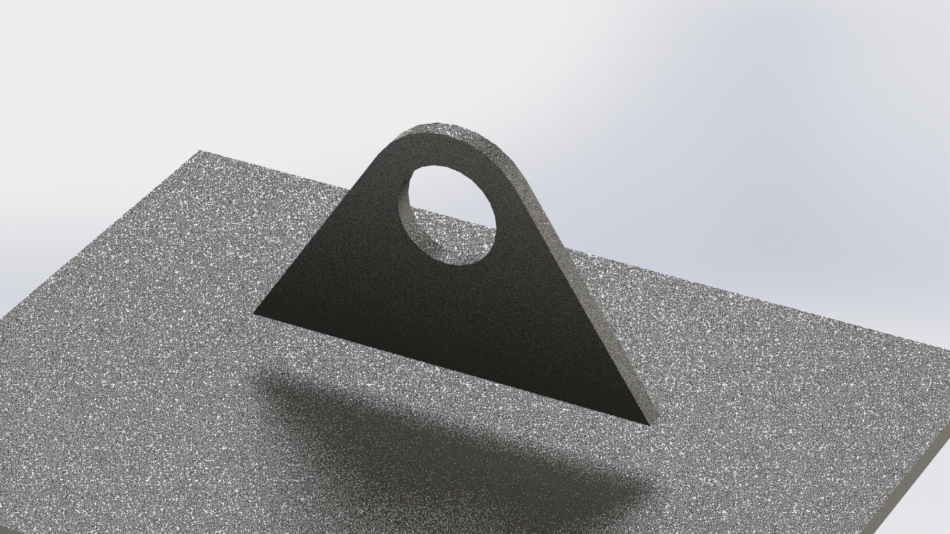
Similarly, with other types of welding, creating self-fixturing parts can lead to significant cost savings. For example, imagine the fairly common situation in which two pieces of steel plate are welded together into a bracket, with one piece of steel plate mounting at a right angle to the other in the center of the plate—a fairly common scenario for all types of industrial design, such as i-beam connections and cable mounts in cranes. With just these two pieces, the first plate can sit flat, but the second plate needs to be fixtured to the right location in x and y, as well as the correct angle. Is there an easier way?
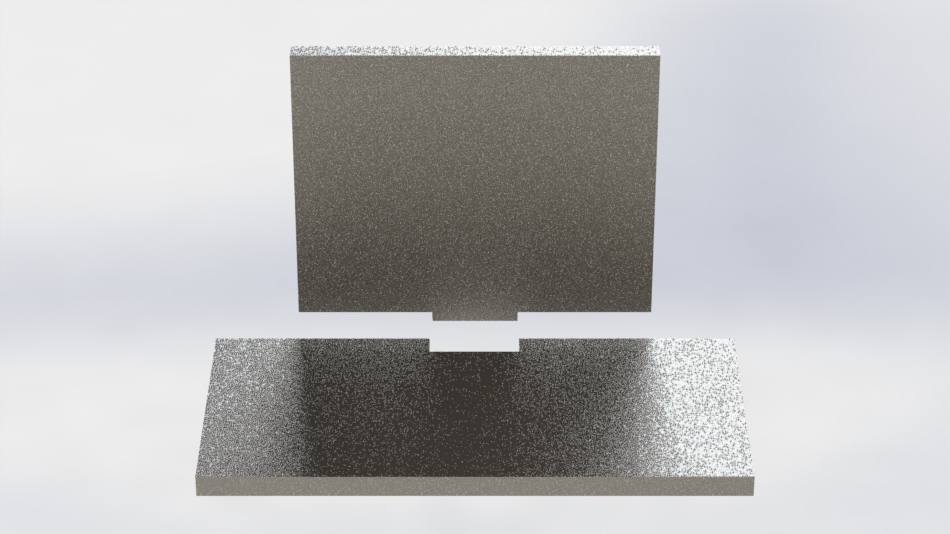
Of course! The simplest solution here is to create a small tab on the second piece that fits into a slot on the primary piece. This will locate it in both x and y, and then a right-angle magnet can hold the third axis.
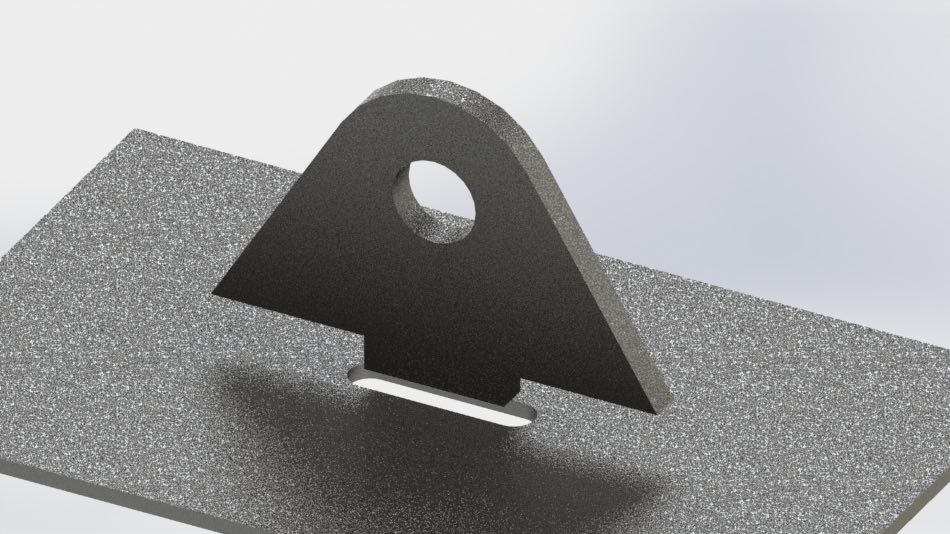
And this same idea can hold true for even simpler assemblies, such as when two plates are welded together at a ninety along their edges. Though one direction (either x or y) is automatically located because of the edge, you can further reduce the remaining fixturing by again having a tab along the edge with a corresponding cut out on the other piece, so that both x and y are located, again requiring only that the angle be fixtured during the weld.
Self-Location Using Pins and Bosses
The benefits of self-location aren’t just for welded or sheet metal parts. A common method of self-locating parts in machine assemblies is to use dowel pins, which can then either be used strictly as a locating feature to hold parts in the correct place during assembly with screws or can be used on their own for press-fit assembly. Just remember: If the dowels are used strictly for locating, you’ll need the mating holes to be slightly oversized (as much as possible, given the tolerance for the location of the mating piece, but at least 0.001 inches); if the dowel will be used for press-fit assembly, then the holes will need to be undersized to ensure interference (typically 0.0005”, with more here).
While pins are great, it’s important to provide sufficient chamfer on both ends of the dowel, so that the parts come together easily—no one likes to have to align parts perfectly before being able to press the parts together, and chamfers provide allowable tolerance in alignment, reducing time spent in assembly.
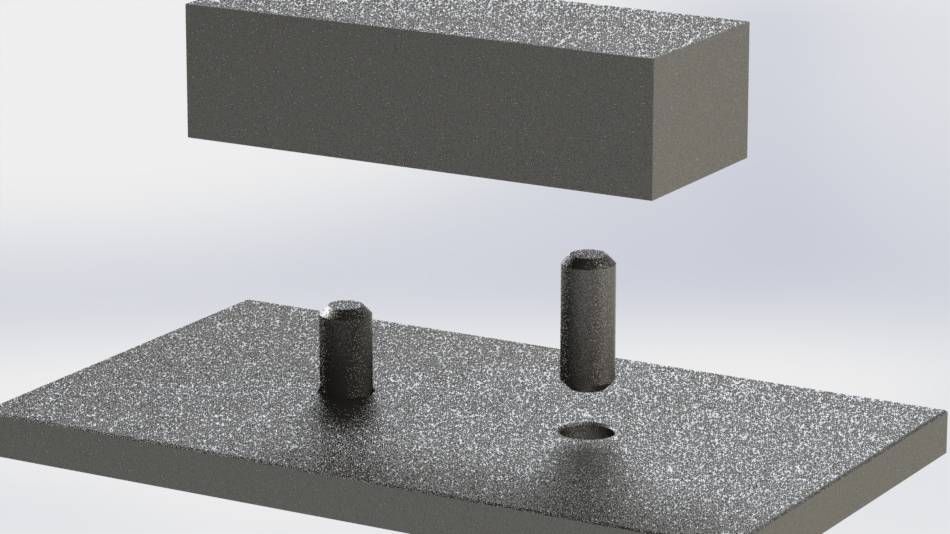
Likewise, because of our history in designing for machined parts, pins have made a beautiful cross-over to plastic injection molded components. Between two parts of a plastic assembly, having pins and corresponding holes be the first points of contact allows for the other features to mate smoothly, creating smoother snap-fit assembly or self-location while the parts are screwed together.
And speaking of screwing parts together, whenever there’s freedom in the design for it, always plan on having the parts self-fixture (hold themselves in the correct location) during the application of the screws. A simple way to do this is to have a back-side bore that allows the screw boss to act as a locating pin, so that all the assembler needs to do is set the piece onto the base, move it around till the bore and bosses fall into place, and then apply the screws. Simple, clean, and guaranteed to make you a hero on the manufacturing floor—and the cost savings will make you a hero with the bean counters upstairs.
Poka-Yoke – “Mistake-Proofing”
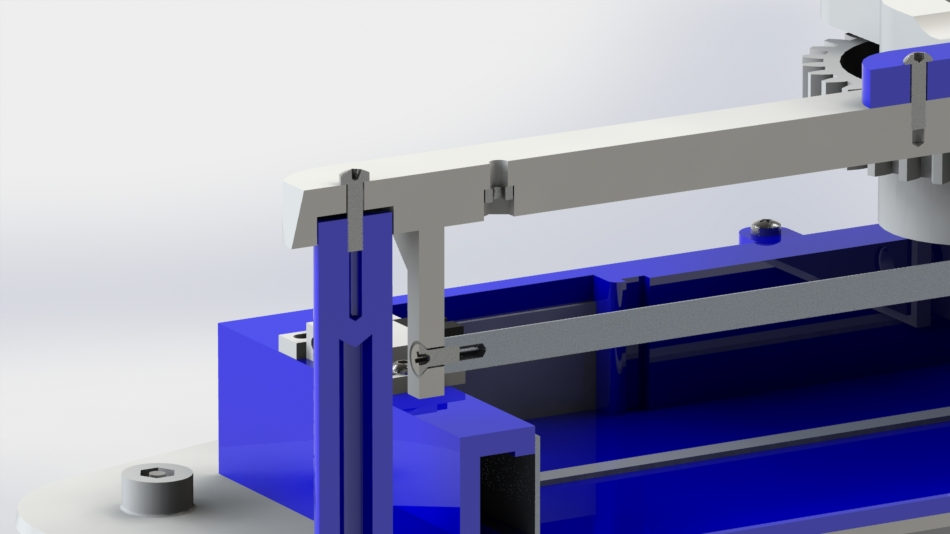
Along with time savings and tooling cost savings, one of the great benefits of creating self-fixturing designs is the ability to build in warnings and gages for the assembly workers. When you create pins in the design, for instance, by using asymmetric pin patterns, you can ensure that the parts only physically allow assembly in the correct orientation. For welding tabs, by using different lengths of tabs for different parts, the assembler intuitively knows which goes where. So when looking at assembly, don’t just ask yourself, “How can this be easier?”, but also ask yourself, “How can I make it intuitive to assemble correctly and obvious or impossible to assemble with a mistake?”
A Warning: When Fixtures Go Awry
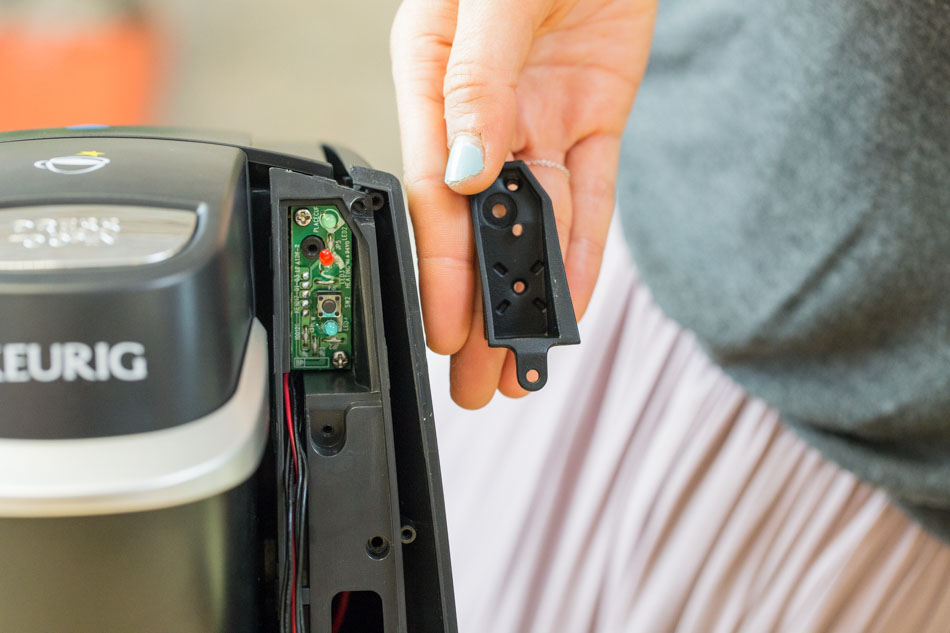
Of course, like any concept, self-locating and self-fixturing assembly ideas can be taken too far. Make sure when designing your fixturing features that they don’t add unnecessary tolerance constriction on the design.
For instance, in the example above of using backside bores in electronics housings to mate with screw bosses, make sure that the design allows enough play that the bore will always fit the boss with normal manufacturing variation. In situations where tabs are mating with a slot for weld fixturing, give yourself as much width and length on the slot as possible. Self-locating and self-fixturing should make assembly easier, not cause additional parts to be rejected due to too-tight tolerancing.
Bringing Intuitive Assembly to Your Designs
“A common mistake that people make when trying to design something completely foolproof is to underestimate the ingenuity of complete fools.” – Douglas Adams
Though I’ve made plenty of friends on the manufacturing floor who were smarter than those in the engineering cubicles, I’ve never yet met one that dreamed of more complicated assemblies. Maybe you can’t bring them the early joys of a fresh box of Lego, but by designing your assemblies to be self-locating and self-fixturing—by making your designs intuitive to assemble—you can definitely brighten their day.
Want more tips like these sent to your inbox? Sign up below! Or, if you have a coworker who likes to design super-complex assemblies, send them a link to this article to help them simplify. Finally, check out our Capabilities Guide for more info on how Fictiv can help your team.


