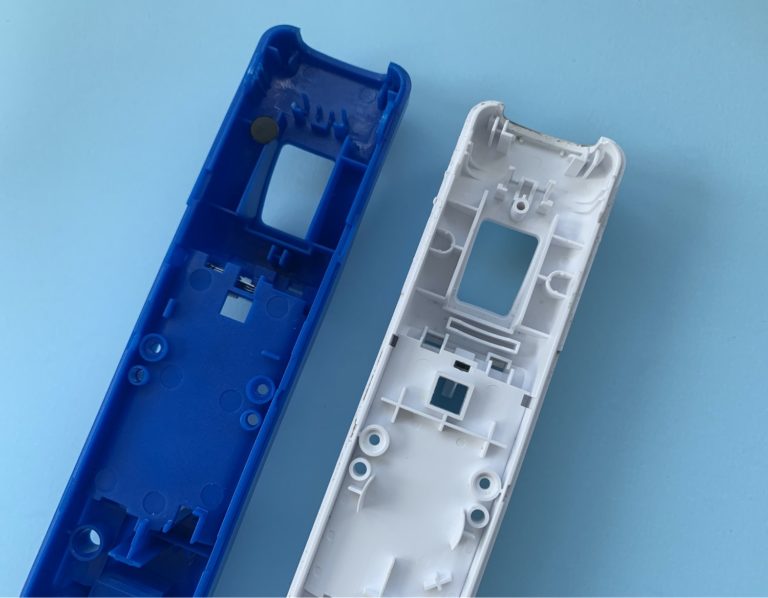
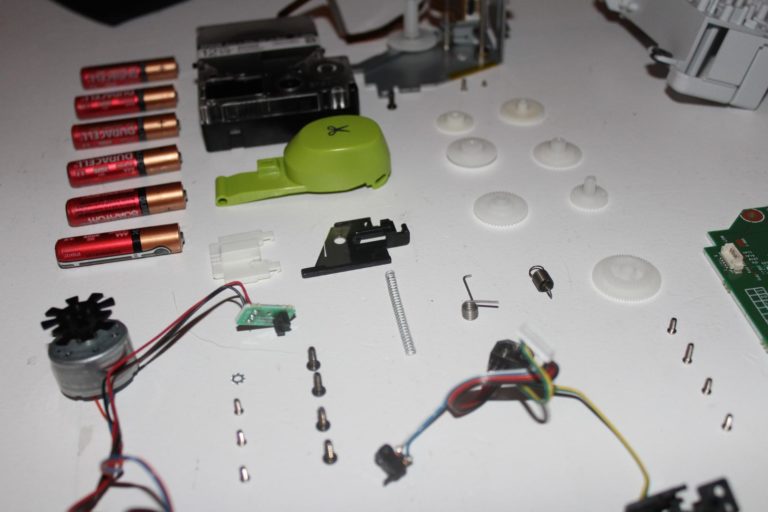
We’ve embarked on a journey to teardown three generations of GoPro products to see how the product has changed over time:
- GoPro Hero original
- GoPro Hero 3
- The newest GoPro Session camera.

To see teardowns of the GoPro Hero original and GoPro Hero 3, check out part 1 of this series. If you’re looking for the GoPro Session teardown, you’re in the right place! Let’s dive in.
GoPro Session
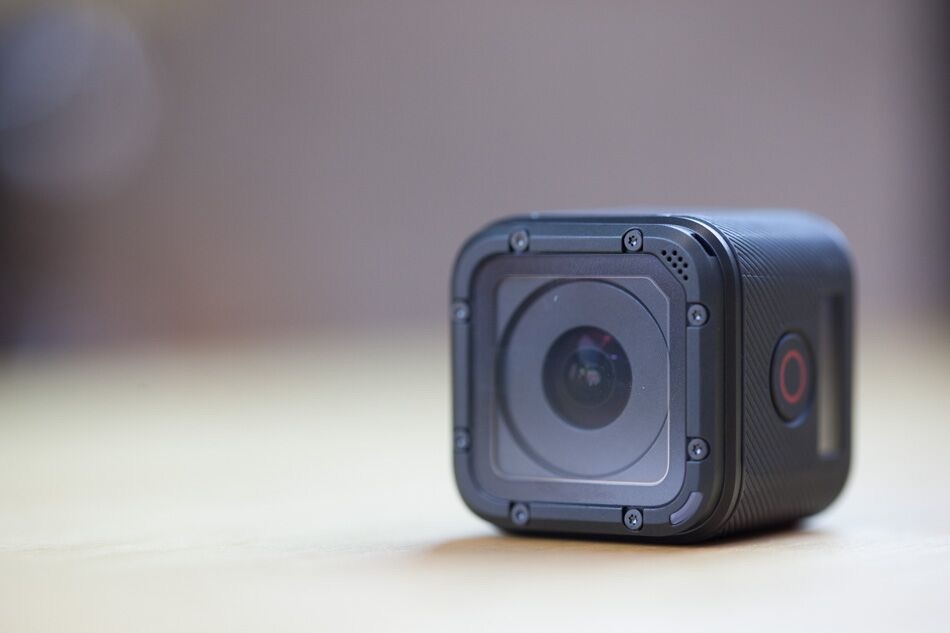
Our third and final family member is a relative newcomer to the scene. The Hero4 Session is just under a year old—you can tell because it’s 50% smaller and 40% lighter than a full-grown GoPro.
All kidding aside, compactness is one of its major selling points—that and the fact that it is supposedly waterproof to 30 feet without an additional waterproofing case. Makes one wonder if it might be hard to break into…
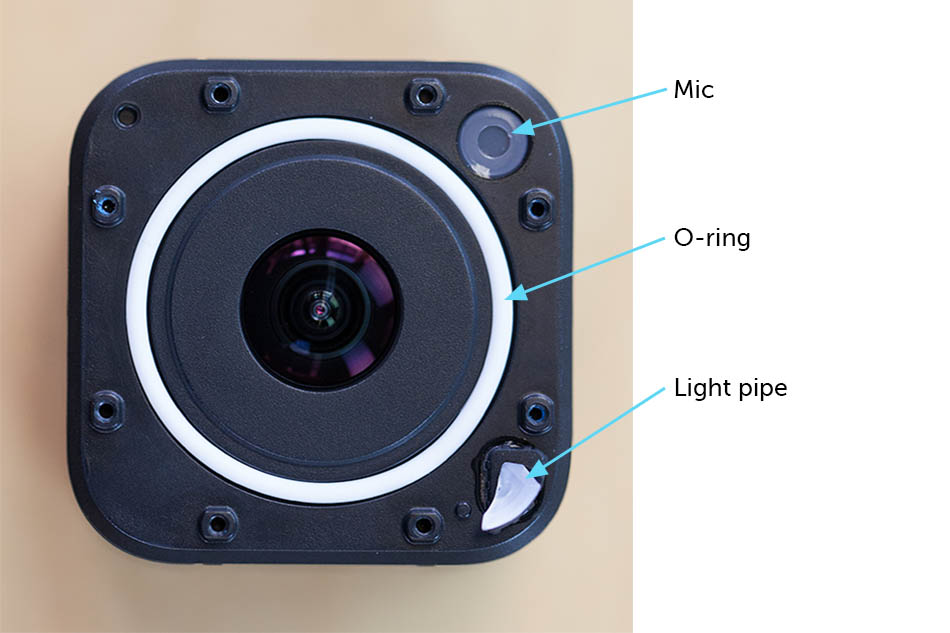
Turns out, removing the front cover doesn’t get us far. It’s made of cast aluminum and most likely only exists to add easily replaceable lens protection.
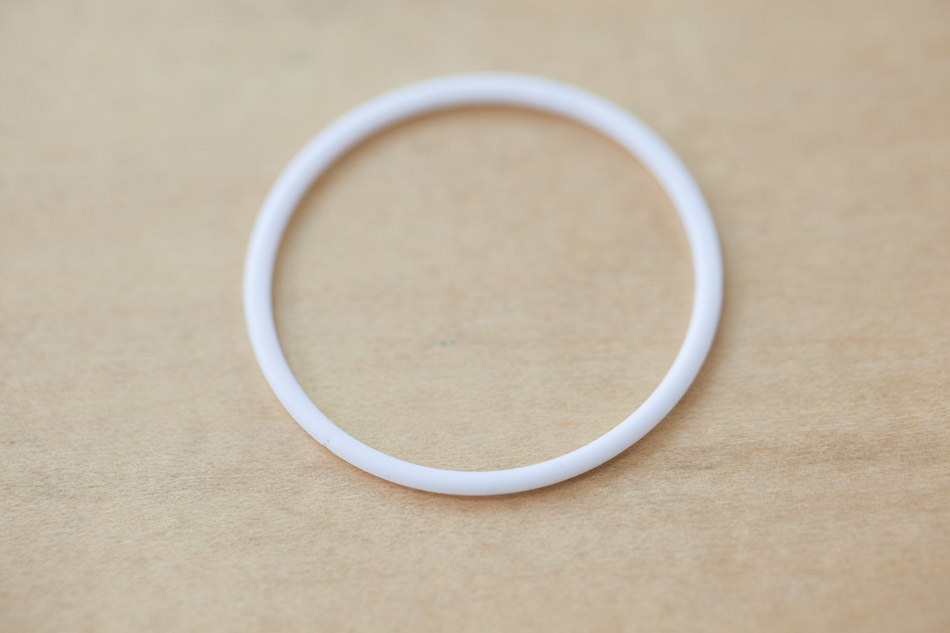
Around the lens sits an O-ring. These are often made of Buna-N nitrile rubber in industrial applications where oil is at play, but in this case, I’d guess we have a silicone one, as they resist extreme temperatures and stand up well to salt water.
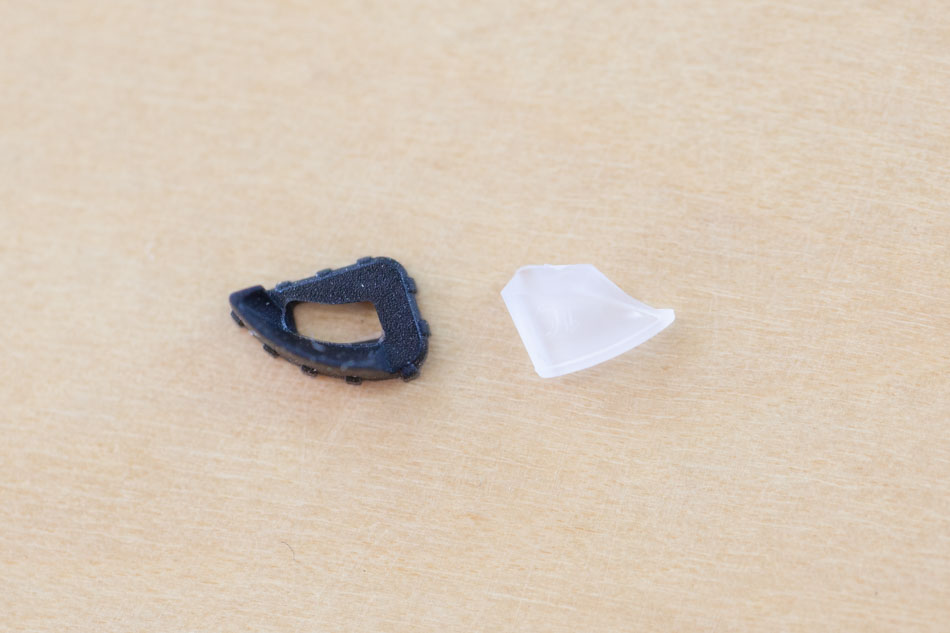
Outside of this there is a molded light pipe with a rather unique geometry (similar to the Hero3), and a thin membrane covering the microphone. Gore-Tex is a common material for these membranes, but this is too thick and is likely just a random elastomer, laser welded in place.
After popping off the aluminum cover on the back, we’re faced with hard plastic casing, likely impact-resistant polycarbonate (both affordable and optically clear), and another dead end.
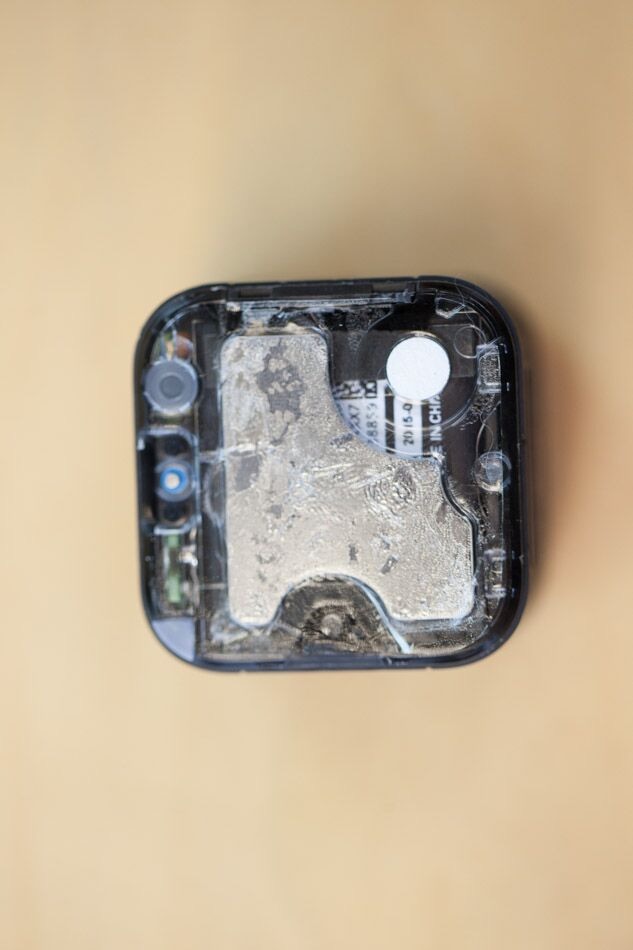
It seems the cover itself is solely cosmetic, or perhaps only exists to prevent scratching of the plastic.
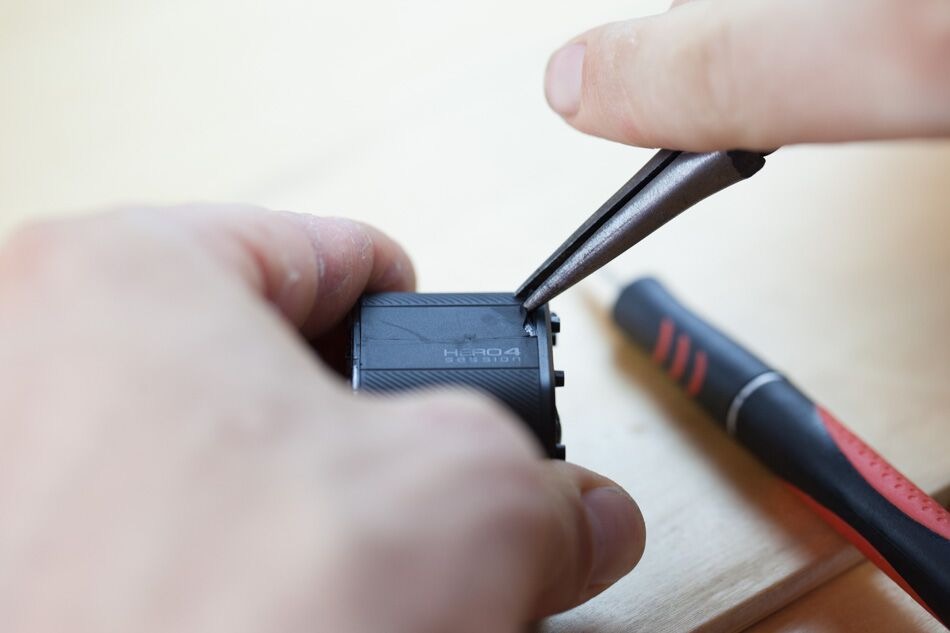
Finally after pulling out the pliers, we’re making some progress.
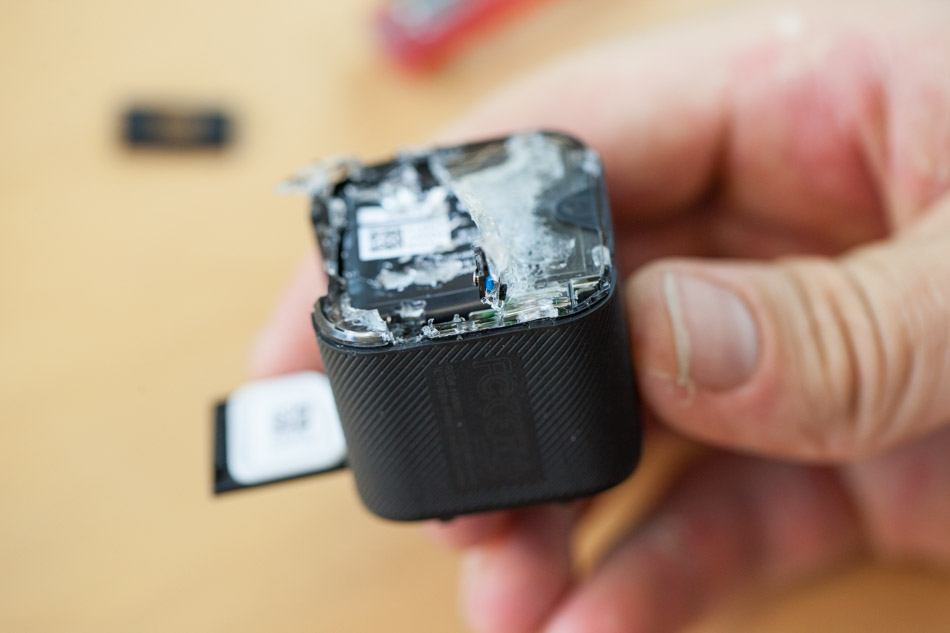
As the hard plastic is ripped away, the battery begins to show itself. This is definitely the most literal “teardown” I’ve done.
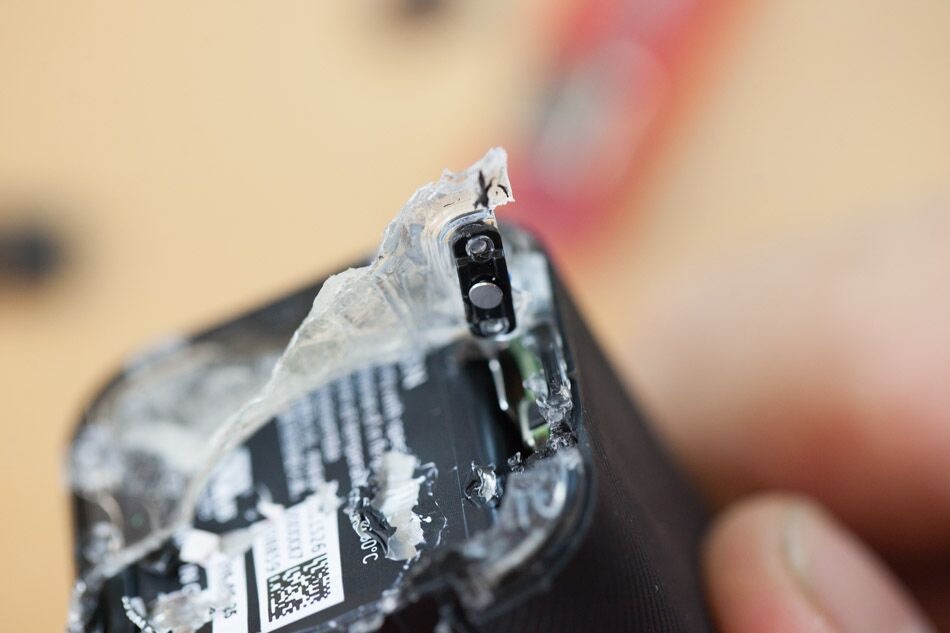
Here’s a different angle of the back partially peeled back. Looks like the hard case was molded right around the button, which actuates a tactile switch on the board below it.
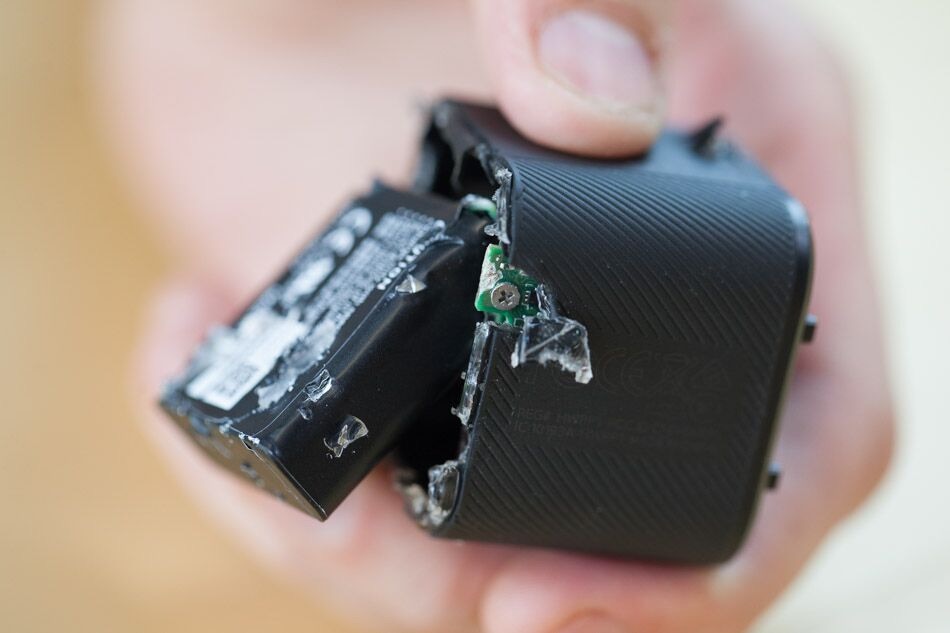
With the back of the hard case removed, the battery comes loose. Its leads are soldered to a board not yet accessible, though, so for now, it just dangles from the rest of the body. Not a great design if your device comes with a faulty battery or is to be refurbished or reworked in any way.
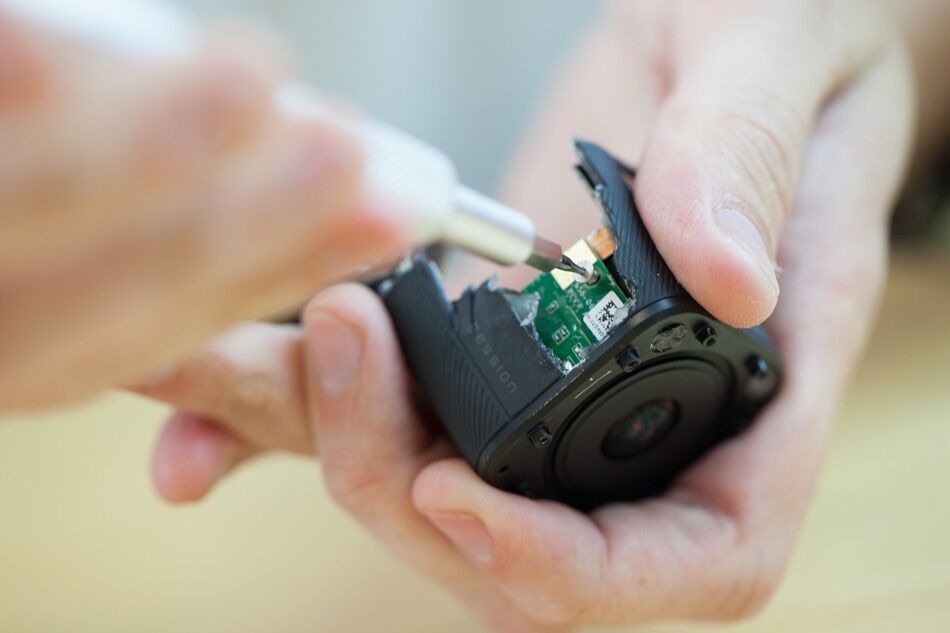
More tearing and chipping away at the case. As screws become accessible, they’re removed, on the off chance a board or other component will come free.
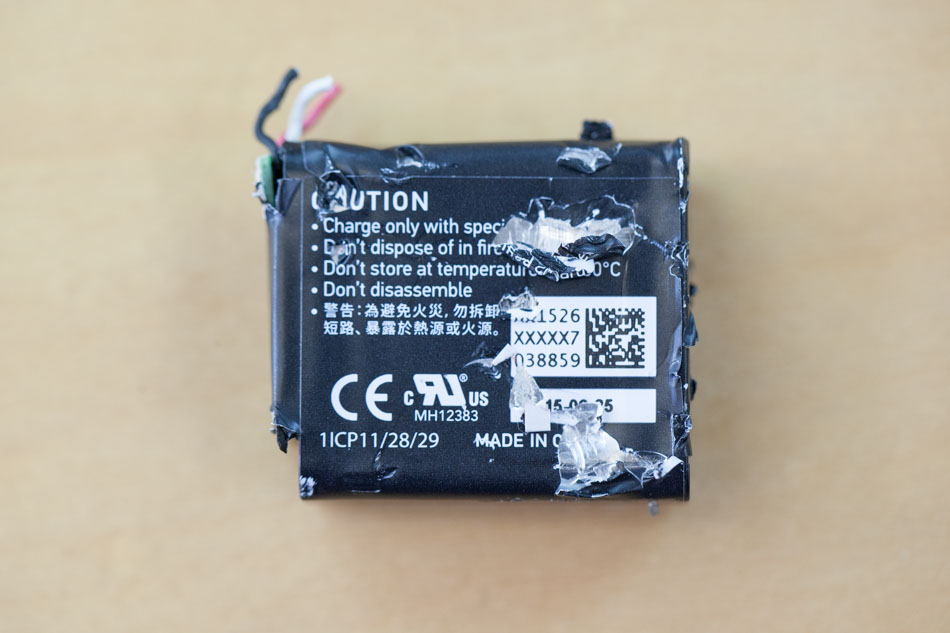
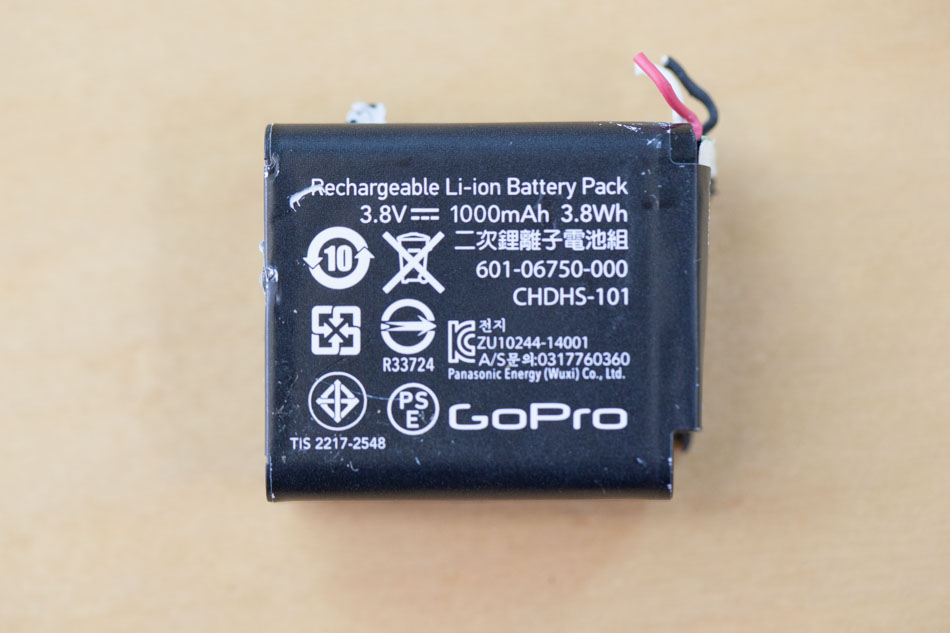
Cutting the battery free, we see It’s 3.8V and 1000mAh, similar to the Hero3, but with slightly less capacity. Still pretty good for a package half the size.
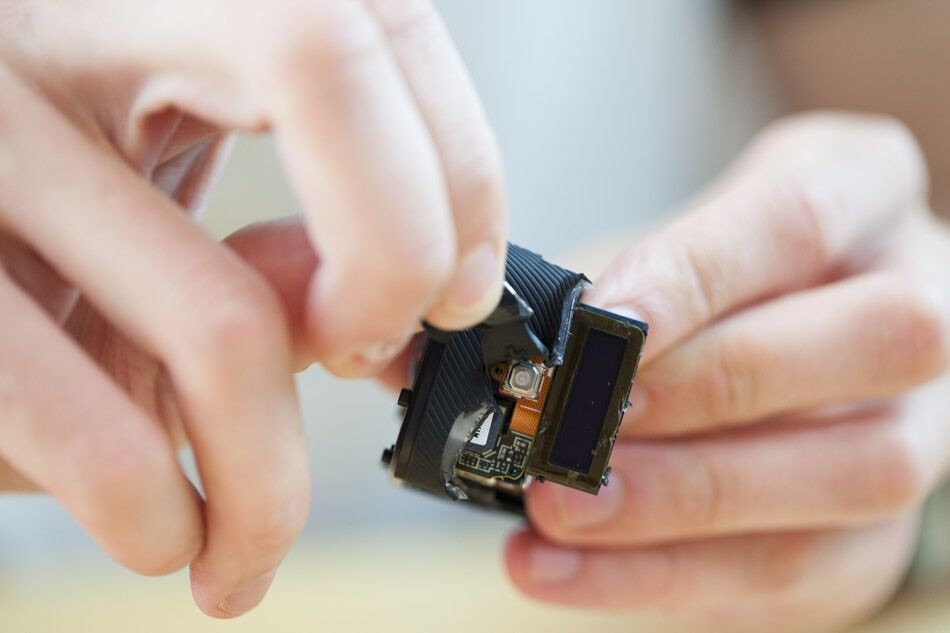
Removing the overmolded shutter area reveals the actual shutter/power switch below, with no hard case covering it. The cross feature on the underside of the elastomer transfers force from the user’s finger to the switch. The display is also finally free from the case, though still firmly attached to the inner frame.
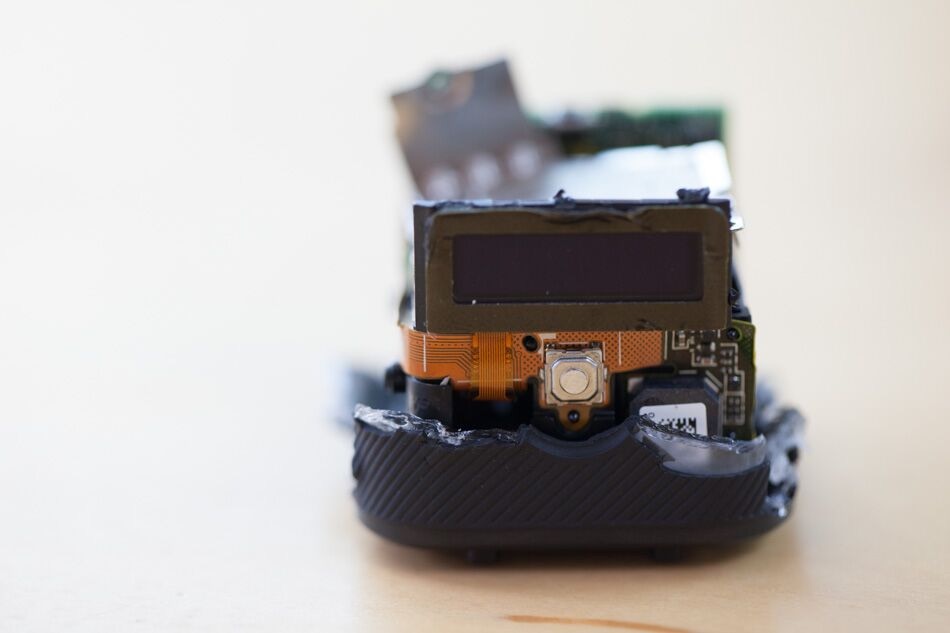
Next to show itself is the micro-USB port, though it, too, is fixed to everything else.
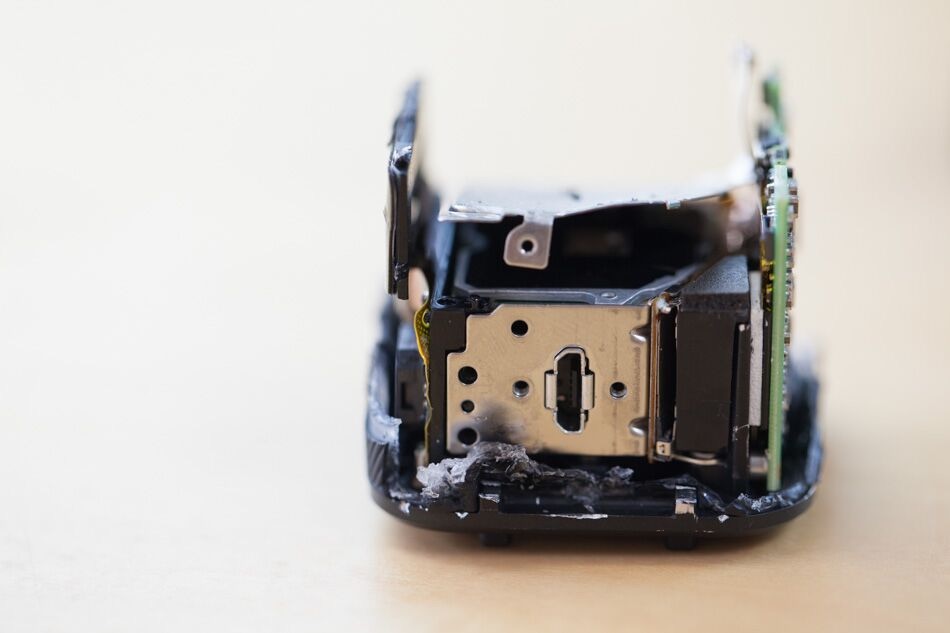
Finally, the hard case is no more. What we’re left with is a “neatly” packed cube of boards and flex cables attached to the lens bracket.
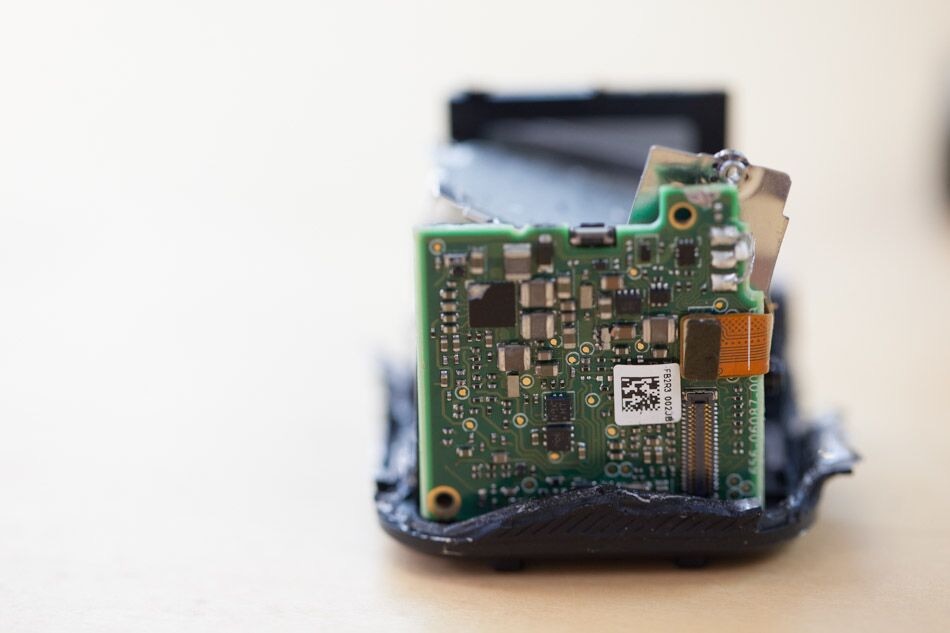
My best guess here is that during manufacturing, all of this is assembled and fixed to the bracket, a generous amount of adhesive is applied around the edge, and then the whole thing is dropped into and sealed in the hard molded case.
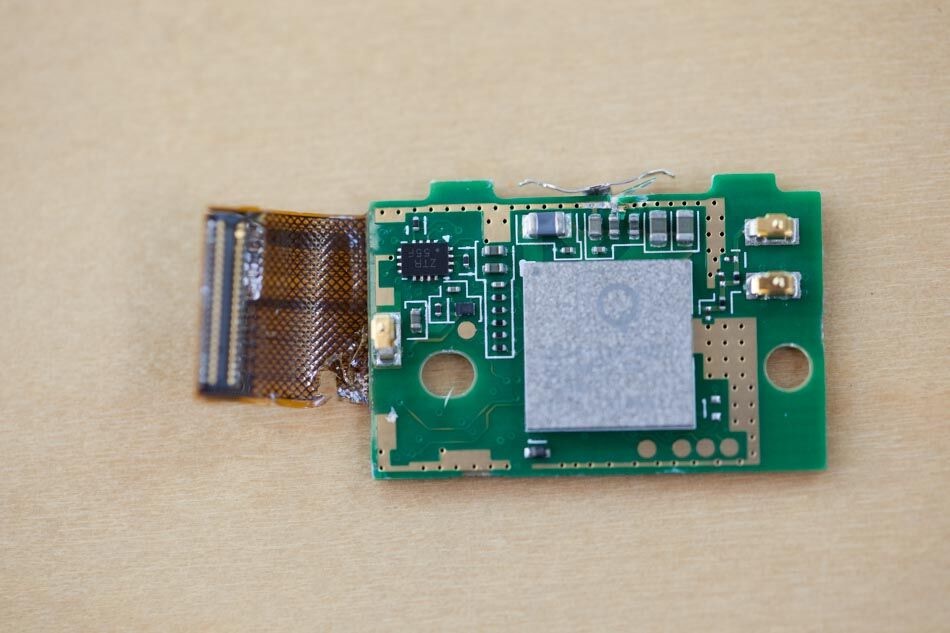
The first daughterboard off the block contains the Bluetooth chip (grey in color), which is manufactured by Qualcomm.
Next, the motherboard is free! Not pictured here, due to being on the bottom, is another Ambarella processor and a flash/RAM chip.
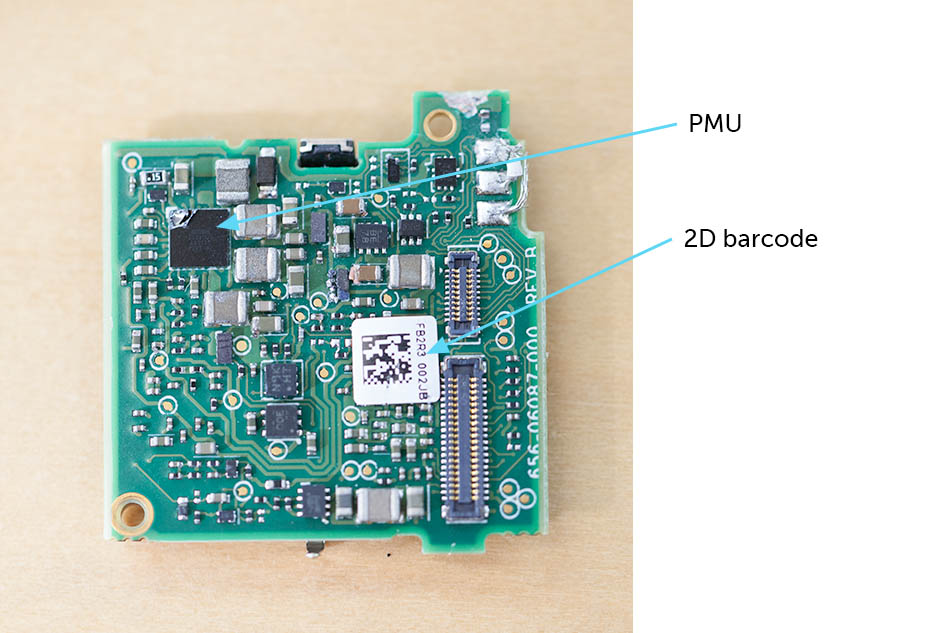
A bunch of resistors, capacitors, a 2D barcode, and the device’s PMU (power management unit) compliment the visible topside.
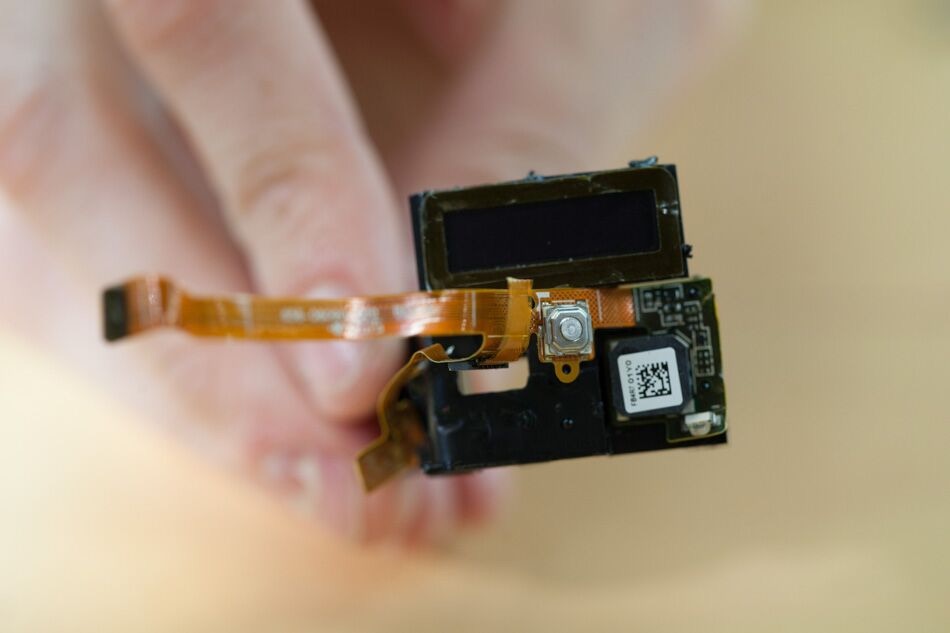
Next to go is the display and shutter/power button—a rather strangely shaped bracket assembly.
The lens is finally visible, but the bracket containing the USB, microSD slot, and another flex cable are still in the way.
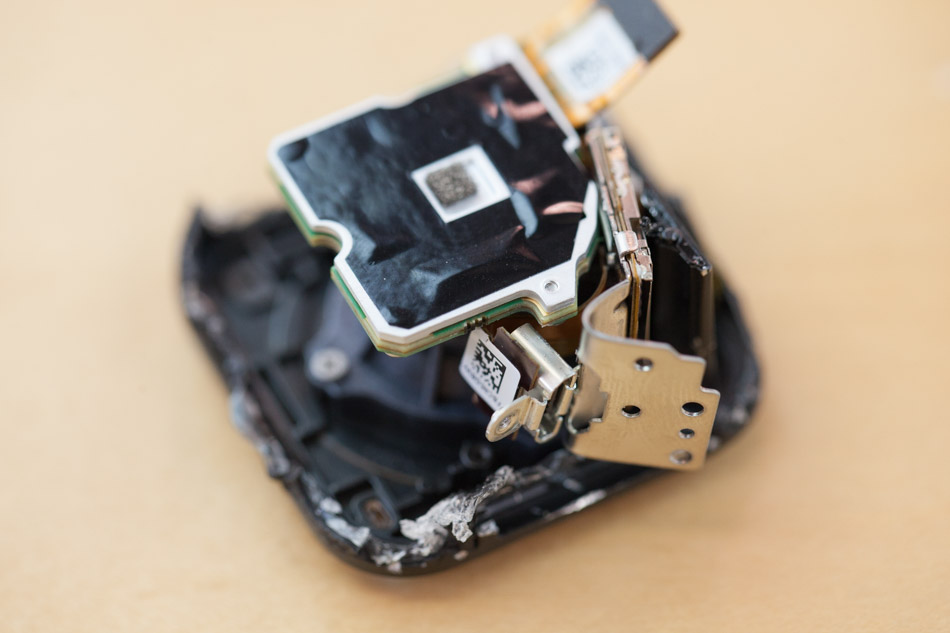
The slot requires that the SD card slide in at an angle, which seems like it might cause problems with user experience (read: broken cards).

Above, you can see another view of what’s left—there are 2D barcodes on nearly everything, used for part inventory tracking. There’s also quite a bit of empty space between the lens and the board attached to it. It’s rare to see such a thing in the consumer electronics industry, where every tenth of a mm is sacred.
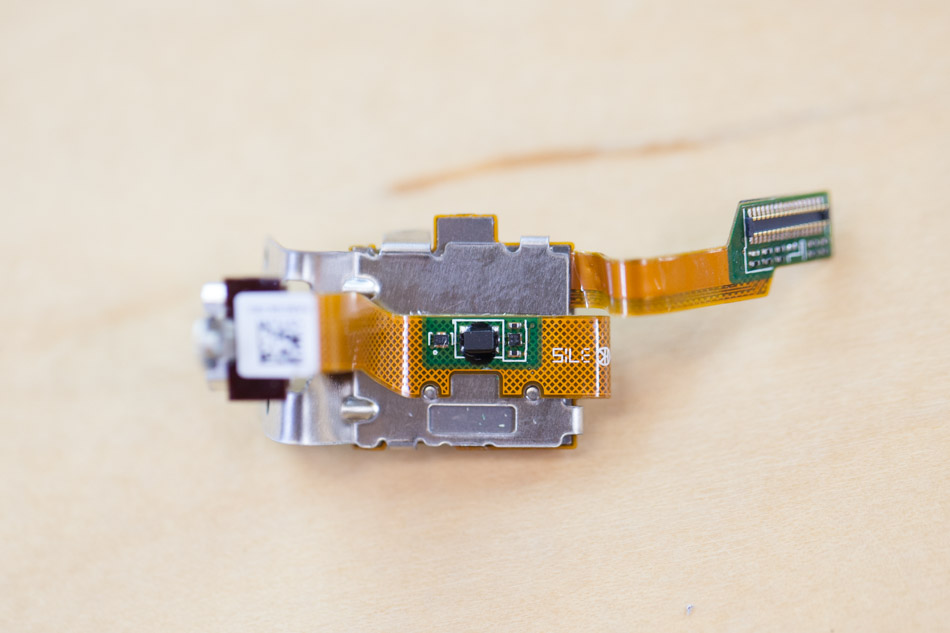
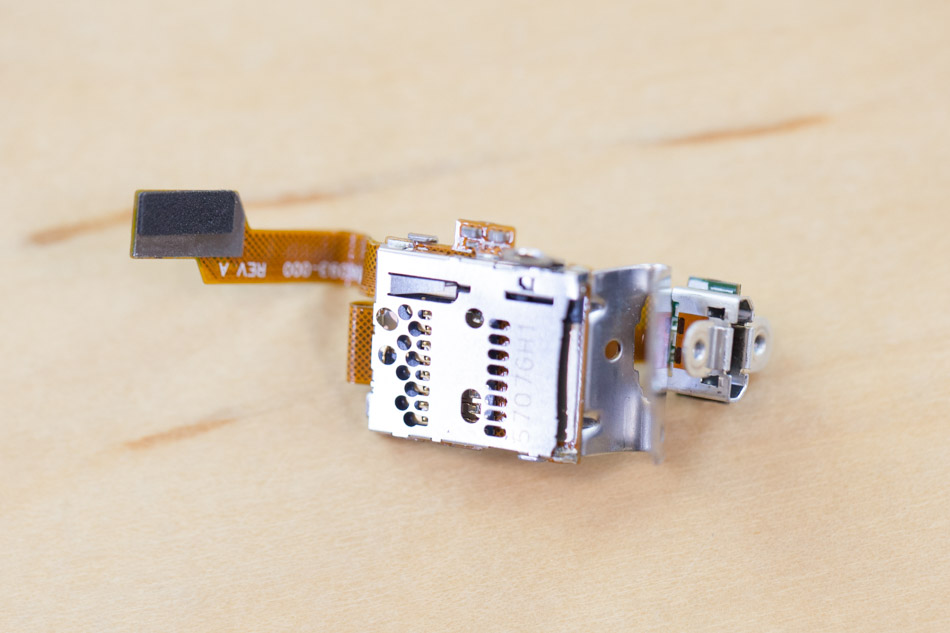
Here’s the microSD bracket removed: tiny little stamped and folded sheet metal components.
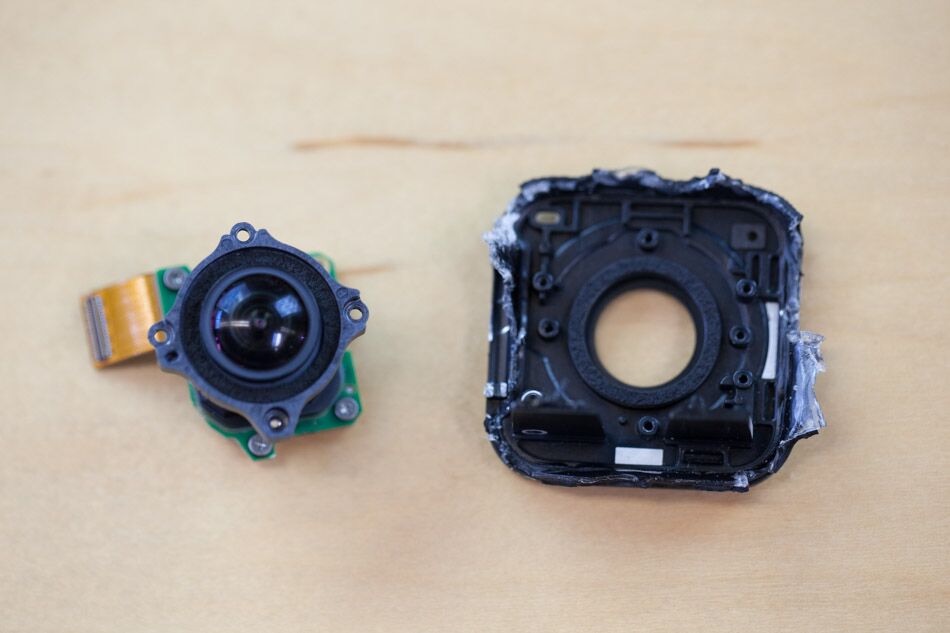
Finally, the lens can be removed. Like the cameras before it, this, too, is an asymmetrical glass build (for that fisheye view) featuring an f/2.8.
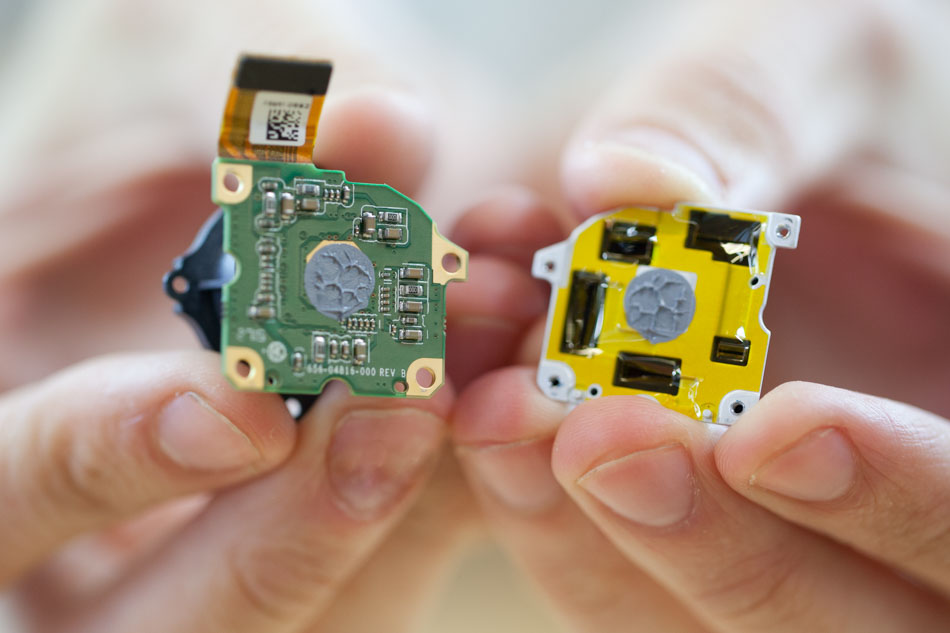
On the back of the lens, a heat spreader can be removed by undoing a few last Phillips screws. Underneath it, there’s a bit of thermal paste to reduce the load on the CMOS sensor, which is on the backside of the board above. The Session’s 8 MP sensor means no 4K capabilities like the Hero3, but still pretty good image quality for such a small package.And with that, the third and final teardown is complete!
Final Thoughts
Looking back through the GoPro history was an interesting exercise. Clearly, the engineers and designers have gotten better at packing more of a punch in their products over time. Each one has its own clever mechanisms and assembly methods, which were fun to uncover and explore.
Though the Session is not quite as powerful as the Hero3 and takes a serious hit in terms of repairability, its compactness is definitely impressive—and its Fort Knox shell makes sense, given a fully waterproof design without the need of the additional case accessories relied on by the previous models.


