Time to read: 6 min
We get a lot of questions about the best methods for fastening different 3D printed components. When prototyping hardware products — like electronics enclosures or robotic assemblies — you often need to design mating structures that are more complex than a single 3D printed component.
Other times, you may need to print components larger than the build envelope of a 3D printer, so you need to consider methods for permanently or semi-permanently assembling printed parts. One of the best ways to assemble 3D parts is with snap-fit components, but another great method is to use screw threads.
There are many ways to implement threads into your 3D printed parts, so in this article we’ll cover the pros and cons of the most common methods. Then we’ll discuss some specific installation steps to help get you started.
Threaded Inserts for 3D Printed Parts
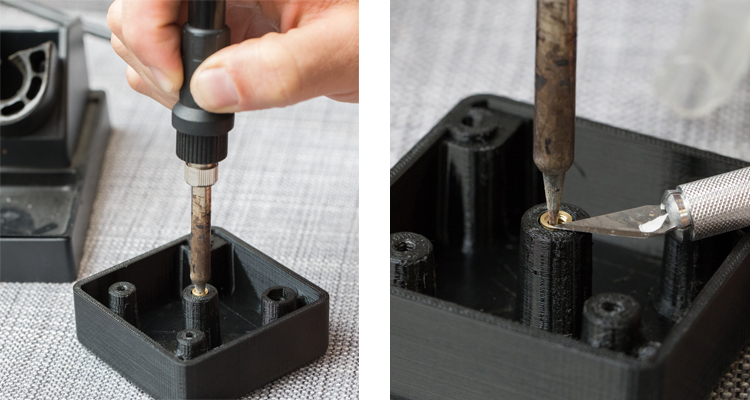
The method we recommend most often is threaded inserts, due to their easy installation and high-quality feel. In addition, threaded inserts for 3D printed parts provide a more secure, robust assembly — they’re even used on aircraft!
Pros
- Fast, easy, and clean
- Can handle repeated installation/removal without degrading the plastic
- Production quality
Cons
- More expensive
- Requires increased wall thickness
Materials and Tools
- Brass Inserts (choose those made for plastic)
- Soldering iron
- Exacto knife
Installation Steps
- Place your insert into its associated hole (see insert guidelines for the size of the mating hole)
- Take your heated soldering iron, place it in the middle of the insert and apply a small amount of pressure
- As the insert starts heating up you’ll see it sink into the hole
- Once the insert looks to be flush with the part surface, use your Exacto blade to trim away any extra material
Self Tapping Screws
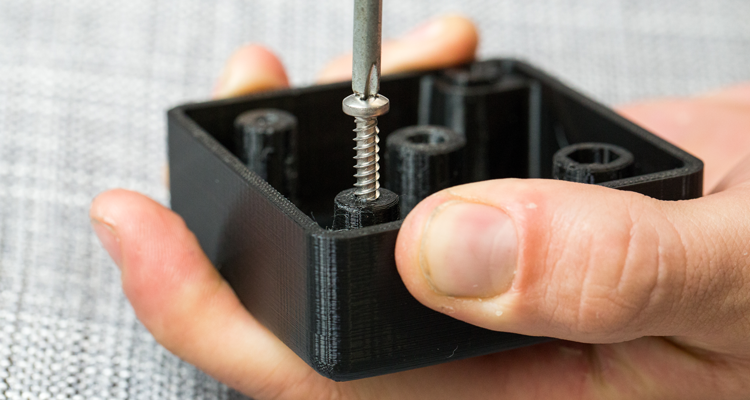
An alternative to threaded inserts for assembling 3D-printed parts is self-tapping plastic screws. It’s the easiest and cheapest way to go, so if this is your first prototype or you’re using a low-resolution material like PLA, self-tapping screws are a great option.
Pros
- Easy installation
- Minimal design requirements (simple holes)
- Less expensive
Cons
- Brittle material may break (ie. verowhite)
- Limited assembly/disassembly
- Low strength
Materials and Tools
- Self-tapping screws for plastic
- Screwdriver
Installation Steps
1. It’s as easy as a screwdriver and a screw… just twist 😀
Designing Threads into a 3D Model
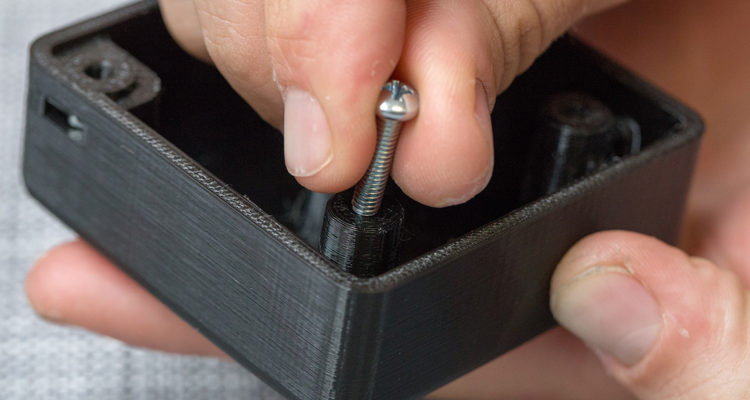
When designing a part that requires substantial threads, the best method is to design the threads into the 3D model itself. However, note that 3D printing screw threads only works when you are using the correct material and your printer has high enough resolution.
Pros
- Can design custom threads
- Good when inserts aren’t available (ie. M50 thread)
- Works well with brittle materials
Cons
- Threads will wear down over time
- Difficult to model accurately
- Requires high-resolution prints
Materials and Tools
- Your preferred CAD tool for 3D printed model design
Installation Steps
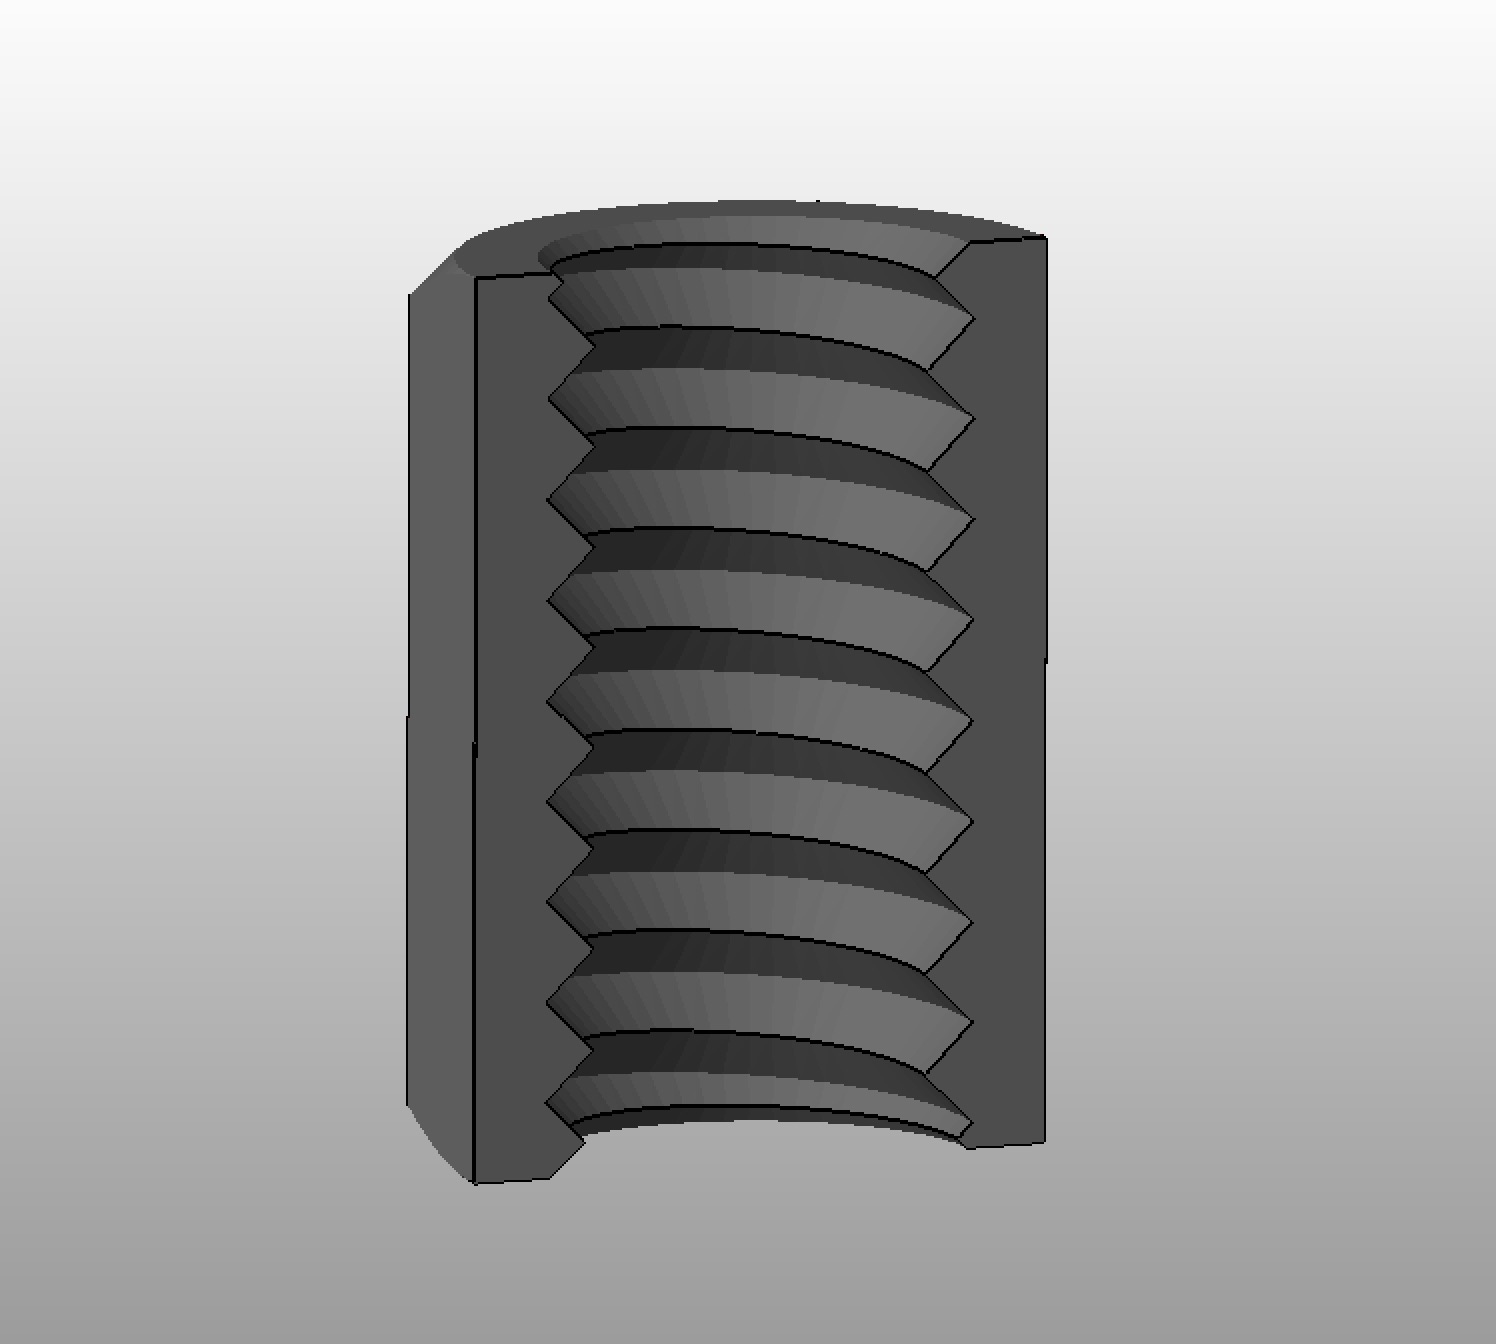
- Ensure your to-be-3D-printed threads are modeled accurately (use equation-driven features in your model — here’s a helpful resource for modeling in inches (UTS), a resource for modeling in millimeters (ISO), and my favorite Engineering Design textbook. You can also follow these quick tips:
a. Shear area of the threaded feature = 2 x the tensile area of the threaded fastener
b. Utilize the following equation for the minimum length of thread engagement needed (for ISO):

Where L=minimum thread engagement length
AT=tensile stress area
D=screw major diameter
P=inverse of number of threads per inch
- Print the component using high-resolution materials (such as Verowhite)
- For internal threads, use a tap to ‘finish’ the threads (see next section). If you don’t have a tap available, try using a machine screw.
- If you need an externally threaded fastener, use a nut sized to your thread dimension and use this to finish the threads on your component.
- Be sure to tap completely through the component for through-holes — this will ensure excess material is removed from the tapped feature and prepare the part for fastening.
- For blind holes, be sure you’ve tapped deep enough for assembly and make sure to clean any excess material — trying to torque fasteners into components with debris could damage your features.
When using this method to add threads to a 3D printed part, be sure to maintain perpendicular alignment to the threaded feature. It’s worth taking extra care to avoid cross-threading, which could result in permanent damage to the part.
Cutting 3D Printed Part Fastener Threads with a Tap
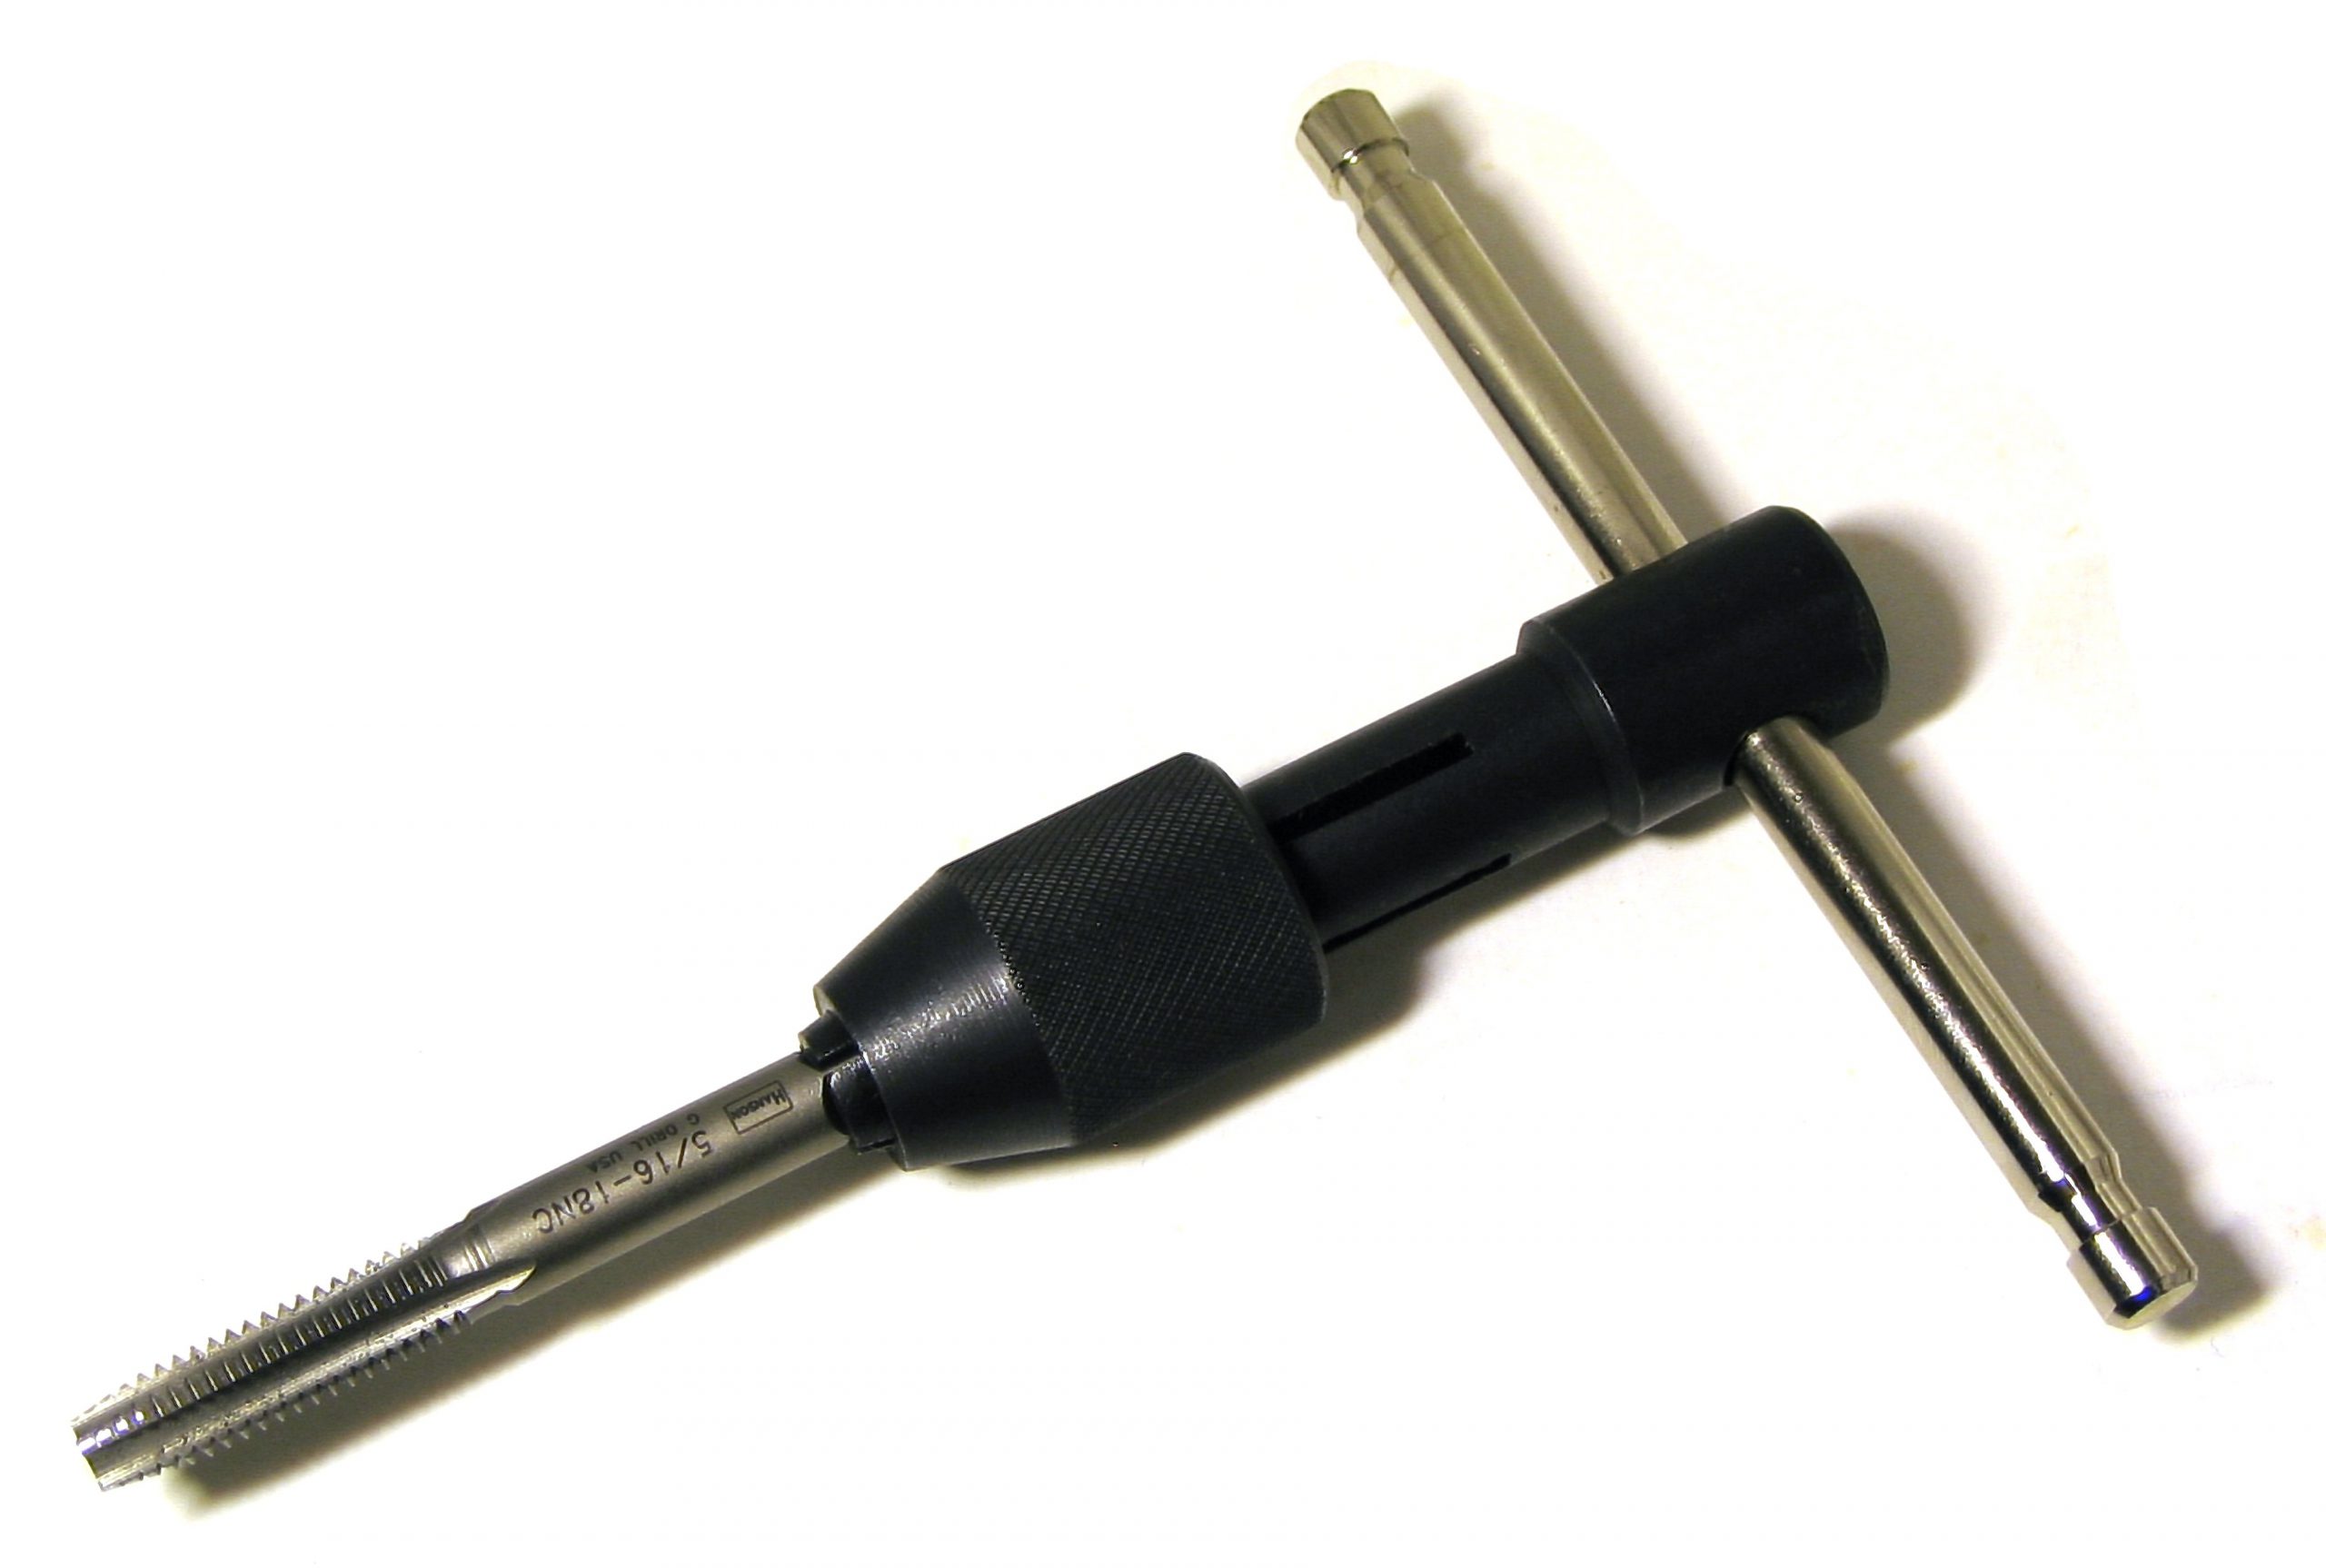
This is the most traditional method for creating internal threads in a 3D printed part and any other type of manufactured part. In subtractive manufacturing, once a CNC places holes where threads will go, a drill tap is used to create the desired threads in each hole.
When prototyping with 3D prints, you can use the same method with a hand drill tap to create threads in your plastic prototype. I recomment using a hand drill tap (as opposed to a powered drill) to prevent smearing and distortion of the 3D-printed plastic.
Pros
- Better assembly/disassembly than self-threading screws
- Doesn’t involve additional design time
Cons
- Low strength
- Plastic threads wear down over time
- Time intensive
Materials and Tools
- Drill tap
- Screws
Installation Steps
- Tap the threaded feature with a corresponding drill tap to cut usable threads
- Be careful not to damage the component when applying torque
- Install your threaded fasteners in the 3D printed part
Captured Hex Nuts
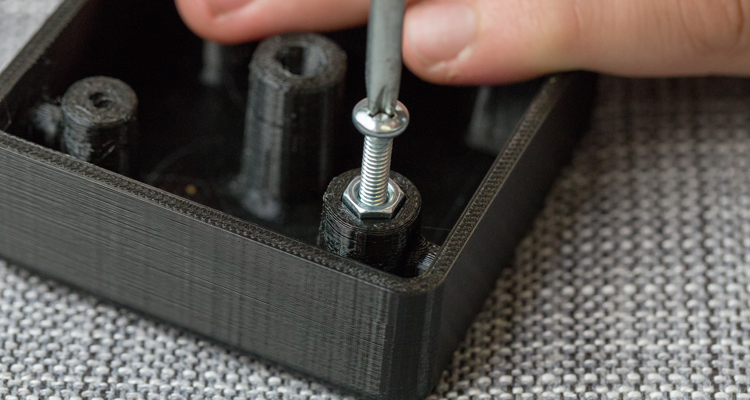
Another commonly implemented strategy for fastening components together is to create printed-in pockets for capturing hex nuts. This involves recessing a hex-shaped blind volume in the 3D printed part design to allow for simple fastener installation for 3D printed parts.
Pros
- Low-cost solution
- Good holding force
- Easy install
Cons
- Only works on outside surfaces
- Extra material is required to capture the nut
- Design constraints
Materials and Tools
- Hex nut
- Screws
How to use this method
- Measure the size of your fastener — here’s a good resource to help you out.
- Add a bit of tolerance (0.005” – 0.010”) to the hole size to accommodate any dimensional error.
- Before press-fitting the nut into the pocket, apply a bit of glue on the nut to adhere it to the inside pocket surface. Otherwise, as you apply torque to the nut, it may be pulled from the pocket
Pro Tip: For more information on fitment and tolerance, pick up a copy of Machinery’s Handbook
Mechanical Considerations: Fasteners for 3D Printed Parts
Here are three questions to help you consider which fastener method is best for your project:
- Will you need to disassemble and reassemble the components?
- What are your strength requirements or holding forces?
- What are the geometric or spatial constraints inherent in the design of your parts?
Additionally, here are three crucial considerations to keep in mind as you design your fastening features:
- Bending along the axis parallel to printing should be generally avoided becuse printed components are structurally much weaker in this direction.
- Be mindful of the allowable stress and strain of your materials when adding assembly features.
- Double-check your CAD model before adding fastening features. For example, if you’re adding a hex nut, check the height of the hex nut you’re using and If you’re using a threaded insert, check the pitch of the insert you’re installing.
With these ideas in mind, you should have no trouble creating larger, more complex assemblies with your 3D prints, and for additional questions ,send us a note at team@ficitv.com.
Sourcing Simplified
If you’re tasked with sourcing and supplying 3D printed parts, Fictiv has you covered as your operating system for custom manufacturing. We make procurement of prototype and production parts faster, easier, and more efficient. In other words, Fictiv lets engineers, like you, engineer.
With our design and manufacturing expertise, and innovative platform that provides instant DFM feedback, complete production visibility, and quick turnaround times, manufacturing your parts is easier than ever!


