Time to read: 8 min
Compression molding produces parts by placing a pre-measured amount of material into a mold, closing the tool, and applying heat and pressure. This pre-measured material is called a charge or load, and the mold is usually pre-heated so that the material flows more readily and fills the tool as it’s compressed. When molding is complete, the part is cooled, ejected, and trimmed or de-flashed.
Often, compression molding is used to produce larger or heavier parts – especially ones that are flat or have simple contours. Yet this molding technique can also be used with smaller parts and can produce threads, holes, and grooves. Compression molding supports a wide range of plastic, rubber, and composite materials, but it’s generally used for low-to-medium part volumes.This article explains what part designers need to know about compression molding, one of the many services that we provide. Keep reading to learn more, and partner with Fictiv for complex parts at amazing speeds. Getting started is as simple as creating a Fictiv account and uploading your part drawing. Along with a quote, you’ll receive expert design for manufacturability (DFM) feedback.
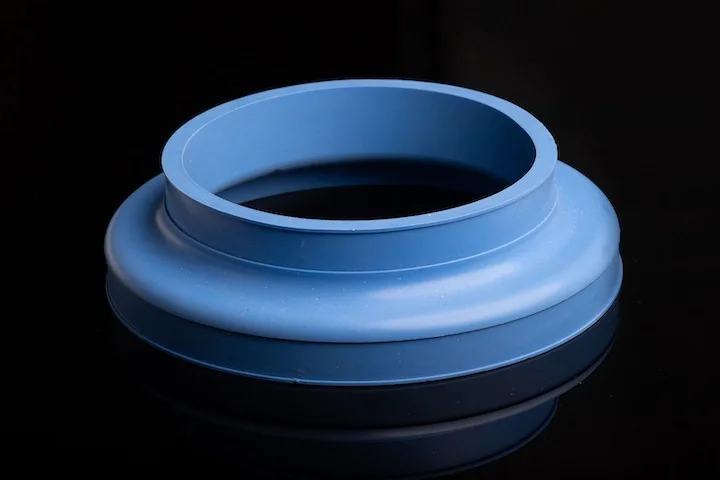
Compression Molds
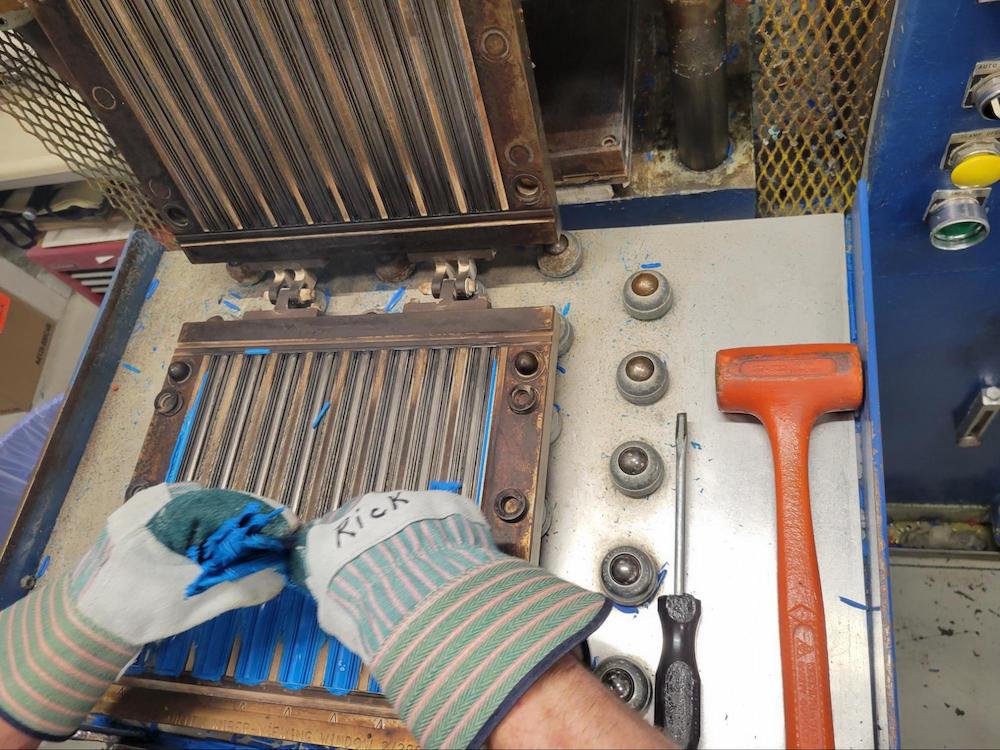
Compression molds have a movable top half (the core) and a fixed bottom half (the cavity) that are usually made of aluminum or steel. The parting line is where the two mold halves meet. Some compression molds have a single cavity, but most have multiple cavities to help offset the longer cycle times associated with compression molding. To facilitate part release, molds can also use ejector pins and sliders but many are manually removed from the tooling by hand.
How Compression Molds are Made
Typically, compression molds are machined from hardened steel blocks. Manual machining with milling and drilling, or automated machining are used. Compression molds can be die-cast instead, but the dies still require CNC machining. 3D-printed inserts can be used to reduce tooling costs, but they won’t last as long and can’t match the tolerances of metal molds, especially hardened steel ones.
Types of Compression Molds
There are three main types, or styles, of compression molds.
- Flash
- Positive
- Semi-positive
Flash molds
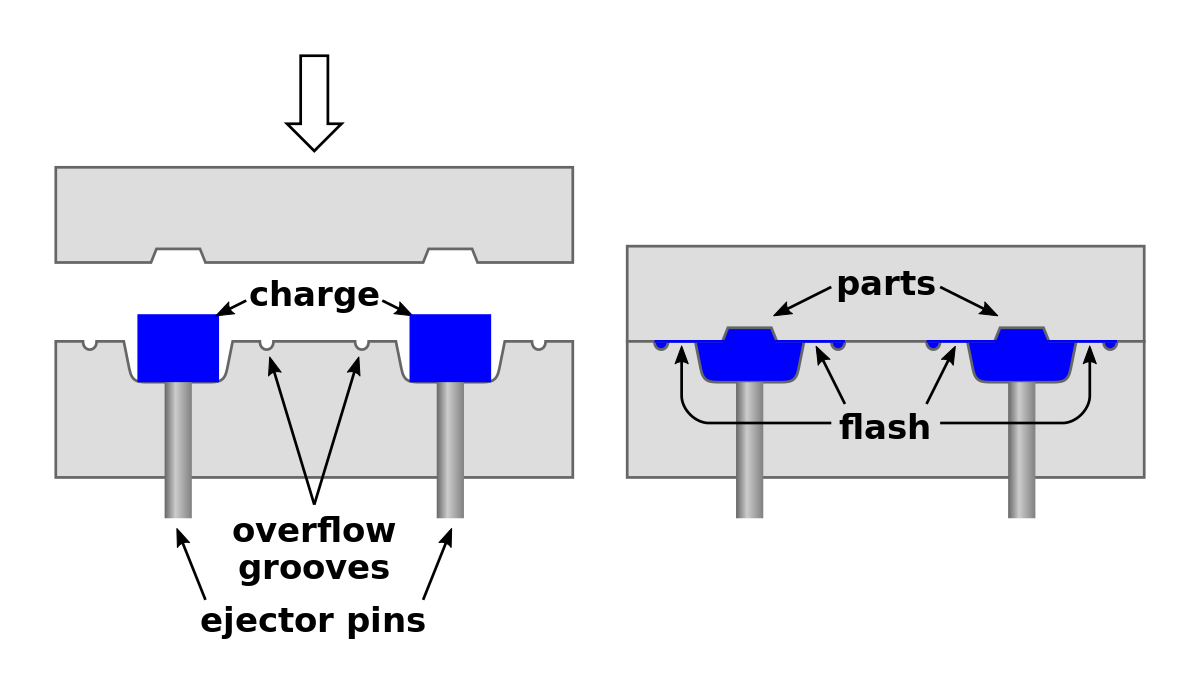
Flash molds are the most common mold because they’re the simplest and least expensive to produce. Before molding, an operator loads the cavity with an excessive amount of charge. When the mold is compressed, material fills the mold completely but flash escapes between the parting line. To control costs associated with waste, flash molds are often used with less expensive materials.
Positive Molds
Positive molds cost more than flash molds and require an accurately measured charge. Often, positive molds are used when it’s important to control part density, or if a part is molded from expensive materials. Positive molds are also used when parts have a deep draw, meaning that the depth of the compression molded part exceeds its diameter.
Semi-Positive Molds
Semi-positive molds are the most expensive compression mold, but they combine the advantages of flash molds and positive molds. Although semi-positive molds don’t require extremely accurate charge measurements, using an excessive amount of charge can cause the material to escape between the parting line during mold compression.
Compression Molding Materials
There are three main types of compression molding materials
- Plastic
- Rubber
- Composite
Compression Molded Plastic Materials
Compression-molded plastics can be divided into thermosetting and thermoplastic materials.
Thermosets
Thermosets have low shrinkage rates and high durability. They tend to have better mechanical properties, but can only be liquefied once. Consequently, they can’t be remolded. Examples of compression-molded thermosets include:
- Phenolic resins
- Epoxy
- DAP
Thermoplastics
Thermoplastics can be melted repeatedly and are re-moldable. However, they’re generally not as hard and strong as thermosets. Examples of compression-molded thermoplastics include:
- Polypropylene
- Nylon
- High-density polyethylene
- Polyester
- PEEK
Compression Molded Rubber Materials
Compression-molded rubber is stretchy and elastic. Depending on the specific compound, it can also provide oil, temperature, or chemical resistance. Examples of compression-molded rubber include:
- Nitrile
- SBR
- EPDM
- Silicone
- Viton®
- Fluorosilcone
Compression Molded Composite Materials
Thermosets and thermoplastic materials can contain fibers for added strength. For example, bulk molding compound (BMC) is a thermoset composite that’s supplied as a dough-like combination of polymer resins, chopped fibers, and a hardening agent. Nylon, a thermoplastic, can be filled with glass fibers and compression-molded into strong but lightweight parts.Rubber-based composites are also supported by compression molding. For example, silicones and fluorosilicones that contain metal, metal-coated, or bimetallic particles provide electrical conductivity and shielding against electromagnetic interference (EMI). These composite materials don’t flow readily enough for injection molding, but they can be compression-molded.
The Compression Molding Process
Compression molding is a relatively simple process, but it still involves a series of steps:
- Prepare the charge
- Load the mold
- Apply heat and pressure
- Cool or cure the part
- Release the part from the mold
- Trim or de-flash the part
- Clean the mold
Prepare the Charge
Preparing the charge involves measurement. The compression mold type helps determine the charge’s size, but molders still want to avoid excessive trimming or de-flashing. If the charge is too large, compressing the mold will cause excess material to escape between the parting line and produce flash. If the charge is too small, there won’t be enough material to fill the mold completely.
Load the Mold
Loading the mold involves placing the charge in the cavity, the bottom half of the tool. With flat, rectangular parts, the cavity usually has a flat, rectangular opening that approximates the size of the part. For compression molded parts that require a hollow interior, the core combines with the cavity and creates the interior section.
Apply Heat and Pressure
With rubber materials, compression molds are usually pre-heated to soften the charge and reduce its viscosity, or resistance to flow. With plastics, the pellets put into a mold might not be heated until the mold is compressed. Regardless, the top of the mold (the core) is closed on the bottom half of the mold (the cavity). Heat and pressure are then applied so the charge flows and fills the tool.
Cool or Cure the Part
With thermoplastic materials, lowering the mold temperature causes the molten charge to harden into the final part. With rubber materials, catalysts are used to promote curing, a process that’s also used with thermosetting plastics. With rubber compression molding, there are two main curing systems: condensation curing uses a tin catalyst, and addition curing uses a platinum catalyst.
Release the Part from the Mold
After the part is cooled or cured, the compression mold is opened and the part is released. Depending on part complexity and volumes, part ejection can be manual or automated. Manual ejection is fine for simpler parts and low-volume applications. Automated ejection is used for more complex parts and higher volumes. Typically, a plunger-style ejector pin that telescopes from the underside of the mold is used.
Trim or De-Flash the Part
Some mold flash is expected, but excessive flashing needs to be removed so that it won’t detract from the part’s appearance or interfere with assembly or performance.
- Manual trimming is used with simpler parts, larger parts, and lower volumes. Typically, handheld trimming tools such as knives are used.
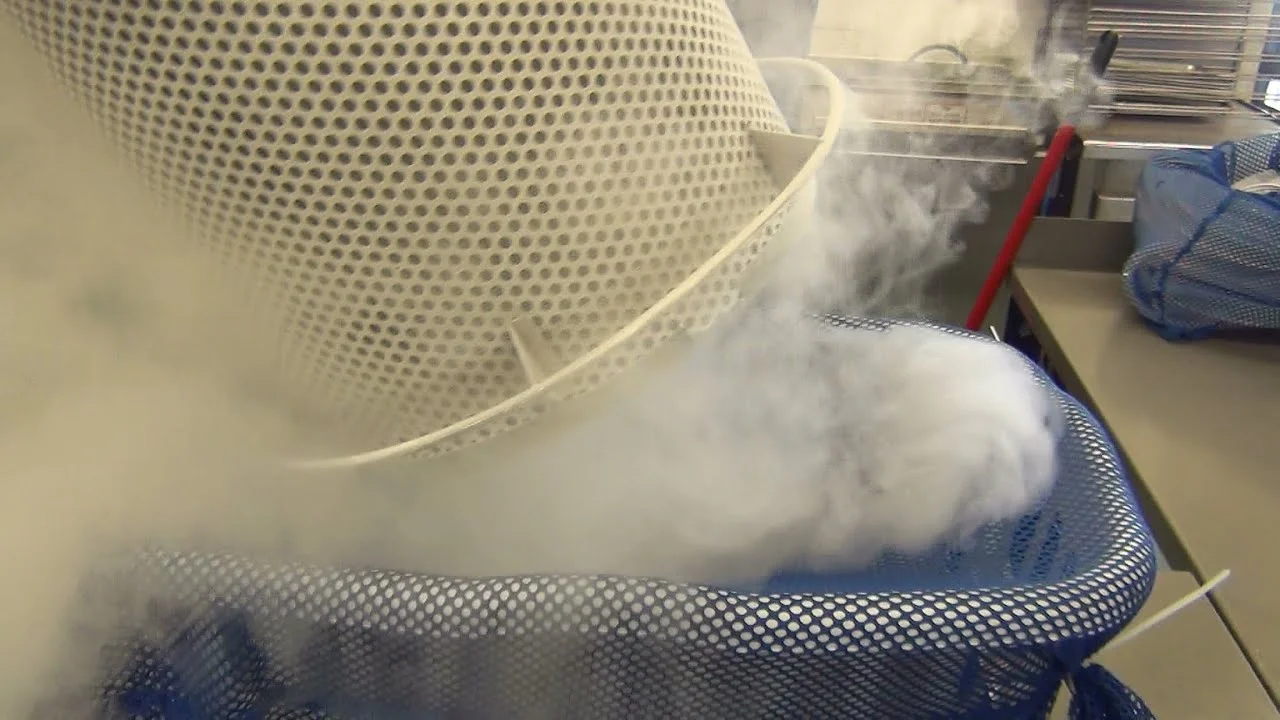
- Cryogenic deflashing, a semi-automatic machine-based process, can be used with batches of smaller parts, including ones with more complex features.
Clean the Mold
After compression molding is complete, it’s essential to clean the core and cavity to remove any residual material. Regular cleaning is usually done with a handheld tool, but more thorough periodic cleanings are also required. Technologies include dry ice blasting and cleaning with chemicals, lasers, or ultrasonic immersion. Finally, a release agent is applied to help prevent sticking during future molding cycles.
Compression Molding with Insert Molding and Overmolding
Compression molding also supports insert molding and overmolding, processes that eliminate post-molding part assembly.
Insert Molding
Insert molding compresses a charge over a prefabricated component. The charge then encapsulates some or all of the insert. For example, a metal knife blade (the insert) can be placed into a compression mold with a plastic charge. When the plastic is heated and compressed, it forms a handle around the blade. Insert molding is also used with electrical contacts such as plugs.
Overmolding
Overmolding compresses a charge over a previously molded component. This provides the advantages of two separate molding materials. For example, a harder material can be compression molded to form a strong, durable handle. A softer material can then be compression molded over the handle to improve its ergonomics and aesthetics.
Compression Molding Advantages and Disadvantages
The advantages of compression molding begin with lower tooling costs but don’t end there. Because compression-molded materials are placed directly into a mold, they don’t need to flow through a complex series of channels and openings as with injection molding. Consequently, compression molding supports the use of heavier and harder-to-flow materials. Because the charge is placed directly in the cavity, compression-molded parts are free of flow lines and residual stresses that can cause defects.
Compression molding isn’t used for fine part tolerances, but compression-molded parts still have good dimensional accuracy. Compression-molded parts also have a smooth, attractive surface finish and can achieve a good level of detail. Because they’re strong and lightweight, compression-molded parts can replace metal ones in structural components and assemblies. Compression molding support for insert molding, overmolding, and a wide range of materials underscores its versatility.
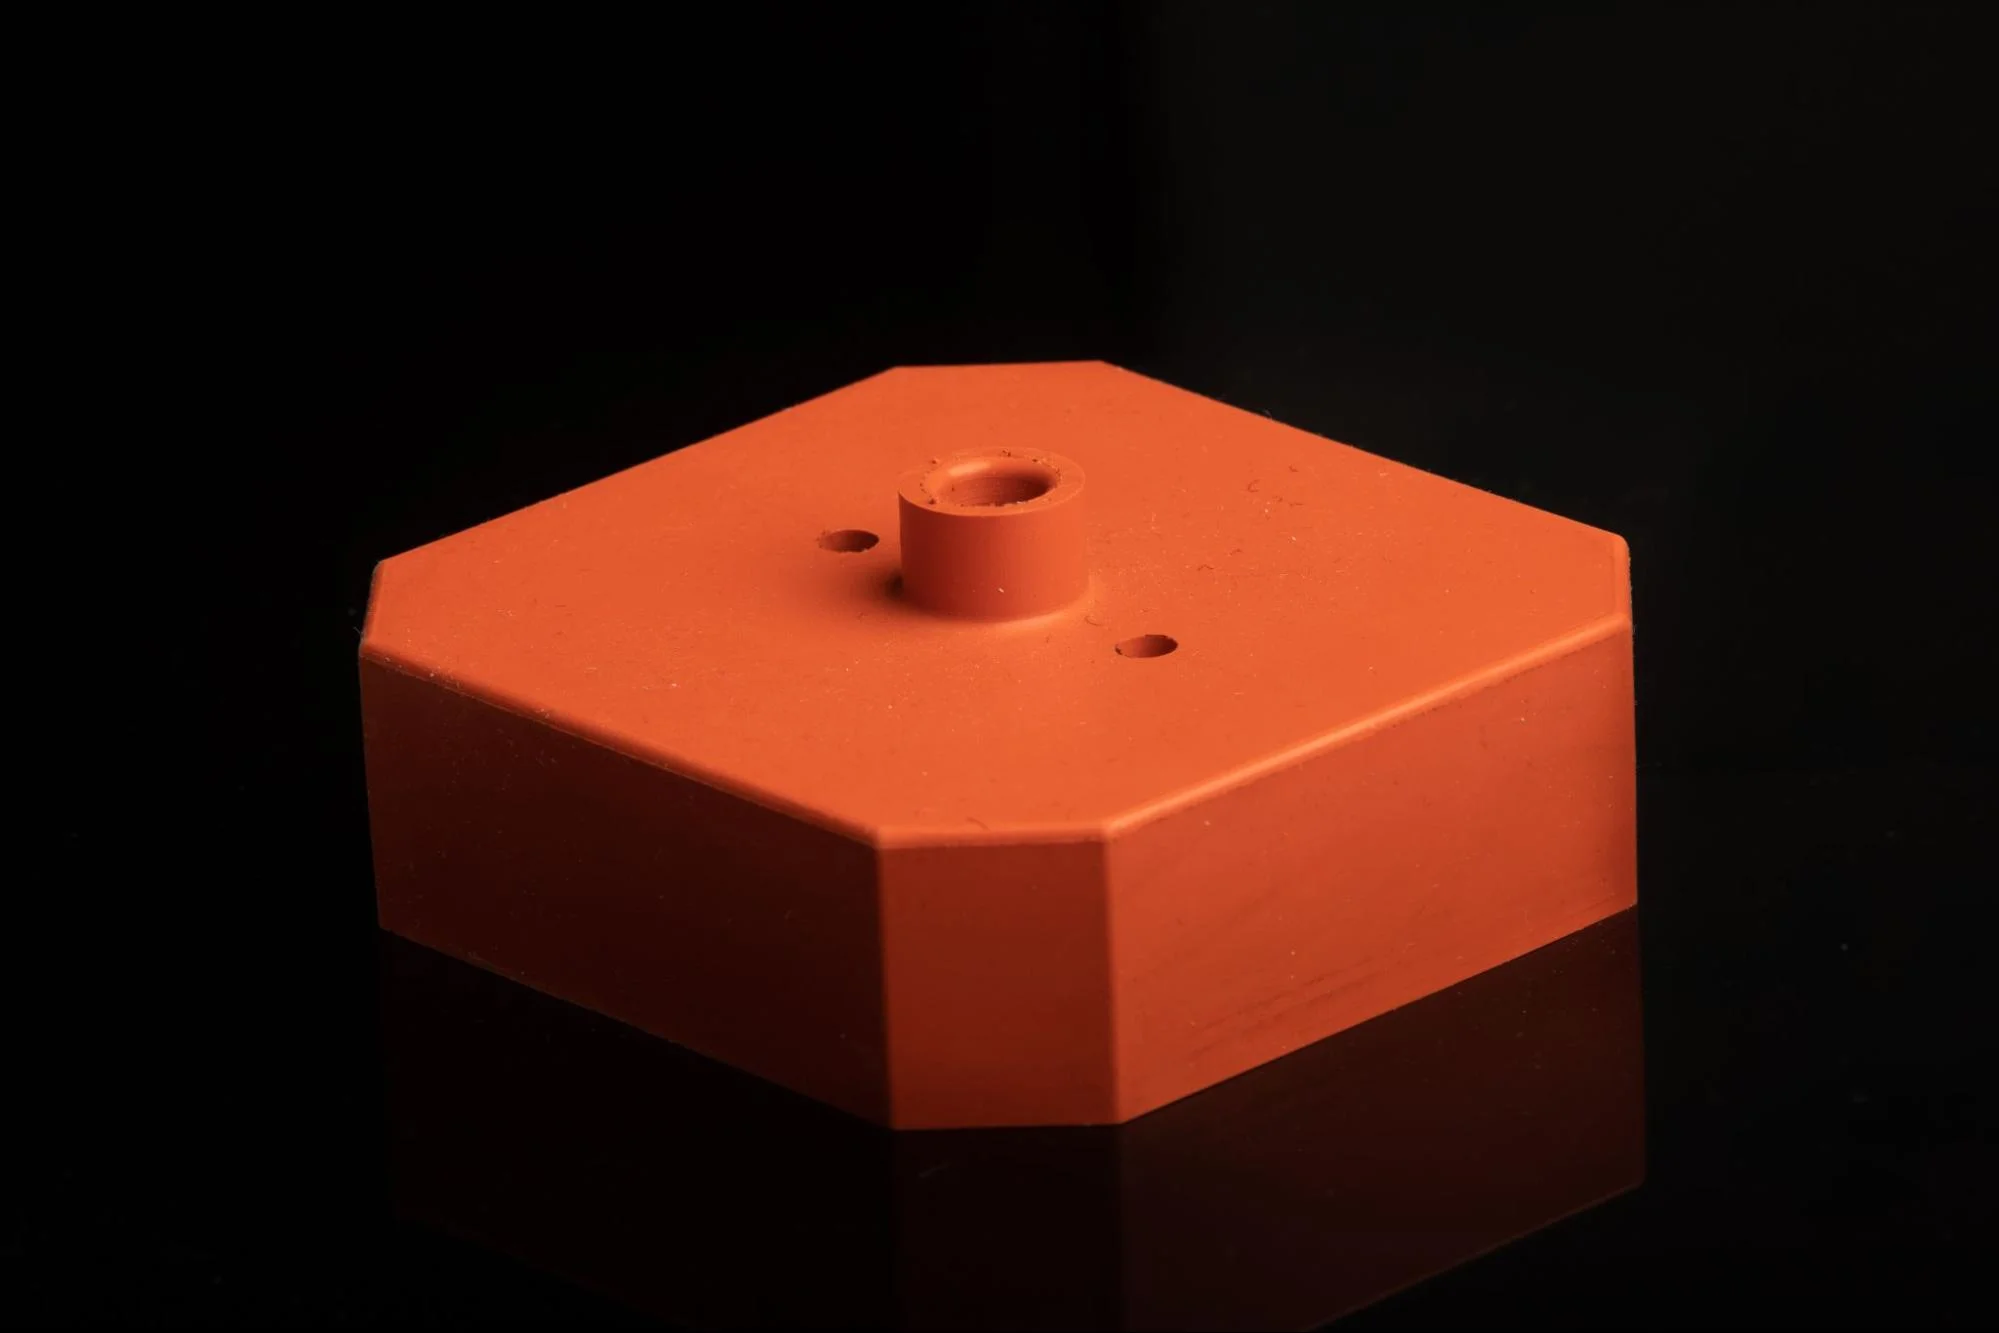
Compression molding is not a good choice for complex parts with sharp edges, steep angles, or intricate details despite its many advantages. Generally, the part geometries are relatively simple so compression molds don’t need to include ejection mechanisms that increase the cost of tooling. Longer cycle times are also a disadvantage, and activities such as preparing the charge, filling the cavity, and trimming finished parts all add costs.
Compression Molding Industries and Applications
Compression molding is used in many industries and applications. Here are a few examples.
Aerospace Compression Molding
Aircraft manufacturers are replacing heavier aluminum parts with compression-molded C-channels, H-beams, U-sections, L-stringers, and T-strings. Aerospace compression molding is also used to produce O-Rings.
Automotive Compression Molding
The automotive industry uses compression molding to produce fenders and large vehicle panels. Compression-molded plastic parts are also used in automotive interiors to protect engine components. Related applications include housings for LED lighting.
Medical Compression Molding
Medical compression molding is used to produce plastic syringe stoppers and silicone respirator masks. Because this molding process is cost-effective at low volumes, it can also be used to produce dentures for individual patients.
Compression Molding for Consumer Products
Compression molding for consumer products is used to produce kitchenware such as utensils, boots, scuba gear, and appliance housings. Household electrical components such as sockets, switches, faceplates, and metering devices are also compression molded.
Designing Compression Molded Parts
DFM is about designing your part so that it’s easy to manufacture and, therefore, less expensive and faster to produce. Here are four things to avoid when designing a part for compression molding.
- Avoid excessively thick walls. Compression molding supports larger, heavier parts, but parts with thinner walls are less expensive to produce. That’s because they require less material and cool more quickly.
- Avoid unnecessary undercuts. Compression molding supports recessed or protruding part features, but undercuts require ejection mechanisms such as sliders that increase tooling costs.
- Avoid sharp corners and sudden changes in wall thickness. Otherwise, the charge may not flow smoothly and uniform cooling may be difficult to achieve.
- Avoid putting the parting line in a highly visible location, especially if you plan to use a flash mold. Even if your part is not cosmetic, it’s important to account for witness lines and the presence of flash.
If your part design is still in development, you may not have considered parting line locations yet. That’s why it helps to partner with Fictiv, a provider of compression molding services that provides DFM assistance. You’ll also gain access to a carefully vetted network of compression molders.
Compression Molding Services from Fictiv
Is your project a good fit for compression molding? Are you considering 3D printing or maybe even low-volume injection molding instead? Fictiv provides all these services and more, so consider us for your next project. Getting started is as simple as creating a free account and uploading your part design. Let’s get started.


