Time to read: 5 min
The Jetsons predicted flying cars, jetpacks, and robot maids serving us lucky people living in the 21st century. Well, we kind of have two of those things, but only one has achieved mass market adoption. No… I wasn’t talking about jetpacks.
iRobot is probably the brand name most commonly associated with robotic vacuums. It was certainly the first to market, but quite a few competitors have arrived at the party since the first Roomba debuted in 2002.
If you don’t have a robotic vacuum cleaner yet, what are you waiting for? Trust me, it will change your life. To aid your purchasing decision, we’ll tear down two robot vacuums from leading companies and compare them for you, inside and out.
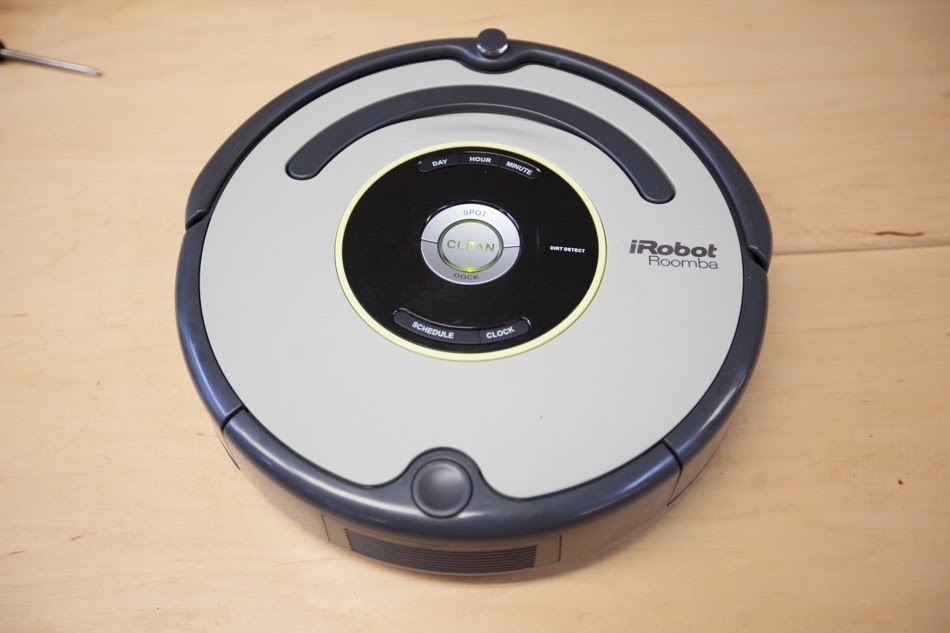
First up is the contender from the market leader, iRobot: the Roomba 650, an entry-level offering at an MSRP of $374.99.
I have a special guest helping me navigate this enormous undertaking: Mr. Garran Gossage. Garran was a robotics engineer in iRobot’s military division. Needless to say, he’s a seasoned Roomba surgeon.
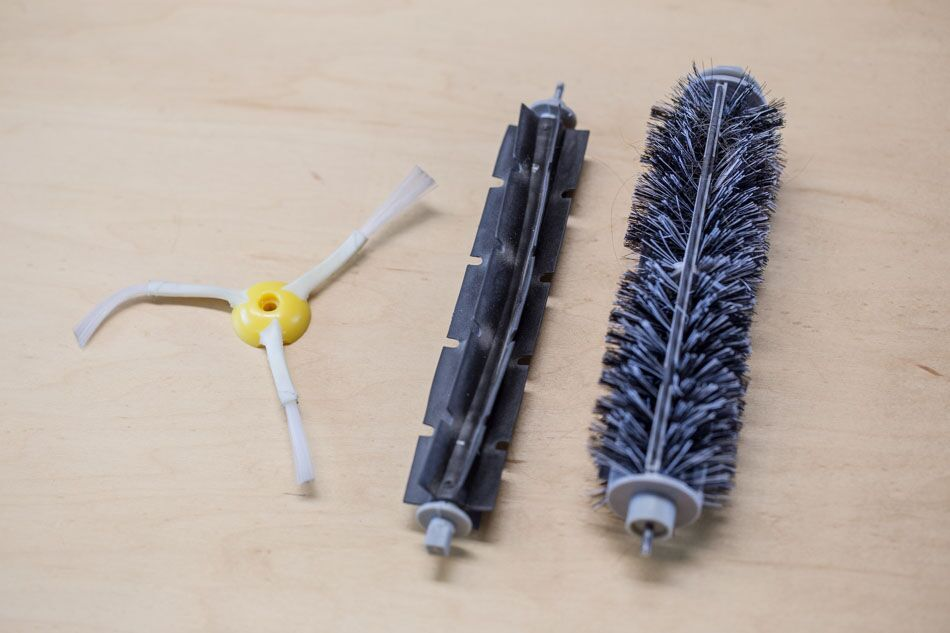
We heartlessly flipped the Roomba on its belly, exposing the parts that do the dirty work: brushes. There are actually three different ones, each with its own purpose:
- The bristle brush is for sweeping hard floor surfaces.
- The beater brush (with rubbery fins) is optimized for removing dust from carpets and rugs.
- The 3-armed sidebrush reaches along wall edges to sweep dirt towards the center of the Roomba.
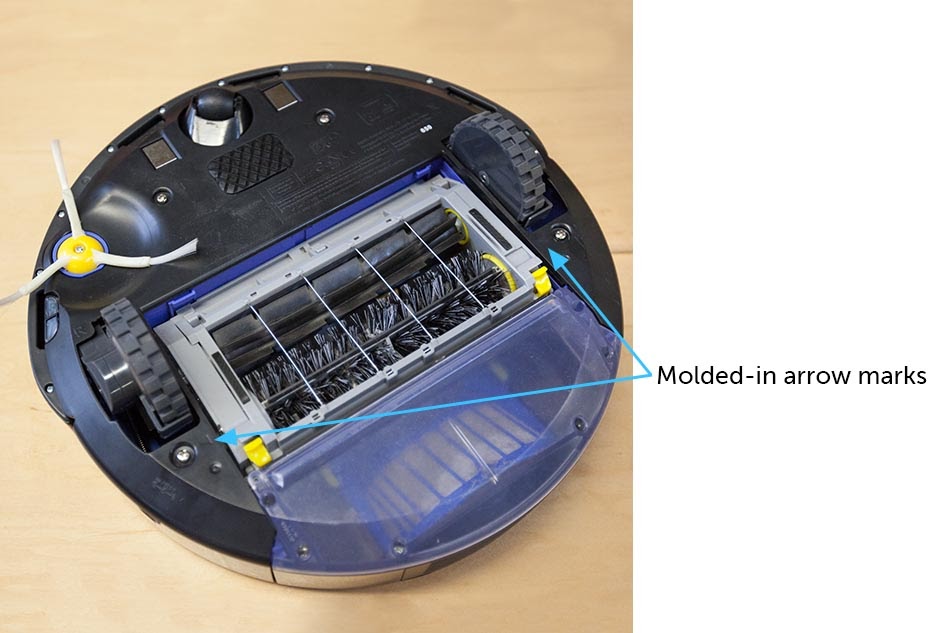
We see quite a few screws, as well—there’s our point of entry! The iRobot design engineers were not trying to hide these—in fact, molded-in arrow marks point them out, so you, the customer, can remove them to repair or clean your Roomba.
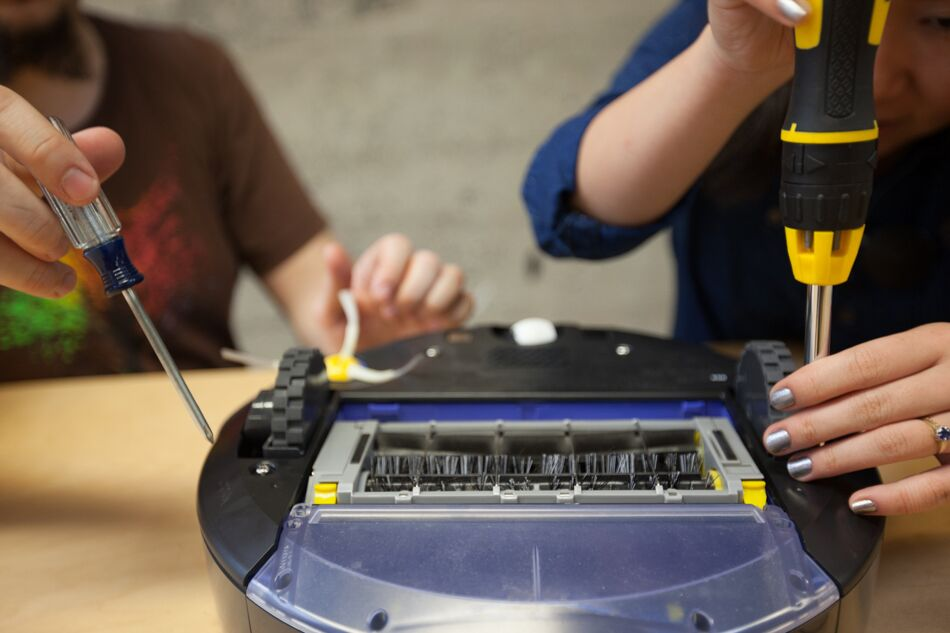
The belly plate comes off without putting up a fight.
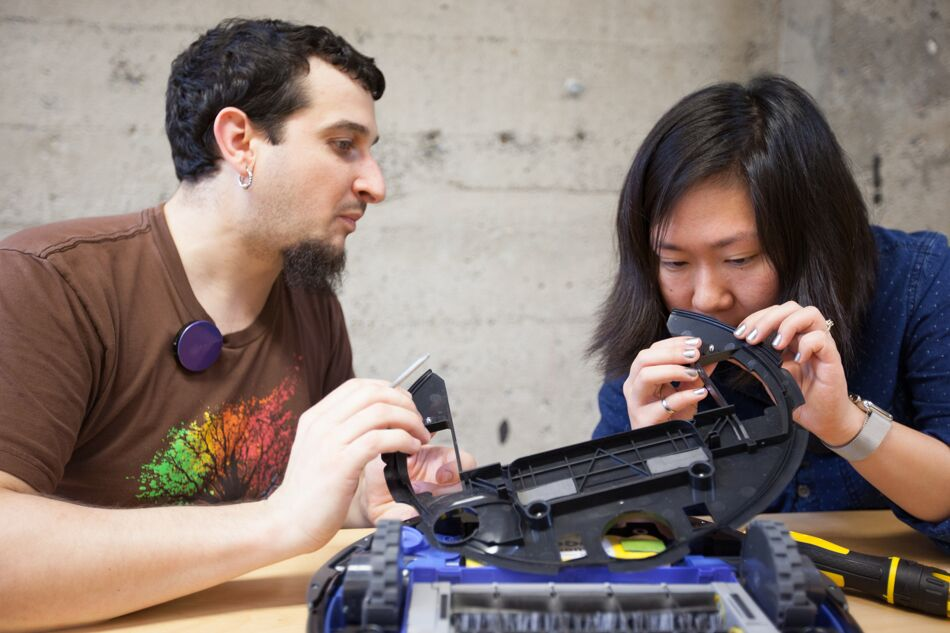
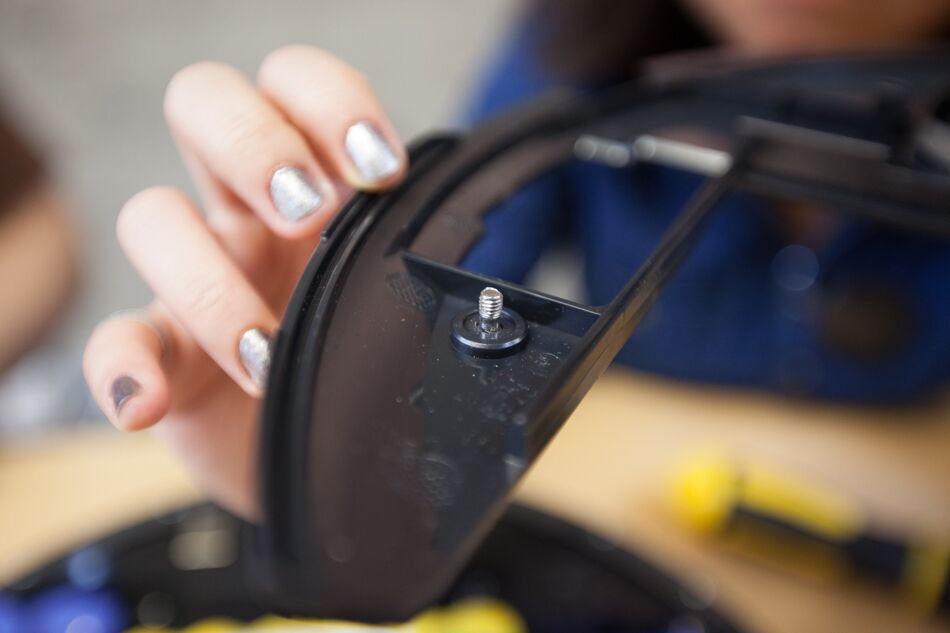
The self-tapping, special shoulder screws are cleverly retained in the belly plate. The shoulder part is narrower than even the internal diameter of its threads so that once the operator gets the threaded section through the plate, the screw can’t fall out through the holes in the belly plate. This is such a thoughtful feature to prevent you from losing screws during a self-repair.
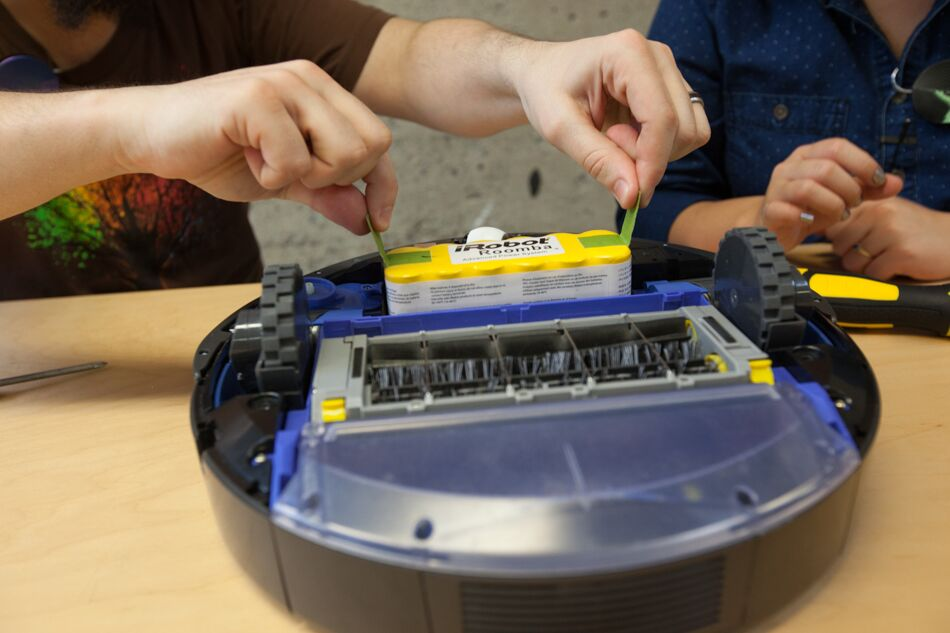
The 12-cell 3000mAh Ni-MH battery comes out easily, without the belly plate holding it in. Fabric tabs glued to the battery help you pull it out—another very thoughtful feature, meant to help you replace the battery at home. Ni-MH batteries typically last 500-1,000 charges—two to three years, if you use and re-charge the Roomba daily.
Here’s another good look at the Roomba’s guts.
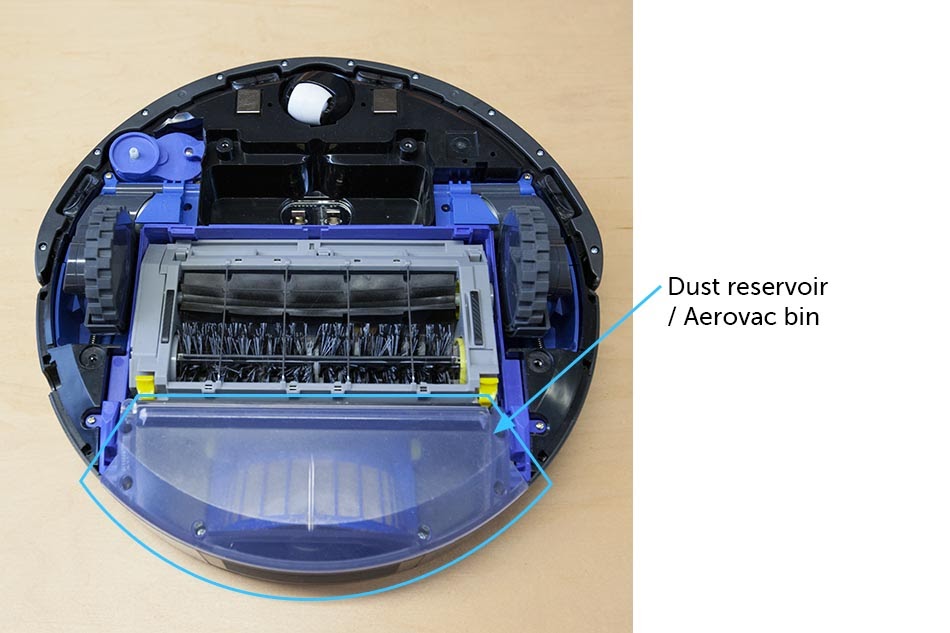
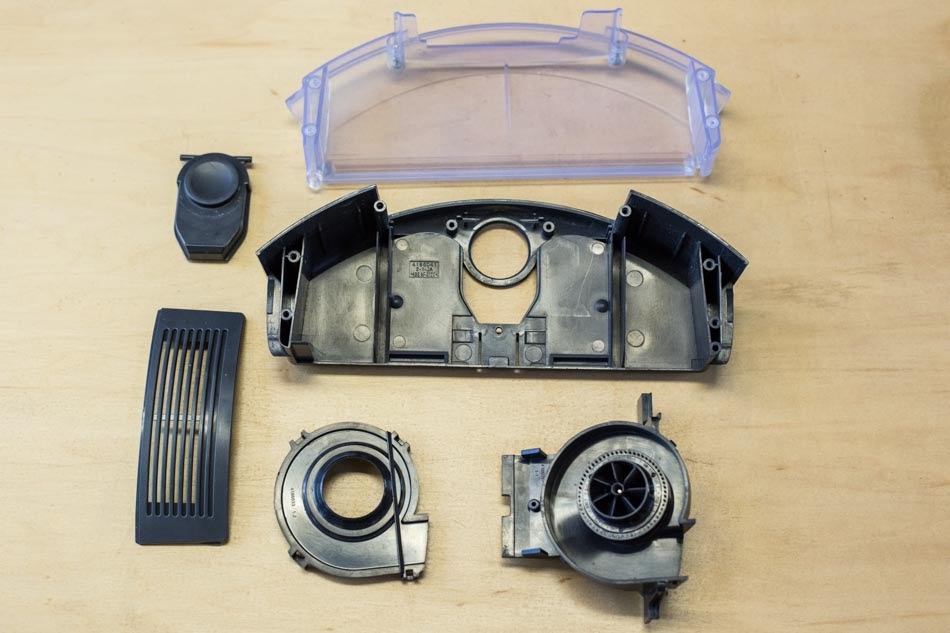
The dust reservoir, which iRobot calls the “aerovac bin,” contains a filter and a fan. The fan creates air flow that pulls debris off the brushes and guides the debris to the back of the bin—iRobot says this allows you to empty the bin less often.
The aerovac bin is meant to be user replaceable, and you can also replace just the filter.
The brushes are all user-replaceable, as well. The three-arm edgebrush is held on by a single screw. Both the beater brush and the bristle brush come out easily, once you pop open the main brush cage.
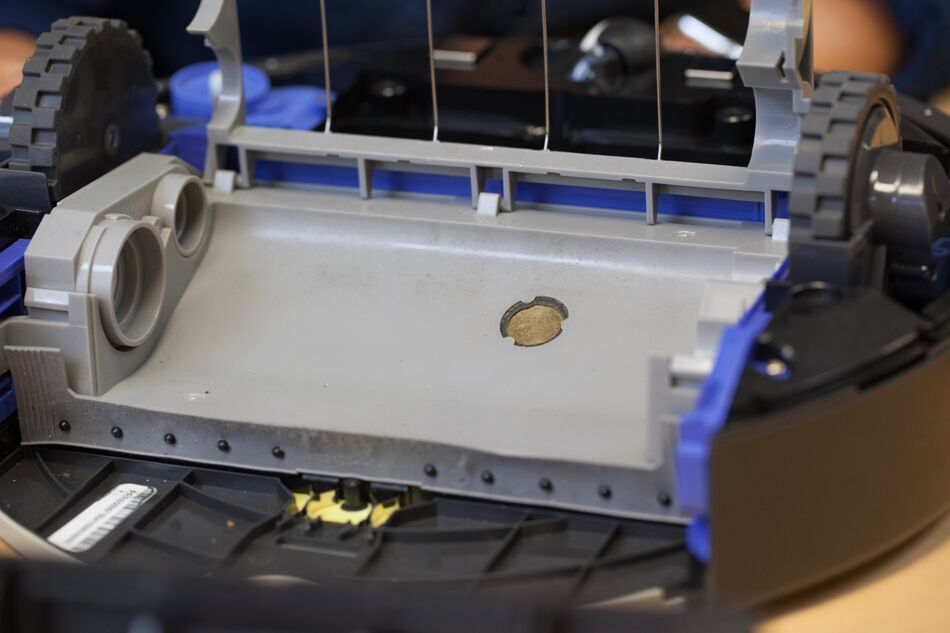
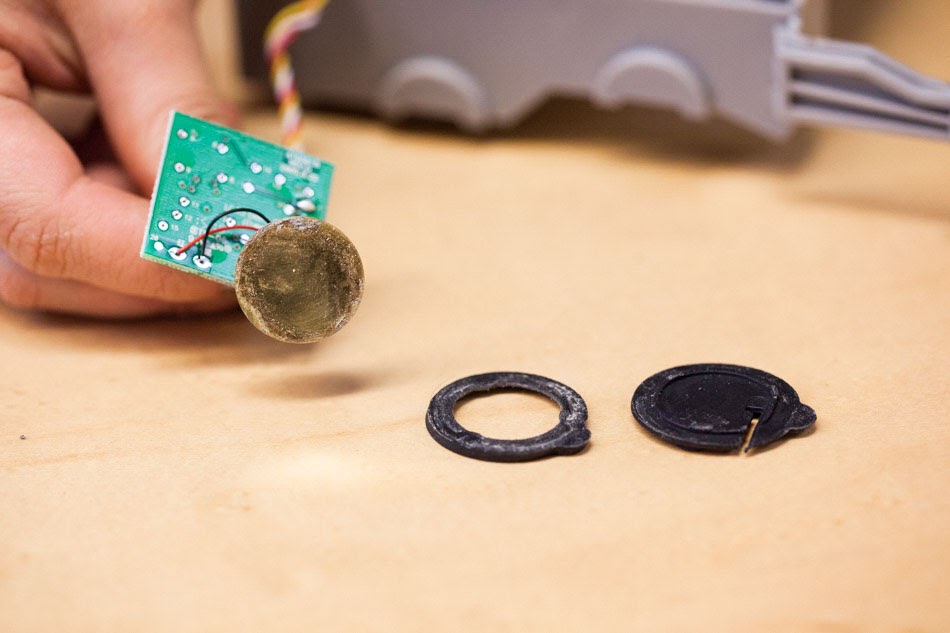
Once we remove the brushes, we find a bronze-colored metal disc in the brush cage, which is actually a piezo-electric acoustic sensor. As debris gets swept up by the brushes, they bounce off the brush cage and hit the sensor. These strikes generate tiny electric impulses, and an excessive number of these impulses triggers “dirt detect,” a function that causes the Roomba to retrace its steps, cleaning a little bit more slowly and thoroughly the second time around. Here’s an animation showing how it works.
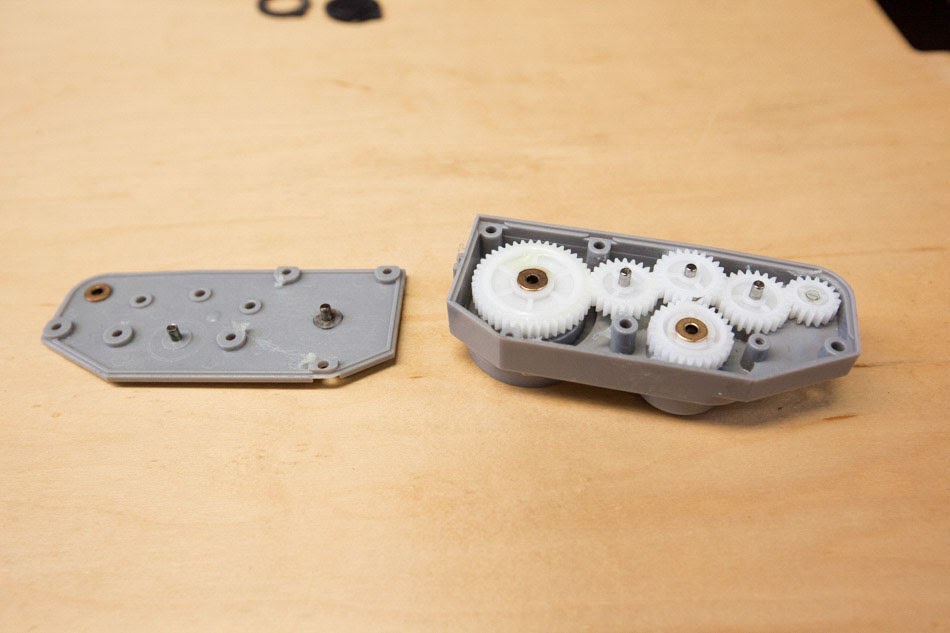
The brushes are motorized—the beater brush and bristle brush spin counter to each other, but they are driven by just one motor through this intricate gearbox.
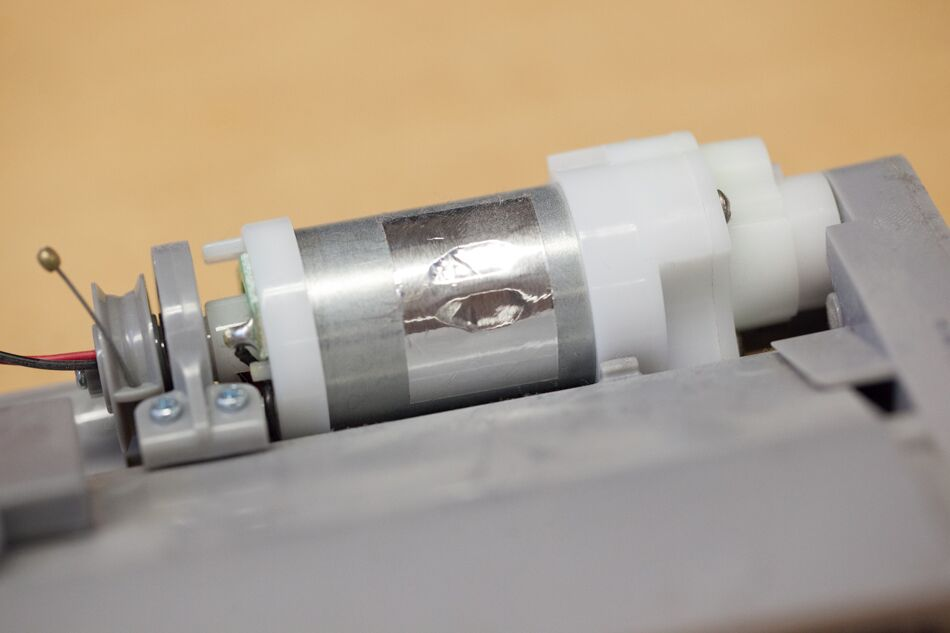
Here’s the large motor driving the brushes—foil tape covers the open slots on the barrel of the motor. Garran says the tape wasn’t always there: Older Roomba models would have motors that get clogged up with hair and dust over time. Apparently, the engineers found an easy and cheap fix!
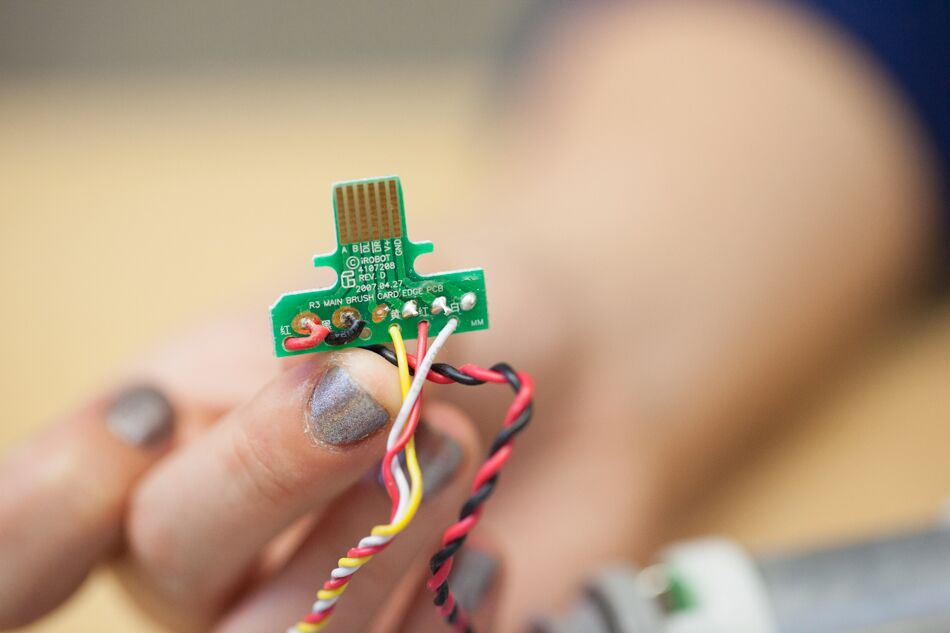
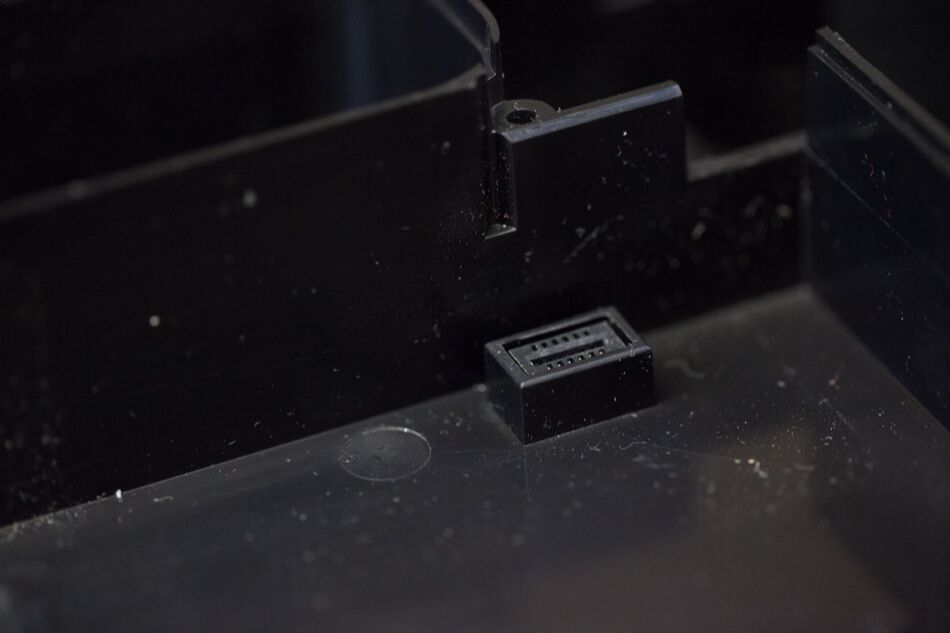
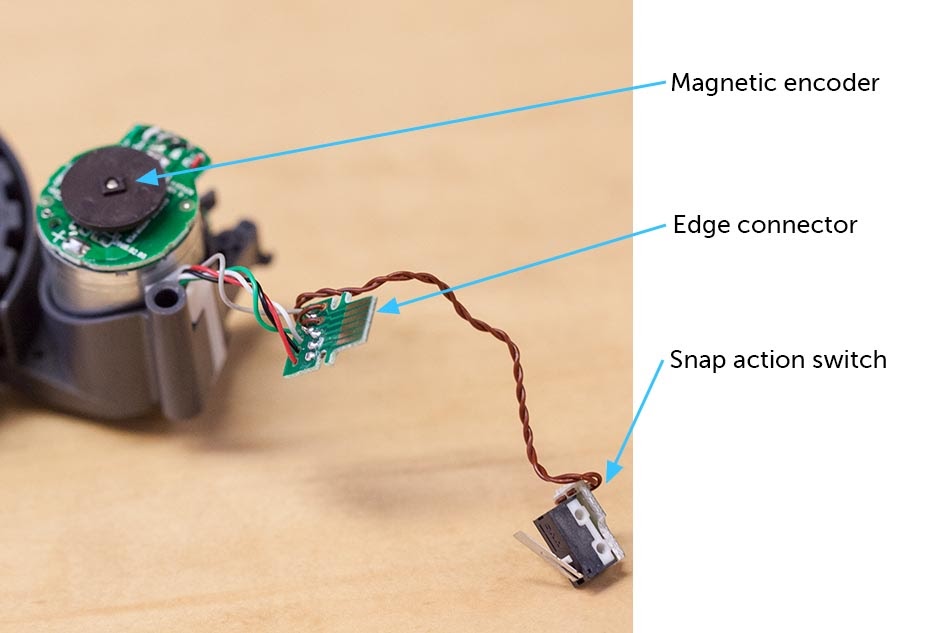
The motor is connected to a small rigid PCB with evenly-placed exposed traces. This is called an edge connector. Edge connectors are money-savers, since the male connector comes for “free” as a part of the PCB. The female connector is a discrete receptacle, soldered onto another PCBA.
These types of connectors are also robust and durable; they slide into the female mating socket easily—yet another thoughtful repairability feature.
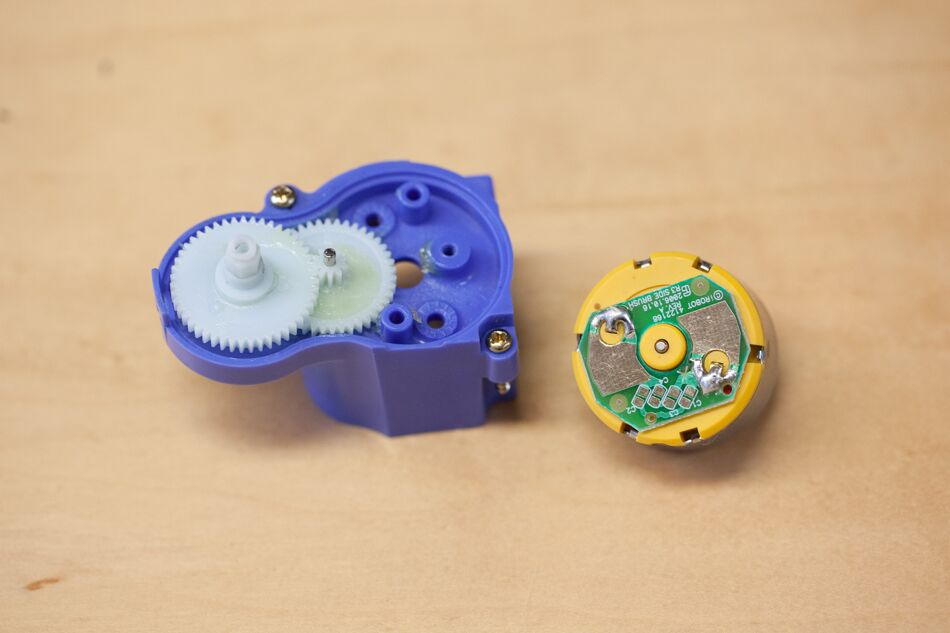
Here’s the gearbox that drives the three-arm edge brush.
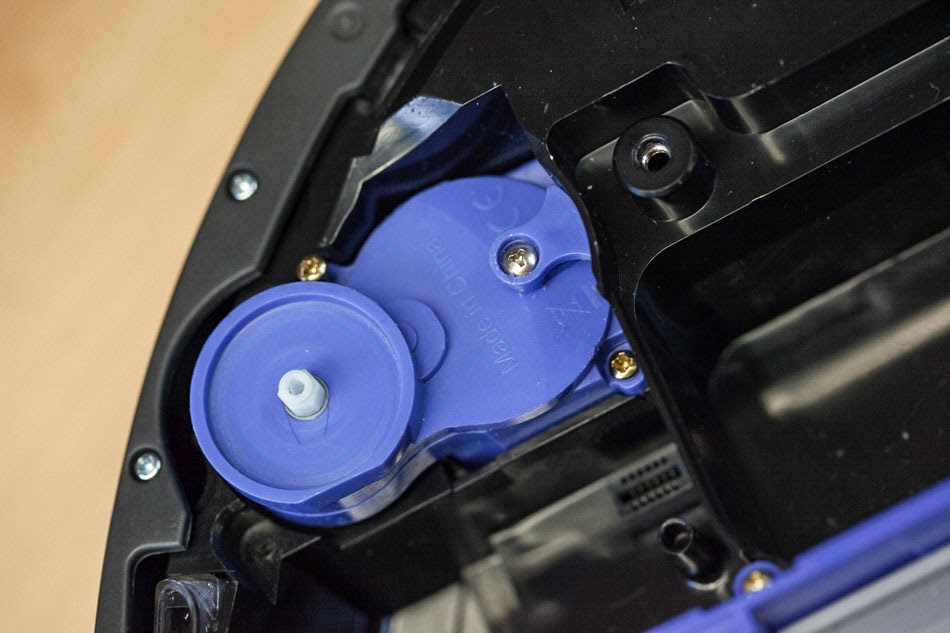
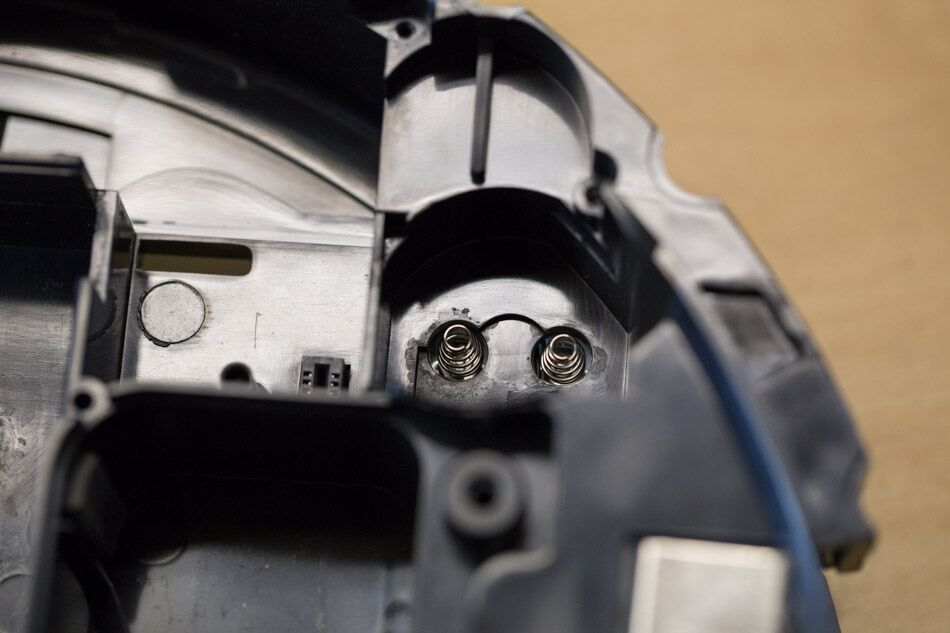
This gearbox connects to the rest of the vacuum electrically, via big contact pads found on a PCB directly soldered onto the motor. Two spring contacts, reminiscent of those found in AA battery holders, poke out of the bottom of the gearbox’s pocket. This makes the gearbox super easy to swap out, another win for repairability!
Next, the wheel modules come off. These are also held in by self-tapping screws that are retained by their narrow shoulders—yes, these are also user-replaceable! You can buy them for $30 on the iRobot website.
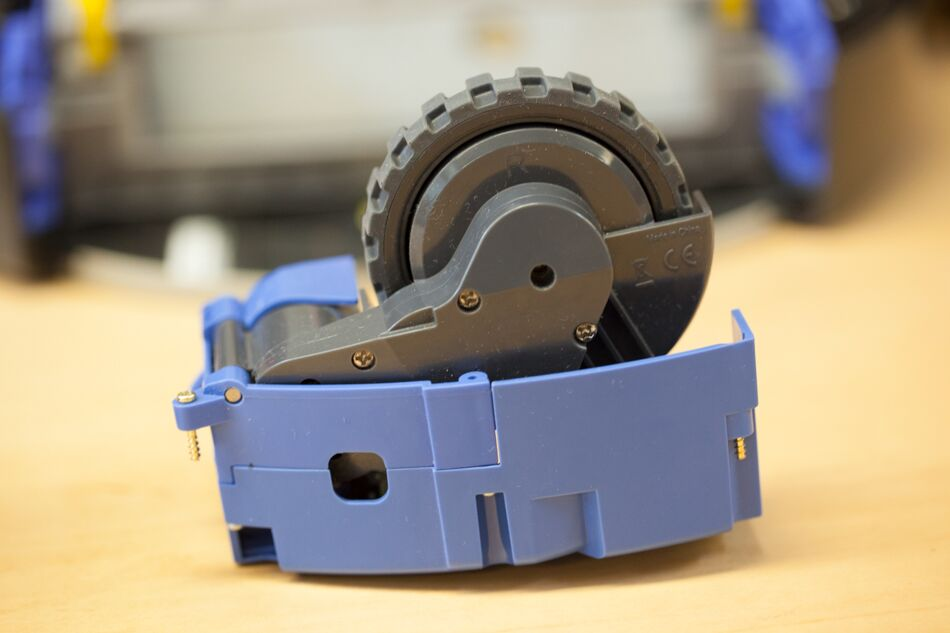
Each wheel module contains a DC brushed motor and a gigantic spring. Since the left and right wheels are each driven by its own motor, I guess you can say the Roomba has All-Wheel Drive, hehe.
The spring is the Roomba’s suspension system, allowing the wheel to move vertically.
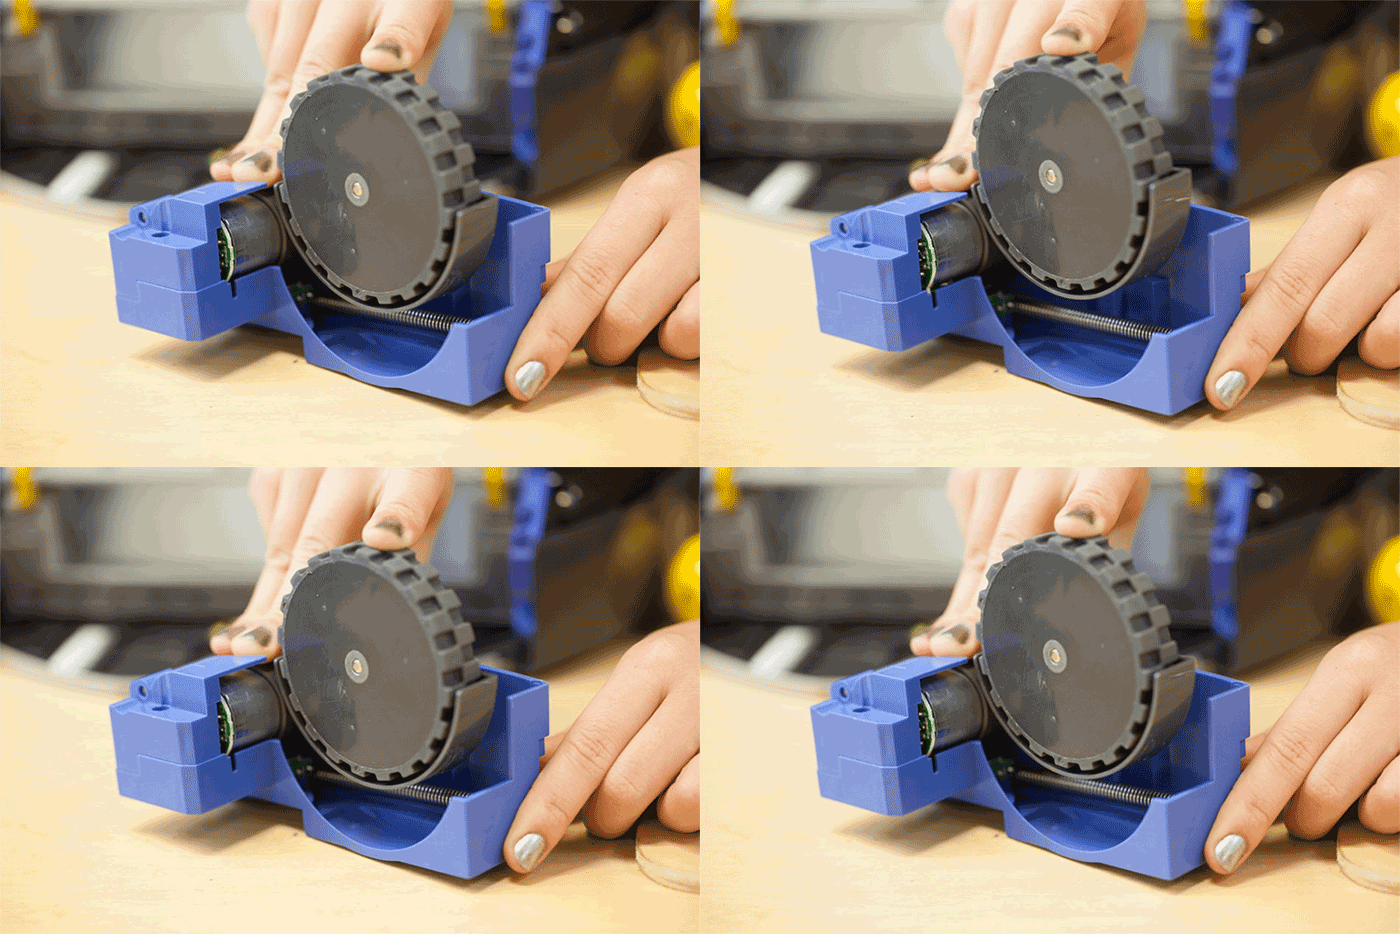
Here’s the wheel gearbox. The input shaft (motor) gets geared down four times! Gearing down decreases the rotation speed of the output shaft (wheel), but amplifies the output torque.
There’s a lot of grease inside the gearbox.
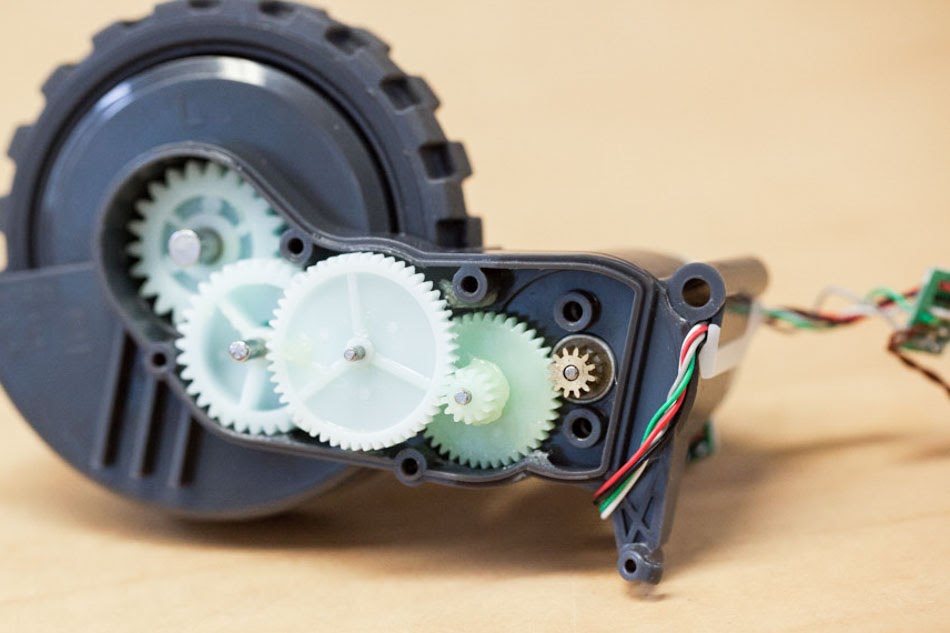
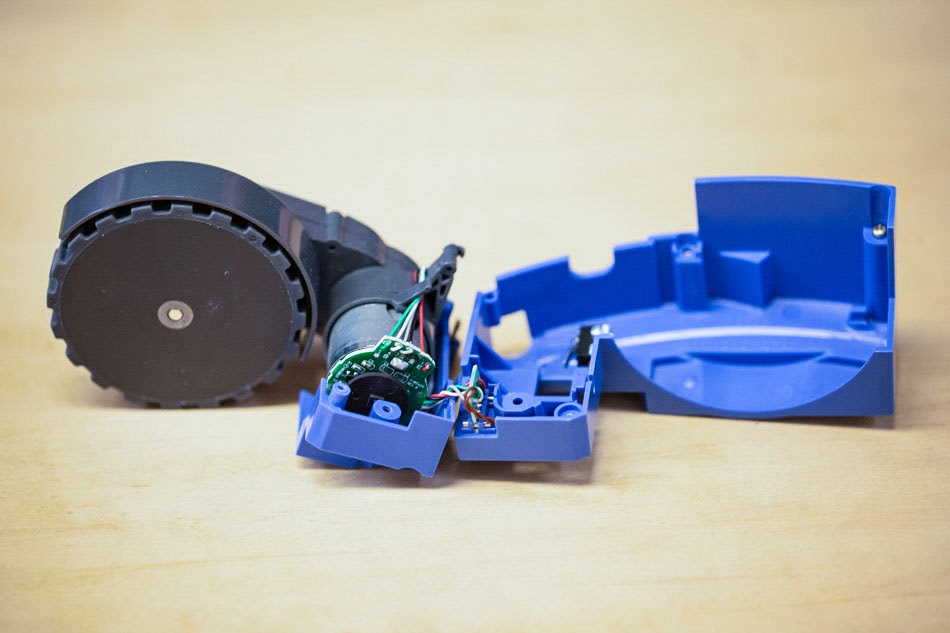
We also find a snap action switch in the wheel module, in addition to a PCB edge connector that we already saw on the brush cage. The snap action switch is normally in the pressed position, but when you step on the Roomba, the wheel moves off the switch. When both snap action switches are “open,” the Roomba knows that you are intentionally abusing it, cuts power to the wheel motors, and complains verbally. Don’t believe me? Get one and try it!
The black disc on the PCBA soldered to the motor is actually a magnetic encoder, also known as a tachometer, when it’s measuring the speed of rotation. This provides feedback for speed control. Older Roombas used to have optical tachometers, but when they got dirty (inevitable, being a vacuum and all), the Roomba would drive around in circles.
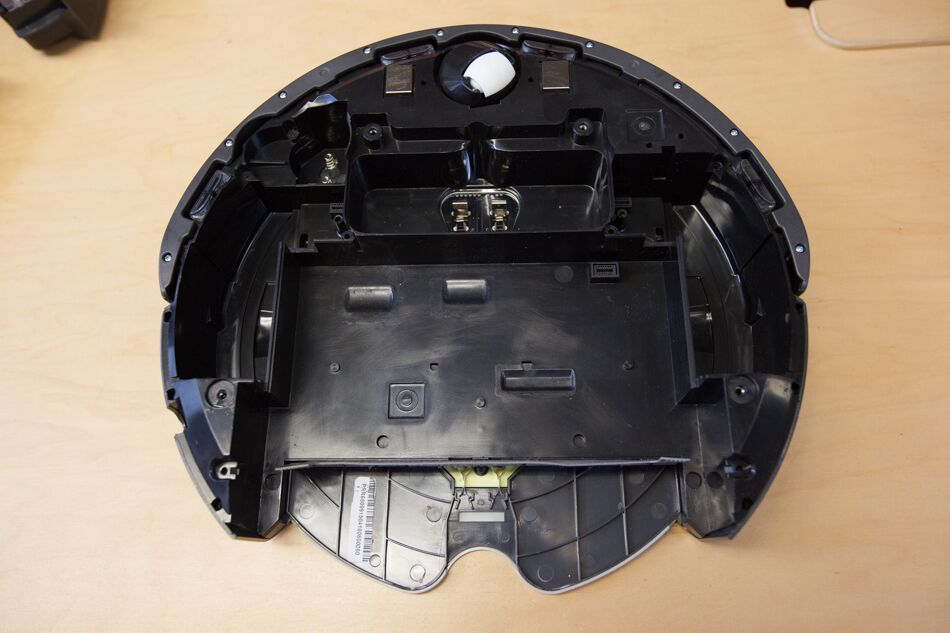
And that’s everything in the “belly” of the Roomba! Look ma, no messy wires! Everything pulled out as a self-contained module. Everything on the underside is meant to be replaceable with iRobot’s blessing, and their online store stocks all of these modules.
Stay tuned for Part 2 of the Roomba teardown where we’ll look at the navigation sensors. Then to round off The Great Robotic Vacuum Showdown, we’re going to compare the Roomba to one of its biggest competitors… can you guess?
Subscribe below to get the series in your inbox!


