Article contents
▸
Article
Tessa Axsom
09.30.2021 Manufacturing Processes
What do you do when you feel like you’re ready to move on from prototyping, but not quite ready to make production quantities of your parts? Sounds like you need a way to bridge the gap! Bridge production is your answer – using manufacturing processes that are suitable for low volumes but can give you fast, production quality results. After you’ve got your 3D printed or CNC machined plastic prototypes, you can move into urethane casting and then rapid design tooling to scale up from prototype to production.
What is bridge production? Bridge production is a way to help you scale up your process from making a few prototypes to making a few more production quality parts. You may not be ready for production quantities yet, but you do need end use parts, and you need them quickly. This is common for injection molding, where hardened steel tooling is not always practical or cost effective for low volume production.
Bridge production is useful when you need production quality material and functionality, so that you can validate the design and material and conduct field tests. Bridge production processes are also suitable when you’re still making design changes, or are making production parts that require customization. Urethane casting provides all of these advantages, which makes it a good method to scale up from 3D printing to injection molding.
Before you start to increase production, you need to prototype first. 3D printing is a common prototyping technique – FDM (fused deposition modeling) can be useful for basic shape and design validation. You can take it beyond the basics and achieve better surface finish and tighter tolerances with SLS (selective laser sintering) and SLA (stereolithography) for functional testing.
SLS uses nylon, which is tough and stable for functional prototypes, and SLA has a wide range of materials for looks-like and feels-like models as well as field testing. The surface finish and crisp detail differentiate this method from other types of 3D printing.
Now we get into a common bridge production method that is useful for scaling your process – urethane casting. Urethane casting can be used during many stages, from early prototyping to late prototyping to low volume production.
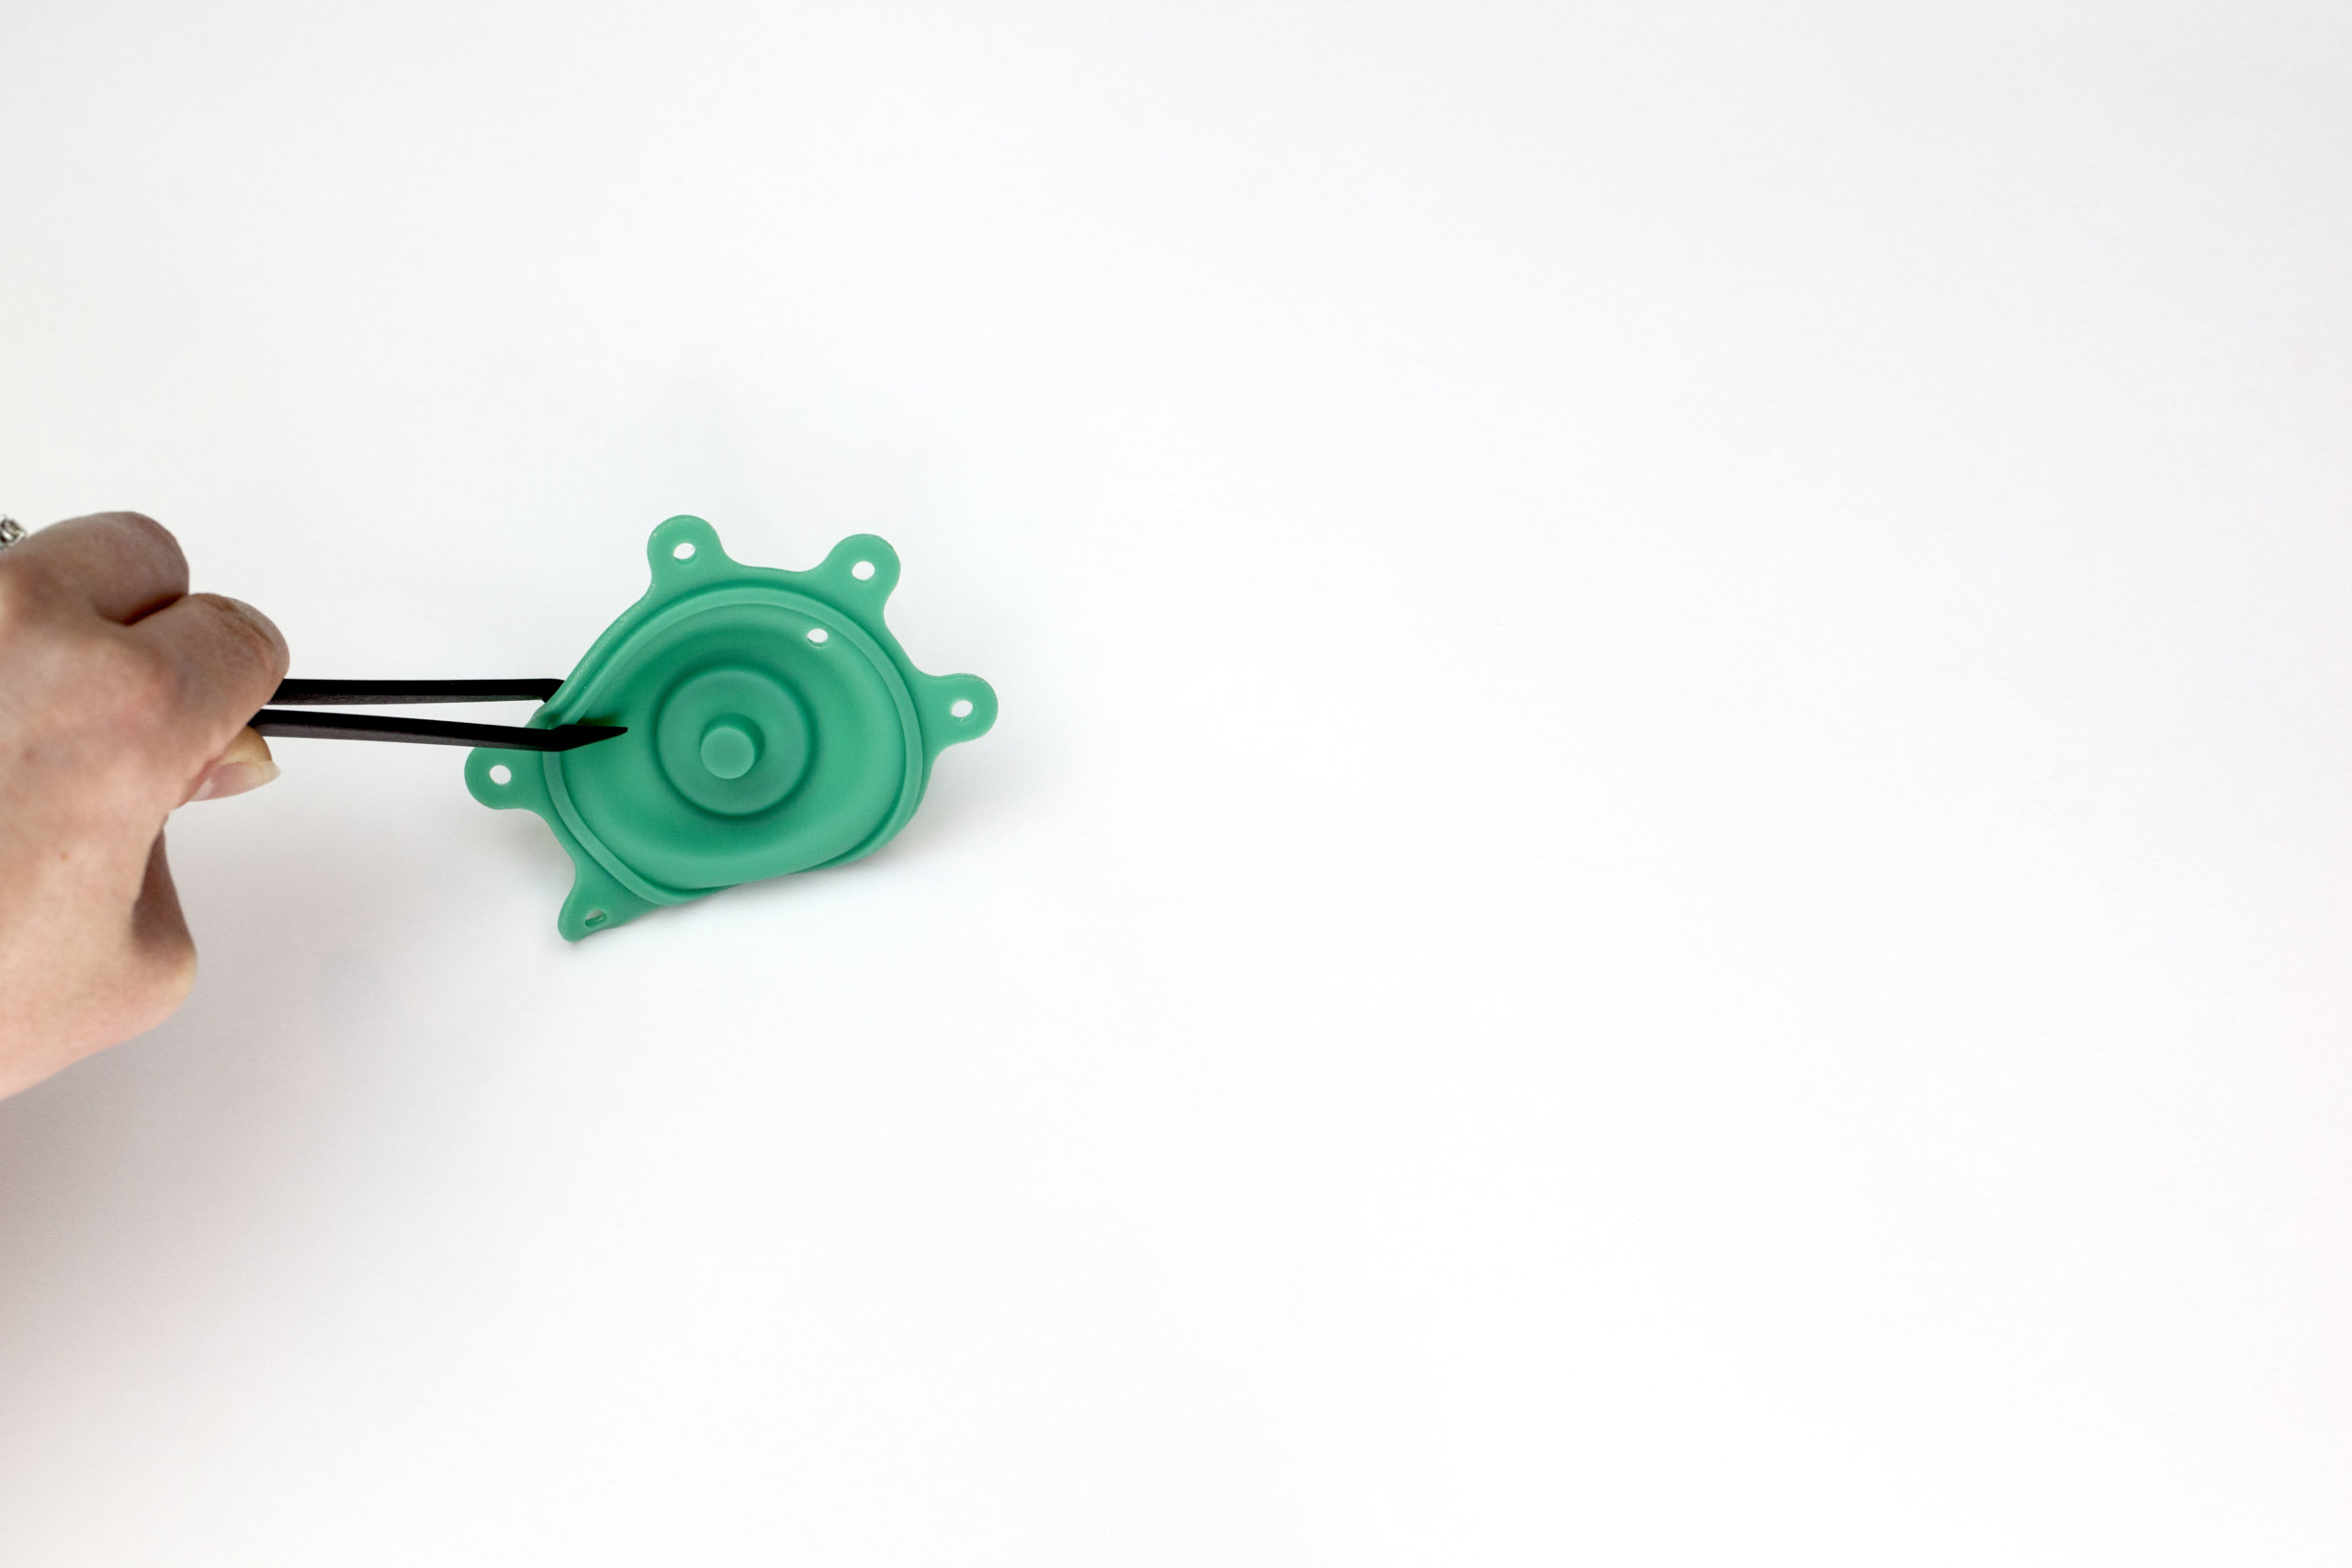
Urethane casting is useful for creating looks-like models for marketing images, pitches, and internal proof of concepts. It allows for complex geometries like small undercuts and complex elastomeric parts like gaskets. There are a wide range of materials available and the tooling is low cost with a quick lead time. This low cost, rapid turnaround time allows you to easily and quickly make molds while the design evolves.
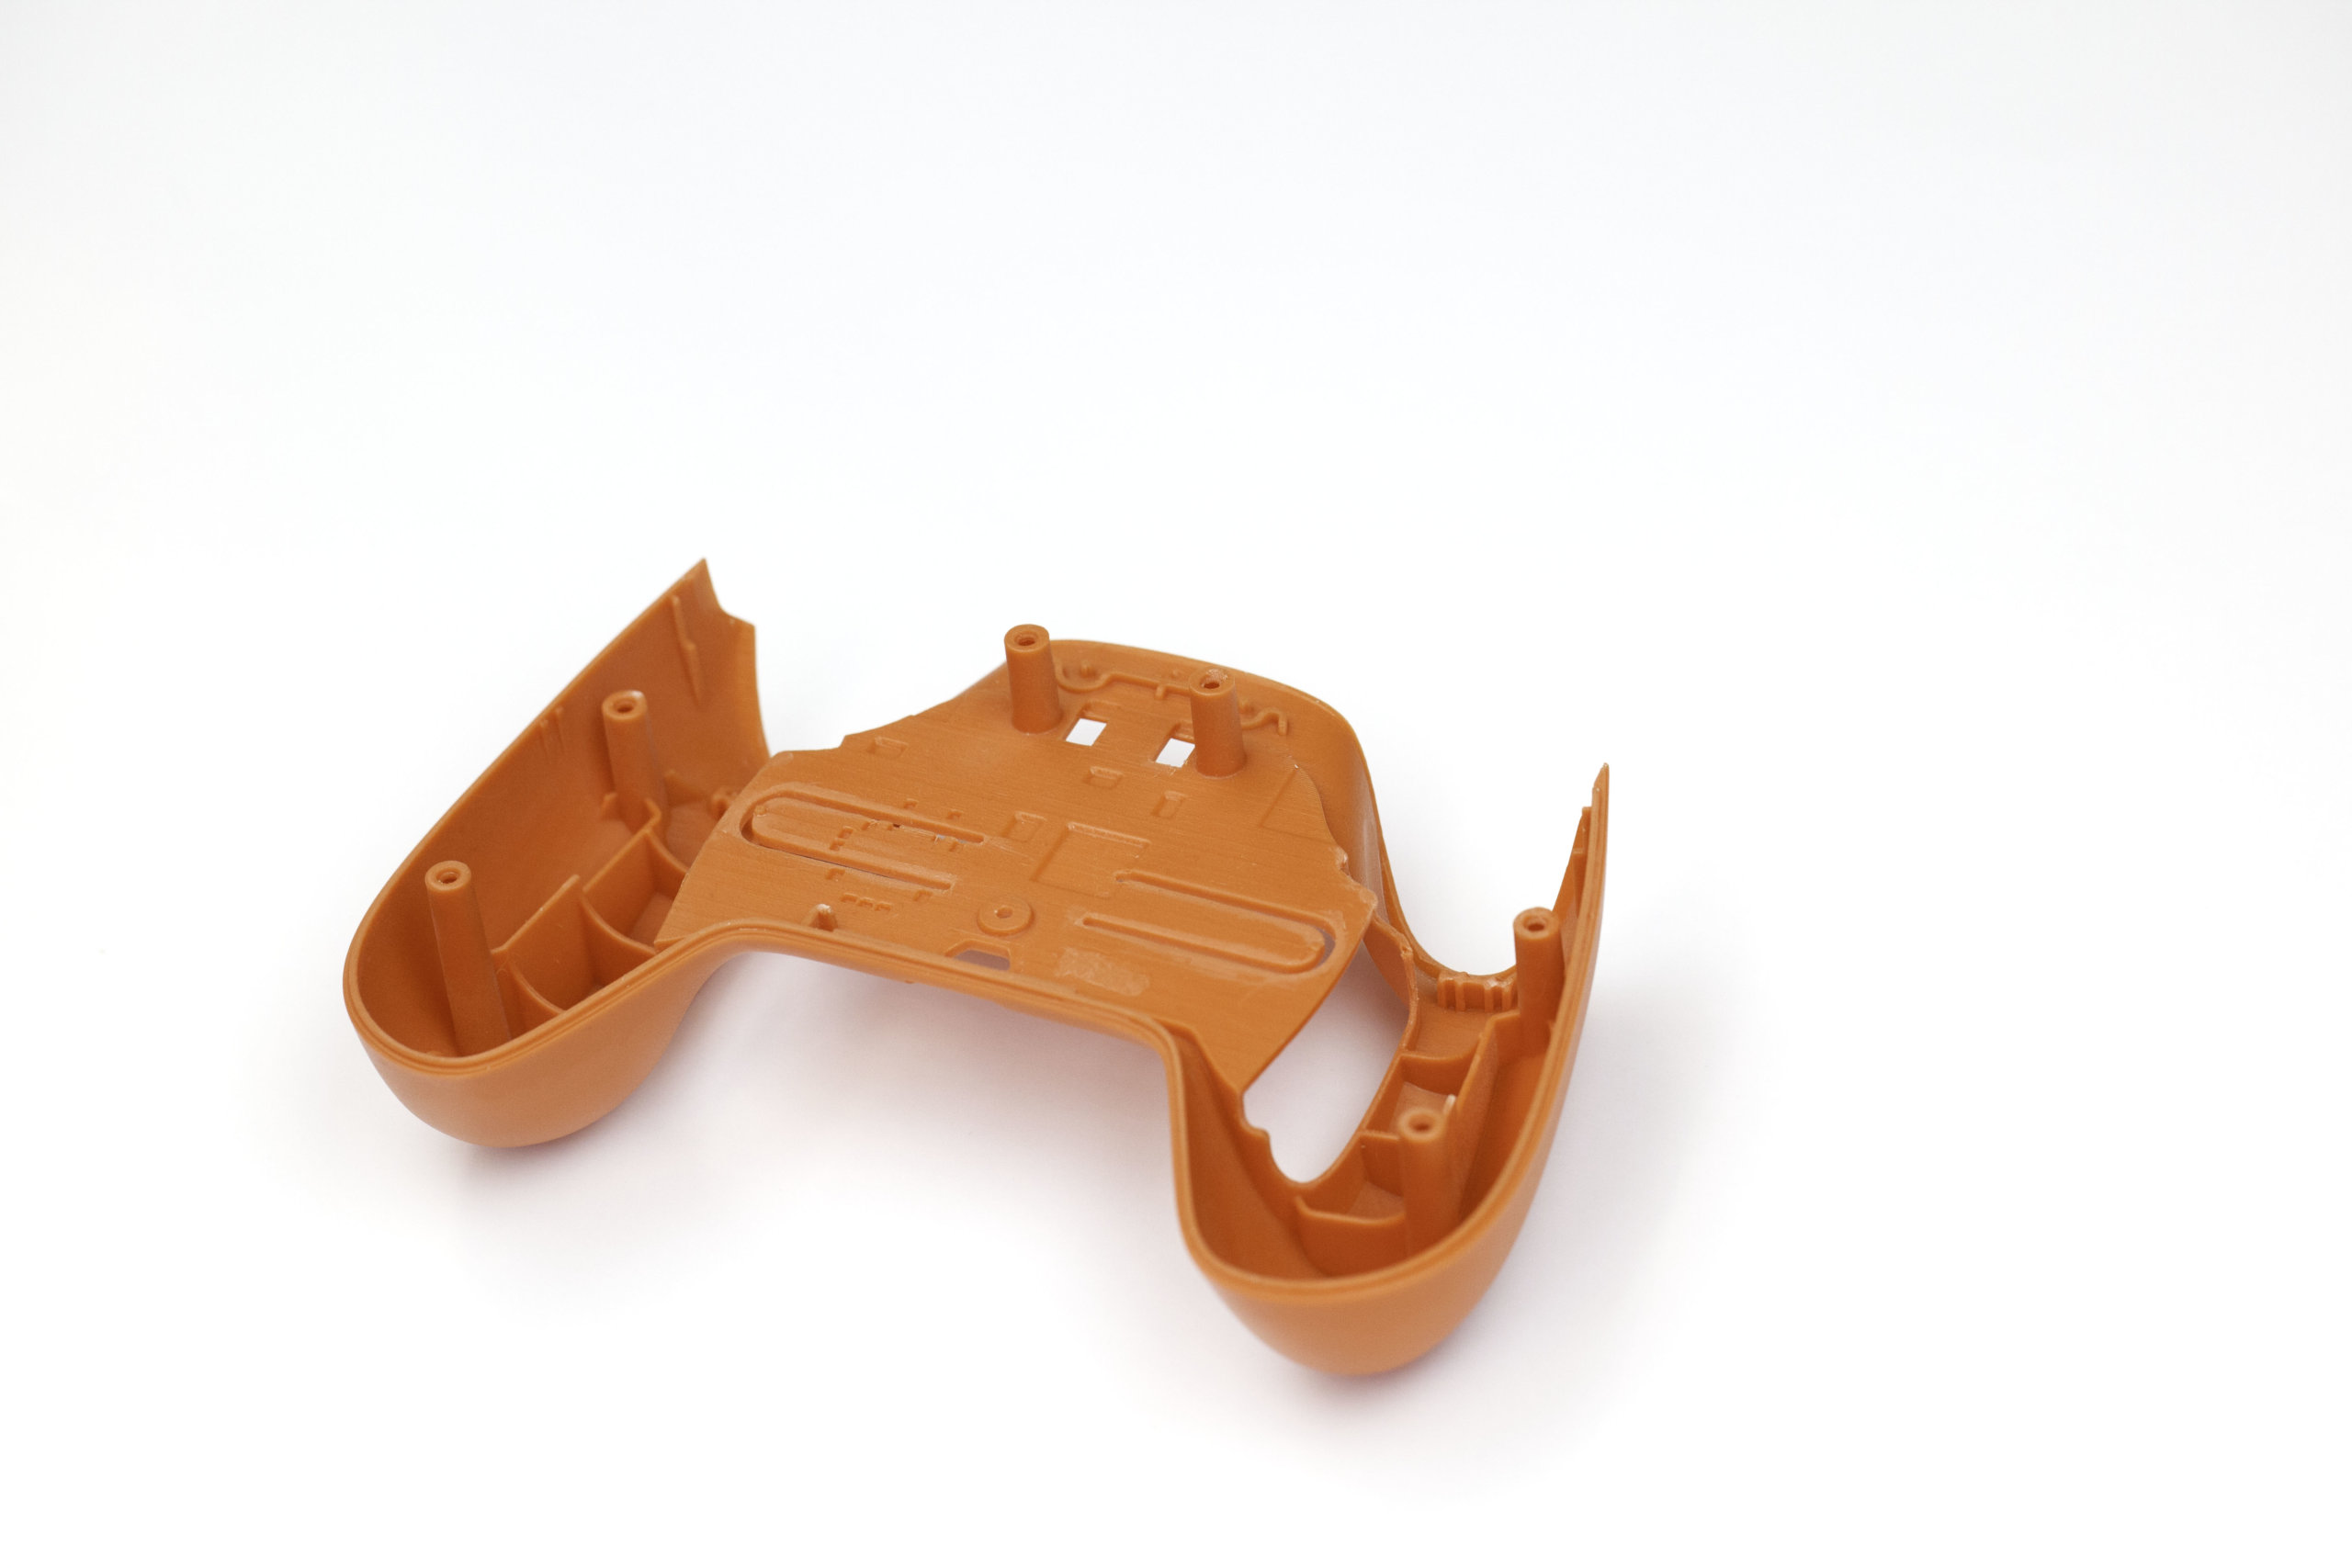
Due to the aforementioned advantages of urethane casting, it can also be used for later stage prototypes and low volume production. You can test the production process before actually investing in hard tooling. Each mold can be used multiple times, which lets you produce parts faster than 3D printing or CNC machining.
In order to create urethane cast parts, you’ll need to start with a master, which is just the design of the final part. This master part can be made using 3D printing or CNC machining. 3D printing has the benefits of being faster and less expensive, and can create complex geometries that are more difficult with CNC machining. However, 3D printed parts often have lower durability, and may wear after a few uses.
CNC machining creates a more rigid master that can be used indefinitely. Machining can also produce a finer surface finish, which is important because the silicone that is used for the mold will pick up tiny details, including the ridges on the surface of a 3D printed part. A CNC machined part can also have different surface finishes or textures applied to it, which will then change the surface finish of the mold and therefore the finished product.
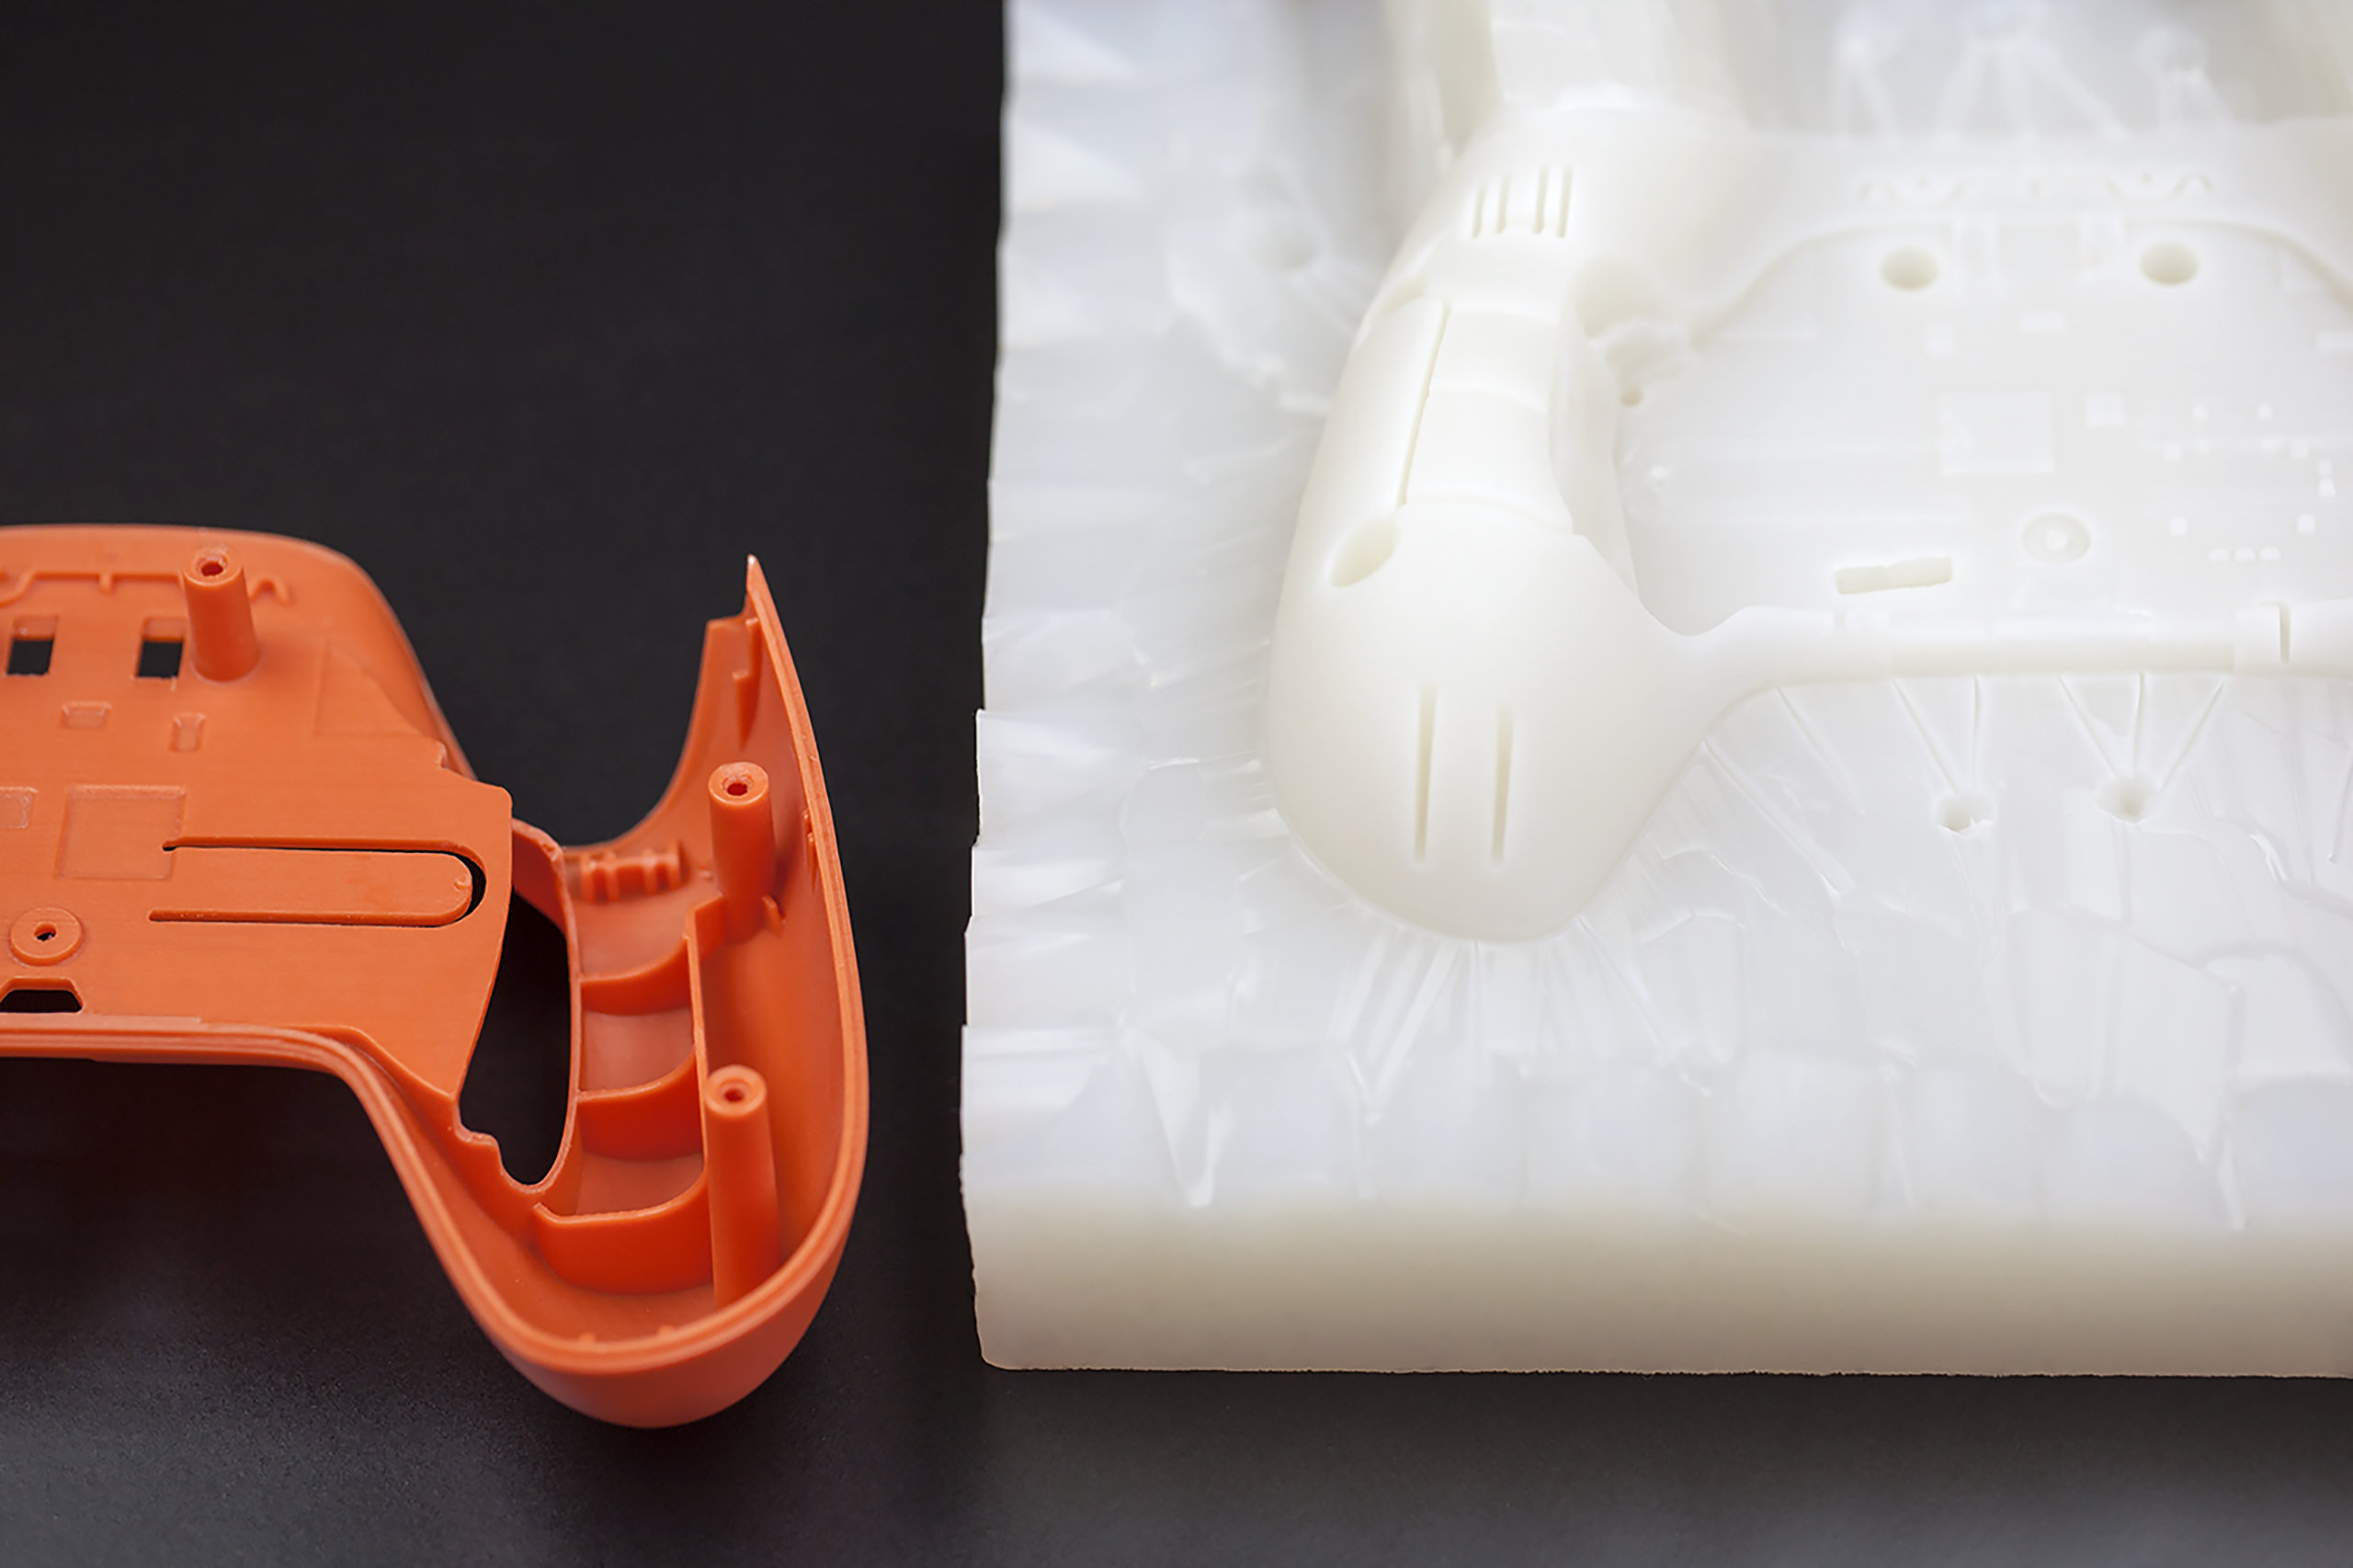
Once you have the master, you cover it with silicone and let it cure. This process is called RTV (room temperature vulcanization) molding and is how you create the mold for urethane casting. The silicone starts out as a liquid and cures to the solid but flexible mold, which you then cut open to remove the master.
Next, you’ll need to add an inlet for pouring in the liquid resin, and an outlet for allowing air to escape. The inlet and outlet can also be added earlier in the process, when you first pour the silicone. After pouring in the resin, it cures to the same shape as the master part, only it’s made of a different material and in a quicker and more repeatable way. Once you have the mold, the casting process takes just a couple hours, which is faster than a 3D printing job. And with multiple molds, multiple parts can be made at once. The molds will also ensure the repeatability, versus variation in the 3D printing process.
A wide variety of resin materials are available. They can range from rigid to elastomeric and opaque to clear. You can also color match with Pantone colors, so the customization options are just about endless.
As you move into bridge production to scale up your process, it is important to consider the design constraints of both the bridge production process and the final production process. Urethane casting is commonly used to scale up to injection molding, so those are the processes that we will focus on here.
Many design principles for injection molding also apply to urethane casting because they are both molding processes. To promote proper flow of material into the mold, certain geometries are important to pay attention to.
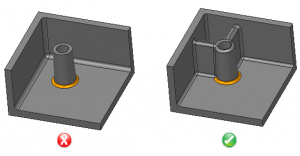
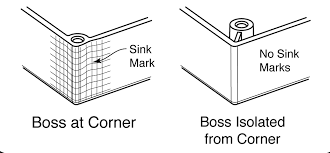
When designing your part, make sure you have a uniform wall thickness throughout. Avoid thick bosses, as these thick areas will be prone to sink. Instead, you can have a smaller boss that is attached to the walls of the part using ribs.
Source: dfmpro.com
Speaking of ribs, you want to make sure that the rib thickness is also uniform, and a good rule of thumb is to keep the rib thickness less than 60% of the wall thickness. Fillets are another important feature to include in order to avoid sharp corners which are prone to stress concentrations. Fillets should have a radius of greater than 3 mm and you should avoid 90 degree walls where possible.
If you’re designing parts to go into an assembly, take into account the tolerances of the parts and process, and leave gaps to make sure things fit. You can use a tolerance analysis to make sure you’re leaving the right amount of room in between parts.
The amount of tolerance depends on the process; certain processes allow tighter tolerances than others. For urethane casting, you should design your parts with +/- 0.25mm (0.010in) or +/- 0.5% of the master dimensions, whichever is greater. The 0.25mm tolerance is the minimum for urethane casting, and that will only increase as your part gets larger.
Draft is another important design consideration if you’re preparing for injection molding. Urethane casting molds are flexible, so you can manipulate the mold to remove the part. However, injection molding tools are rigid, so draft is necessary to get the part out. Therefore, even when urethane casting, you should design in at least 0.5 degrees of draft to ensure that your final design will work when it comes time to injection mold. And parts with texture added will require even more draft.
It is important to note that polyurethane — the most commonly used material for urethane casting — has a high coefficient of thermal expansion. This means that the dimensions will change significantly if the part is subjected to extreme temperatures. Keep this in mind if the parts will be used in hot or cold conditions, because this will affect the tolerances and the dimensions will change with the temperature.
Heeding these design considerations will help you avoid issues that you’d otherwise encounter with urethane casting. For example, if you have parts thicker than 4 mm or walls that aren’t a uniform thickness throughout, you’re likely to end up with sink marks and damage the part’s appearance.
Urethane casting molds can be reused multiple times, but they will eventually wear out. Their durability is reduced by humidity, subsequent uses, and rough handling or stress when the part is removed. In the best case scenario, a mold can be reused about 20 times. Past that, the surface finish will degrade and may develop cracks. The material of the mold will wear out in general, resulting in poor tolerance capabilities for your parts.
Finally, because the mold is so sensitive to the surface finish, it will always depend on the surface finish of the master. Any defects or imperfections from a 3D printed part WILL become a permanent part of the mold, so make sure you’re happy with what you’ve got. This is one reason CNC machining can be a good method for creating the master — it provides much more control over the surface finish.
Even if your casting process goes perfectly, eventually you’ll want to start producing larger quantities of parts. That’s the whole point of using urethane casting to scale up! Urethane casting can help prove out an injection molding design, but you still need to prove out the final injection molding production method. Rapid design molding is a great method to make the transition.
Rapid design molding uses a soft or semi-hard steel material for tooling, rather than hardened steel. This makes the resulting molds suitable for up to 10k units – a useful quantity because it provides enough units to test out functionality and catch any last issues as you continue to scale and ramp up into true production quantities. With rapid design molding you can get T1 sample parts in as fast as 10 days, and it’ll give you confidence that you’re ready for full production tooling and mass quantities.
Scaling up from prototyping just a few units to producing thousands or even millions of parts can be daunting. However, there are multiple manufacturing processes to help you! After you’ve learned what you can from 3D printing, urethane casting can quickly create more parts that are suitable for functional testing. Then, when you’re ready to scale up even further, rapid design molds can help you transition into injection molding without locking you into hundreds of thousands of parts or months of tool making.
Whether you’re still in the prototyping stage or interested in scaling up your own process, Fictiv can help you with 3D printing, urethane casting, or injection molding (T1 parts in 10 days, no minimum quantities!). Create an account and upload a part to see what we can do for you!
By signing up, you agree to our Terms of Use and Privacy Policy. We may use the info you submit to contact you and use data from third parties to personalize your experience.
