Time to read: 6 min
Pressure testing, or leak testing, CNC machined, cast parts is a common functional test performed on parts and assemblies for the automotive, aerospace and medical industries. Read on to learn our best tips for pressure testing, including how it works, when to pressure test, pressure testing specifications and pressure testing methods.
What is Pressure Testing?
Pressure testing is performed by sealing the test specimen (typically attaching a hose to the inlet and sealing the outlet) and supplying a pressurized fluid (at a set mass flow rate) which fills the test specimen’s internal cavities. The pressure from the fluid acts on the inside cavity’s walls and stresses the material. This is a non-destructive test that is primarily utilized on cast parts.
Casting is a manufacturing process whereby molten metal is poured into a mold cavity, cooled and extracted from the mold. It may sound straightforward, but casting is a relatively complex process and cast parts, as well as cast parts with subsequent manufacturing processes such as welding, or CNC machining must undergo a series of quality assurance tests before they are utilized or released to the customer. Castings are susceptible to several potential defects that can be classified as surface, inclusion, molding, cooling, or pouring defects. Pressure testing tends to expose issues in the molding and pouring or cooling defect categories.
Some Types of Casting Defects Detected with Pressure Testing:
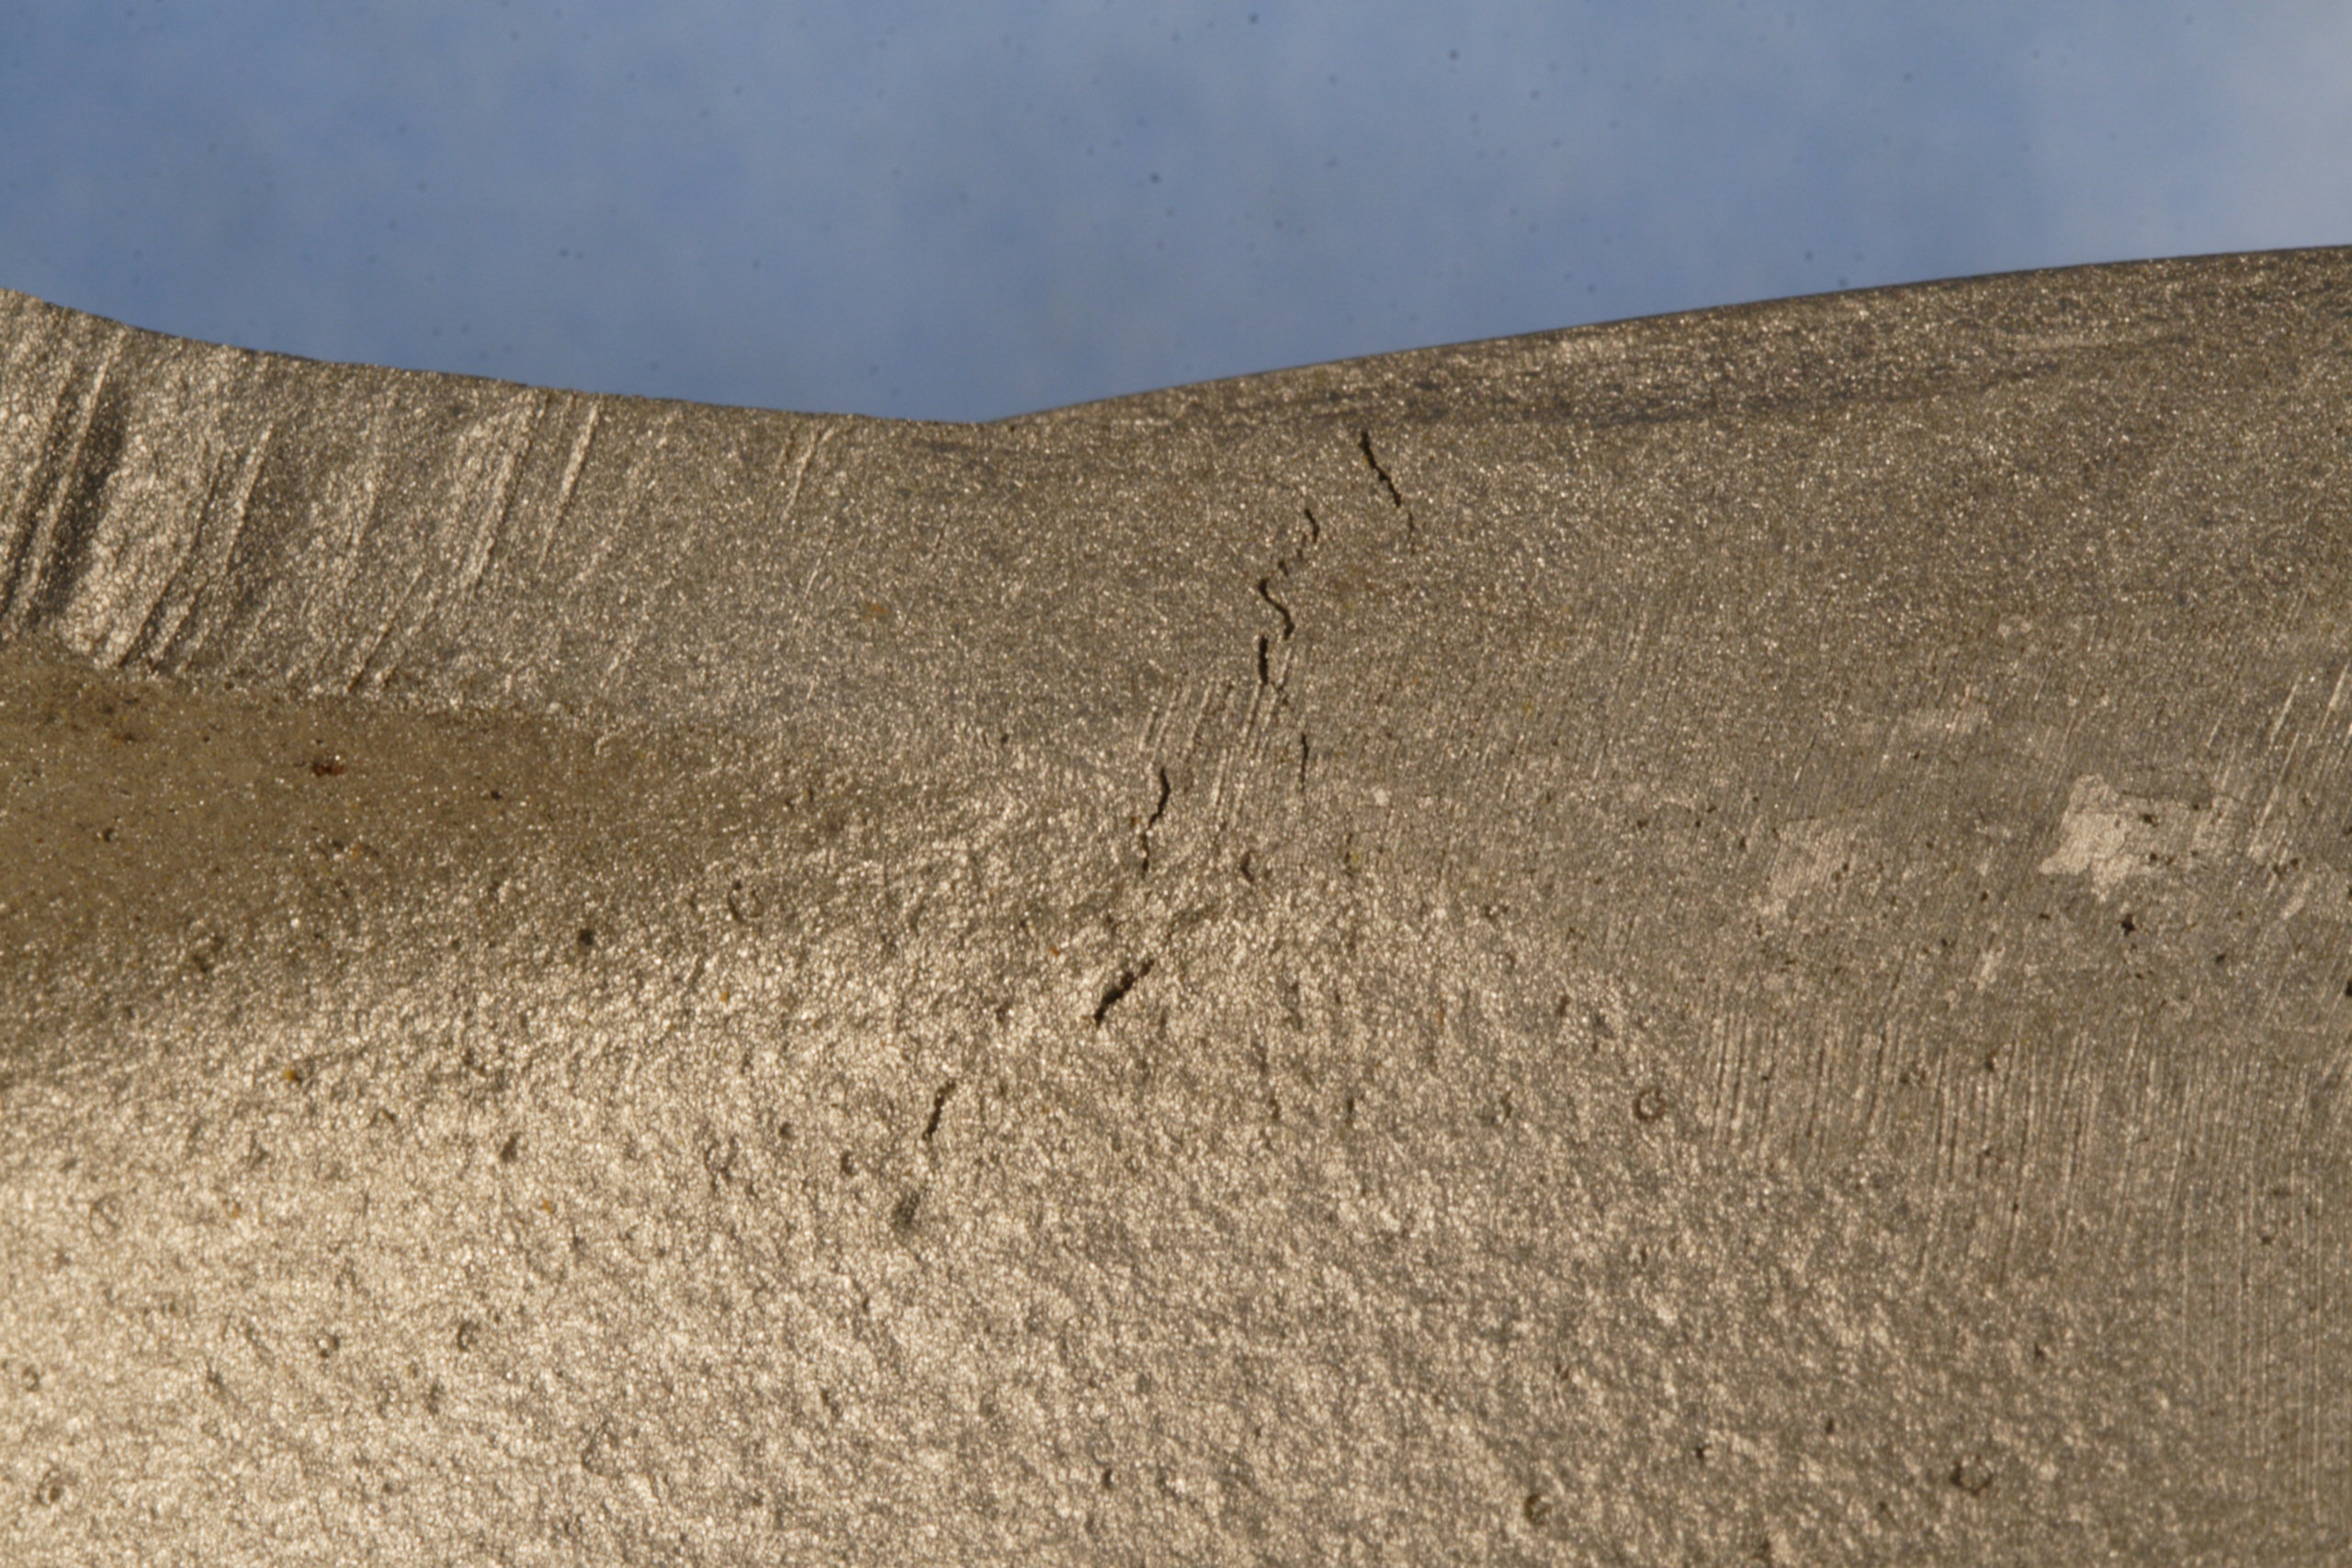
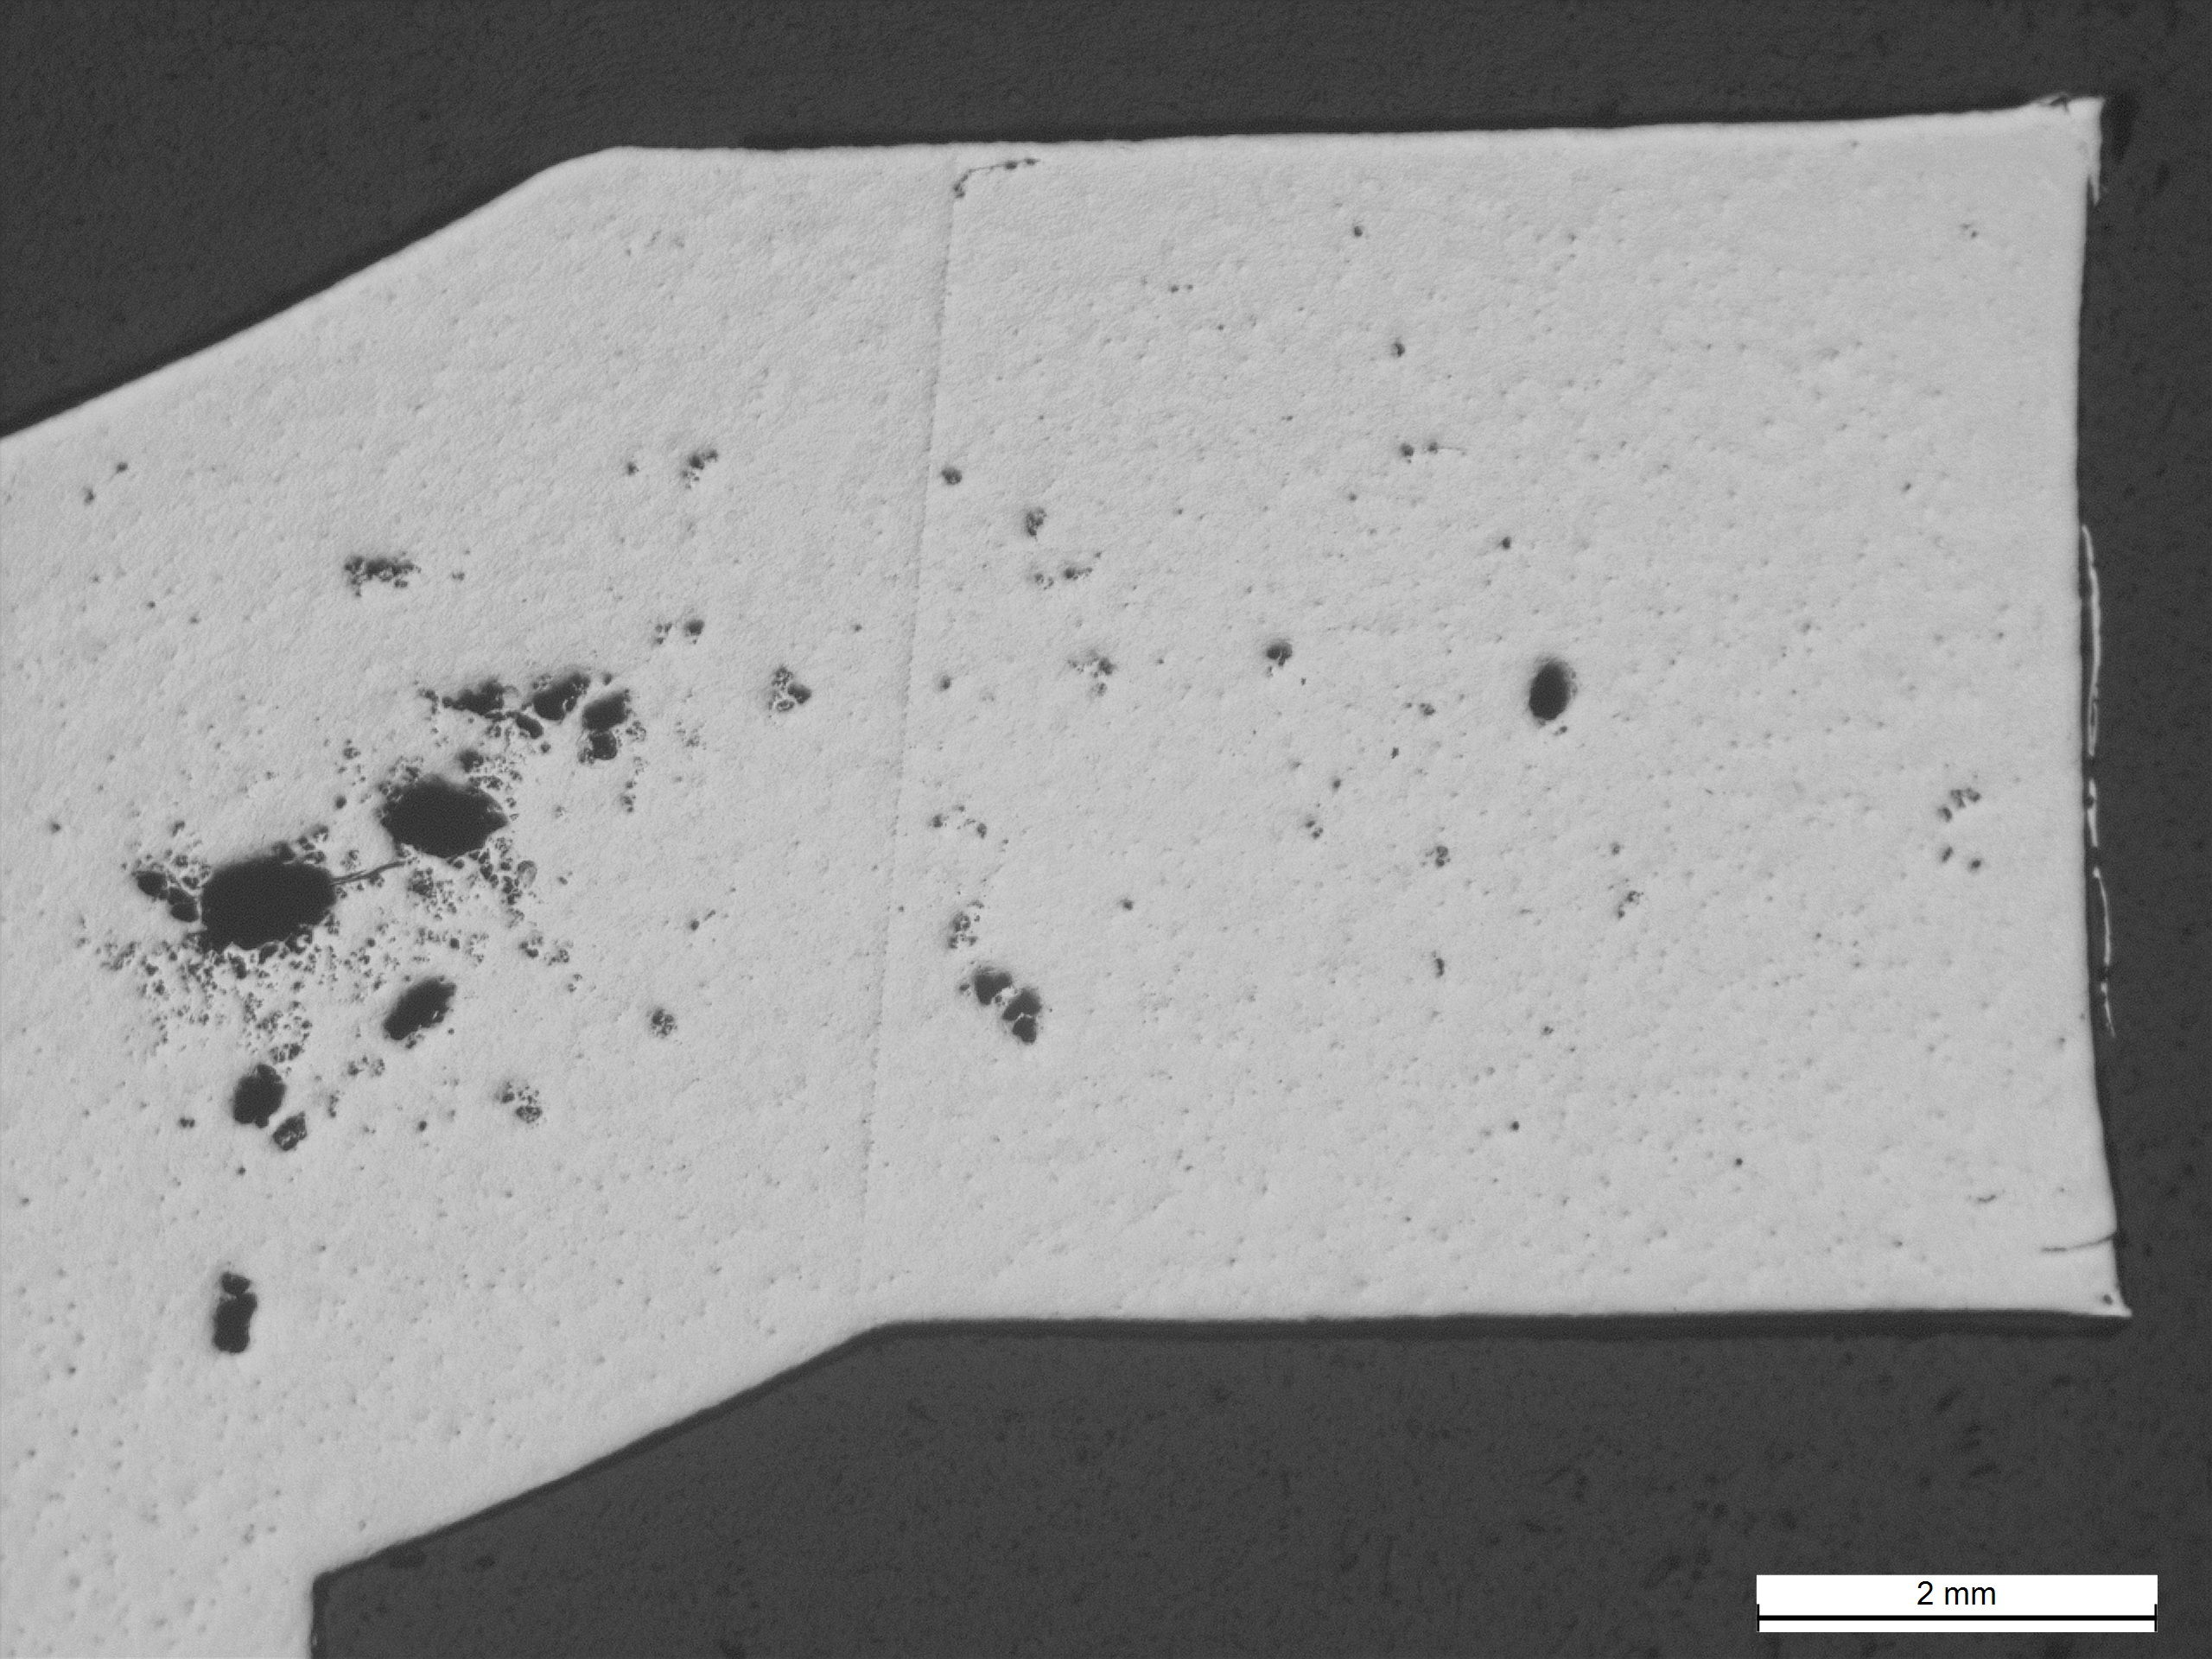
- Pinholes and blowholes: Due to gas entrapment leaving voids and/or bubbles as it cools; tends to leave voids at the top of the mold or exterior of the part as gas tries to escape.
- Shrinkage porosity: Caused by a lack of molten metal volume in the mold; results in small holes in the casting that are typically not as smooth as pinholes or blowholes.
- Shrinkage cavities: A larger section of shrinkage porosity that may result in significant structural issues; typically propagates from the inside of a casting to the outside as castings cool from the outside in.
- Hot tears or cracks: Defects due to rapid cooling; like shrinkage cavities but they are less jagged; cause mechanical performance issues.
When Do You Pressure Test?
The first place one should look for pressure testing requirements is in the customer requirements or specifications. Typically, a purchase order or Request for Quote (RFQ) will contain all the required function testing a component or assembly must pass before it passes all quality assurance requirements. With that said, there are instances where a part or assembly should be pressure tested:
- When a hermetic seal is required, or the system is hydraulic.
- When a part or assembly is safety critical.
- When a part or assembly has an internal cavity to hold or allow for the transfer of a fluid.
- When a part or assembly experiences high pressures.
- When a component or assembly has been subjected to post-casting CNC machining or welding which may have exposed sub-surface defects.
Types of Pressure Testing
There are several different pressure tests which may be specified for new product introduction (NPI) or production quality assurance testing. Types of pressure testing may be classified based on the purpose of the test and test methodology. Purpose of the test can include pressure range, leak, proof and burst testing. Test methodology may include a number of different test fluids, and can typically be classified by pneumatic (air/nitrogen/gas as test fluid) or hydrostatic (water as test fluid).
Pressure Range or Leak Testing
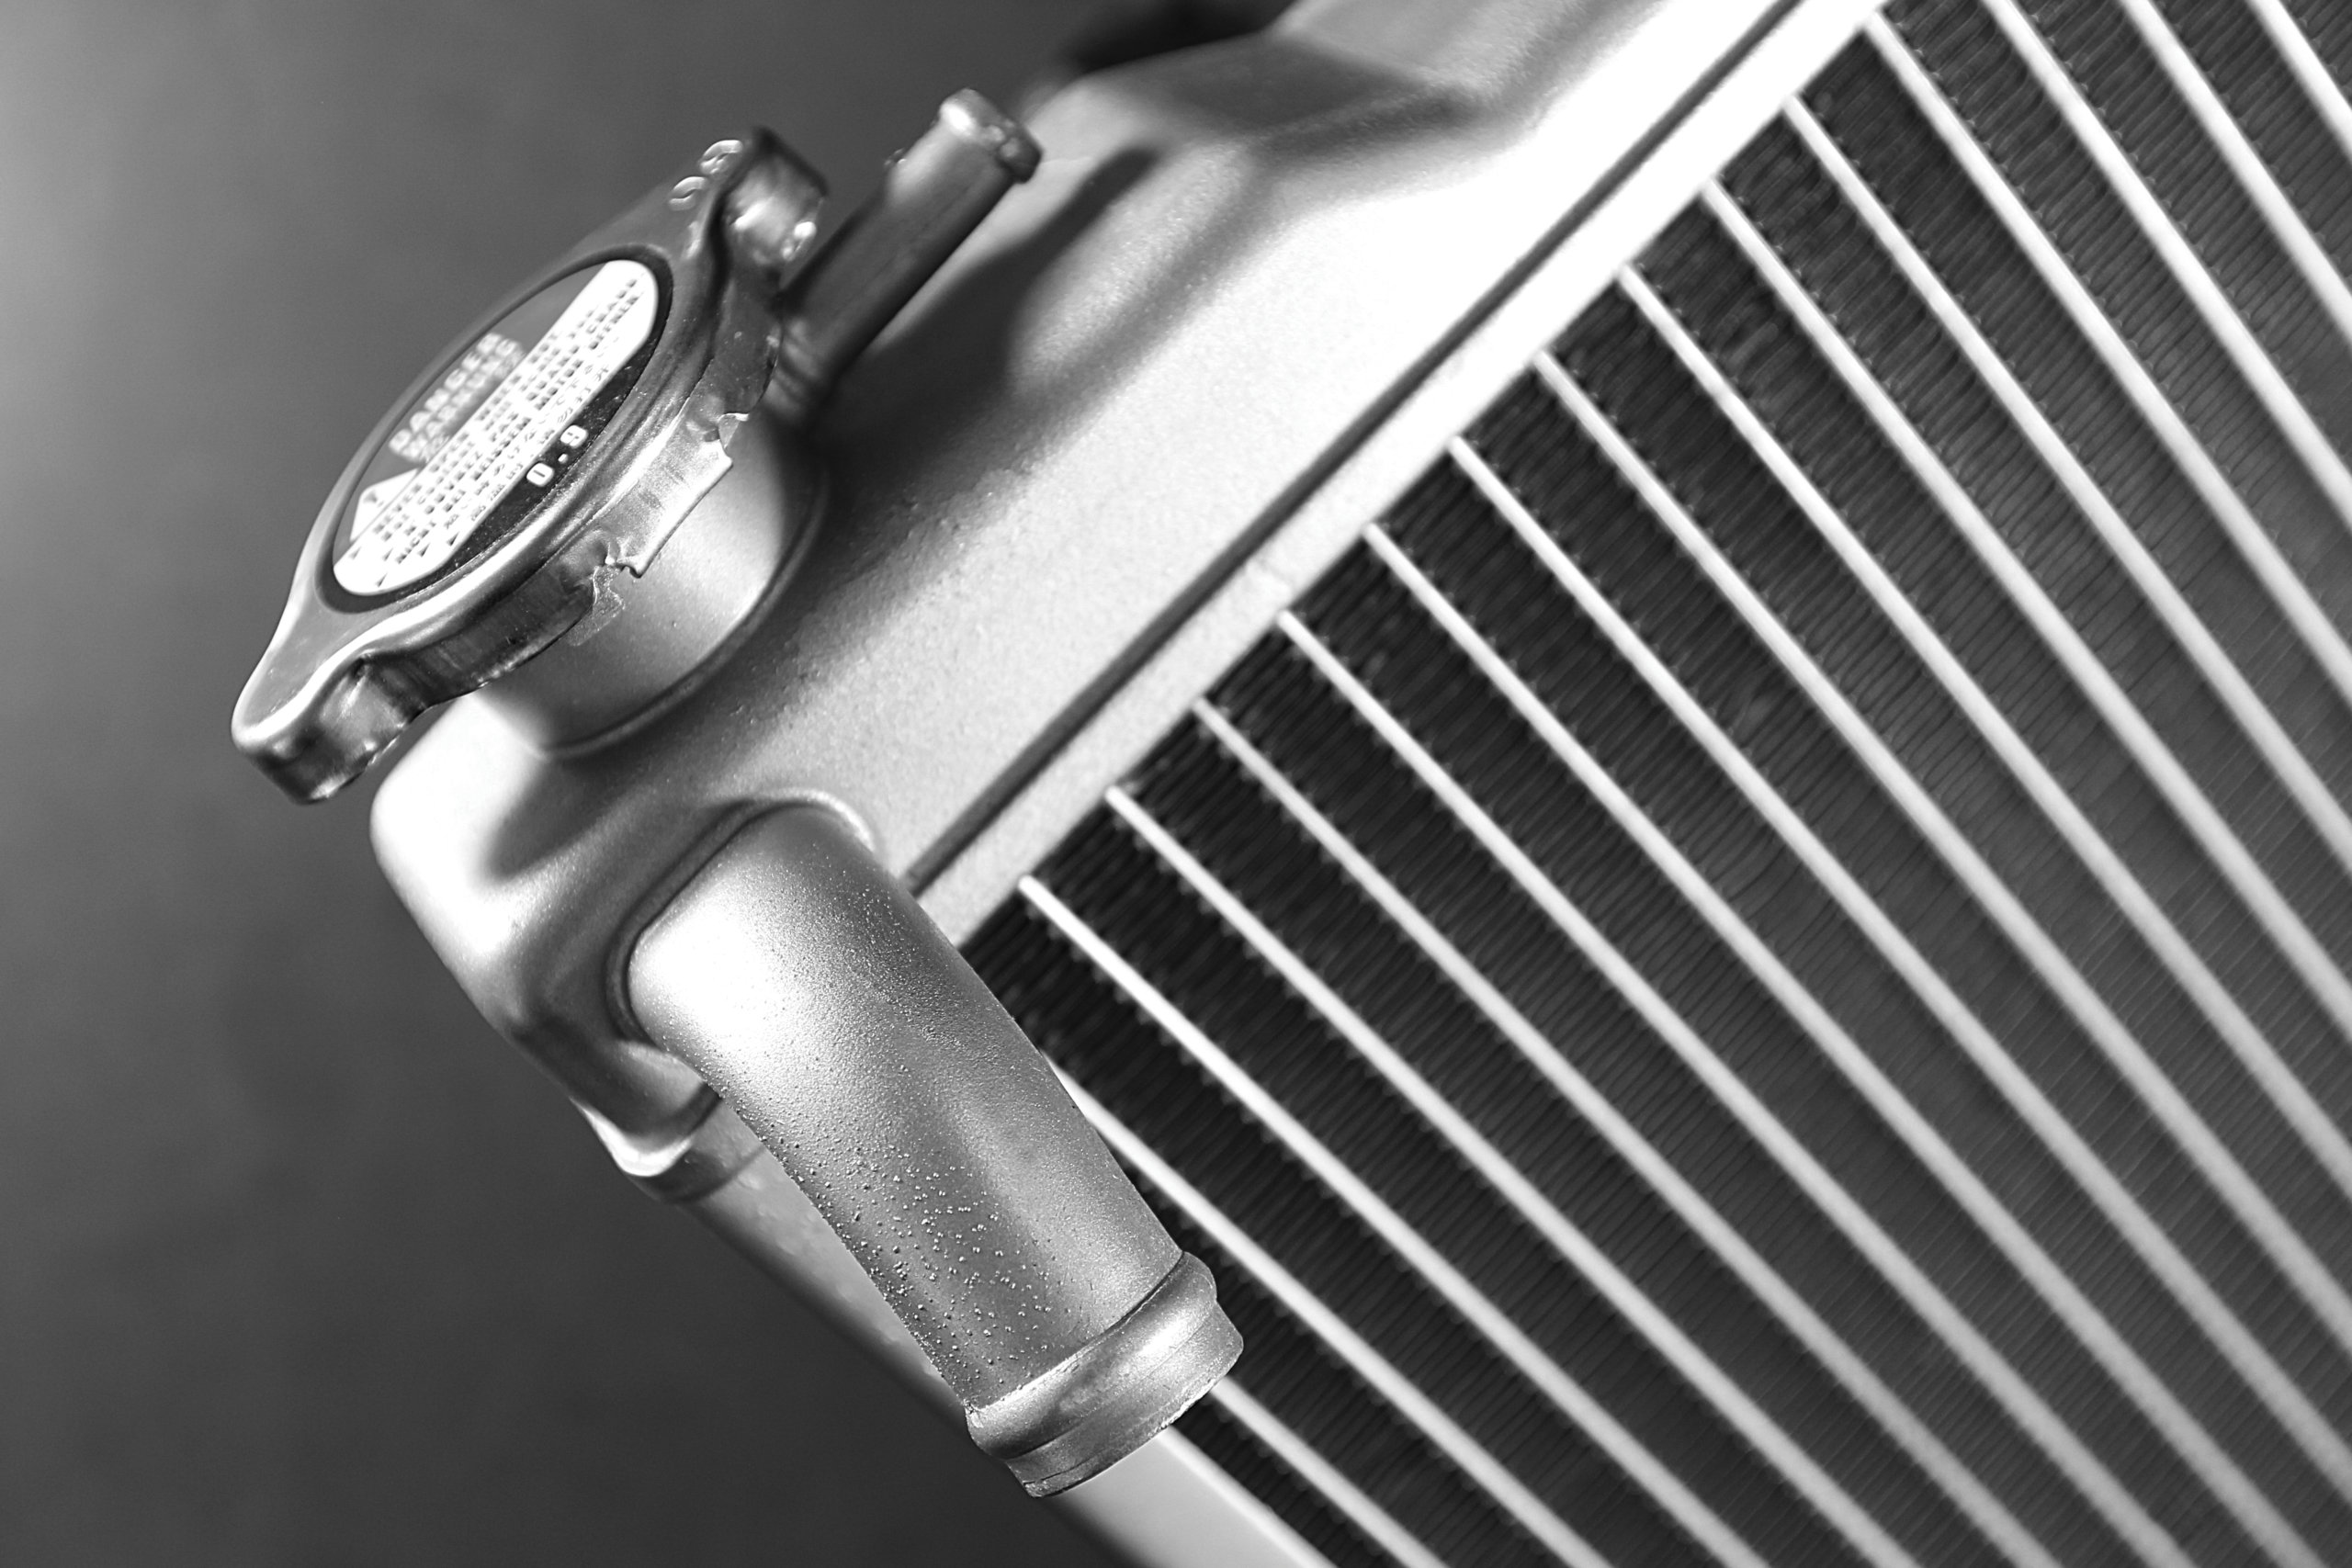
Pressure range or leak testing is often considered to be functional testing intended to ensure the assembly or component can properly perform over the entire operating pressure range, without leaks. This testing often involves exposing the test specimen to an operating environment (primarily temperature) and a lower and upper limit of pressure values. The purpose of this test is to ensure the component or assembly being tested maintains its structural integrity and there are not any casting, machining or metal joining defects. A pressure range or leak test is considered an Acceptance Test Procedure (ATP) performed on every production part but may also be part of a more extensive Qualification Test Procedure (QTP). This type of pressure testing can also be utilized to assess the integrity of any additional components assembled on the test specimen, such as gaskets or seals.
Most of the assemblies or components which undergo pressure testing are designed such that the fluid flowing through them only experiences a set amount of pressure drop (aka air decay). This is something that is determined during NPI and is often a measure of success during a pressure range or leak test. For pressure testing where the test specimen is suspended in fluid, with a gas flowing through it, leak testing works by visually looking for air bubbles during the testing. For example, with pneumatic pressure testing, if gas bubbles are present in the fluid during testing, the test specimen is not airtight and it does not pass the test.
The experts at Fictiv can help with all your CNC part machining and quality testing needs. Get an instant quote today.
Proof Testing
The proof pressure is the maximum pressure level which the component or assembly may be supplied before permanent deformation and/operational function damages are seen. This type of pressure test typically involves subjecting the test specimen to increasing pressure, until the proof pressure is reached and then held for a set amount of time. During the test, the operator will watch for leaks and monitor pressure drop. In some instances, the test specimen’s dimensions will be monitored to ensure an excess amount of deformation is not occurring.
Proof testing is most often a QTP, performed during the product’s NPI.
Burst Testing
The burst pressure is the maximum amount of pressure a test specimen can be subjected to without ‘bursting’ or causing rupturing of material, resulting in an irreversible, catastrophic failure. Typically, the burst pressure is based off the maximum operating pressure multiplied by a Factor of Safety, depending on the industry and/or specification requirements. Burst pressure testing involves increasing the pressure on a test specimen, beyond the proof pressure, until failure occurs.
Burst testing is most often a QTP, performed during the product’s NPI.
Our Top Tips for Pressure Testing
Tip One: Ensure all parts and components have reached a stable temperature before testing. Parts which have been brazed together or welded should not be immediately pressure tested before they are cooled entirely first. Sometimes cleaning or drying operations can raise part temperature as well.
Tip Two: Ensure all testing requirements are satisfied. Check for requirements at all levels of specifications, regulations and/or customer RFQ/Purchase Order (PO) language. Not all of the requirements you need to follow for a single pressure test may be in one location; customers have been known to alter or add on to testing requirements in PO notes.
Tip Three: Ensure the test specimen is clean prior to testing. All CNC machining metal chips and hydrocarbons should be cleaned or removed from the part prior to any pressure testing. Hydrocarbons can outgas, causing a false negative pressure test or even build up on the test rig equipment itself. These hydrocarbons are often found in cutting or grinding fluids.
Tip Four: Design or purchase test stands or pressure testing machines which are simple to use, ergonomic, and allow for a tight seal between the test specimen fluid inlets/outlets and the test equipment hoses or piping. Leaking at these interfaces will complicate the testing and may show inaccurate results.
Fictiv is the ultimate manufacturing partner, providing an intelligent platform to upload your 3D models or 2D drawings for an instant quote and DfM feedback. We are experts in Injection Molding, Urethane Casting, 3D Printing, and CNC machining services. If you’re ready to start uploading your 3D printing design files, you can visit Fictiv for an online quote in minutes,
