Time to read: 6 min
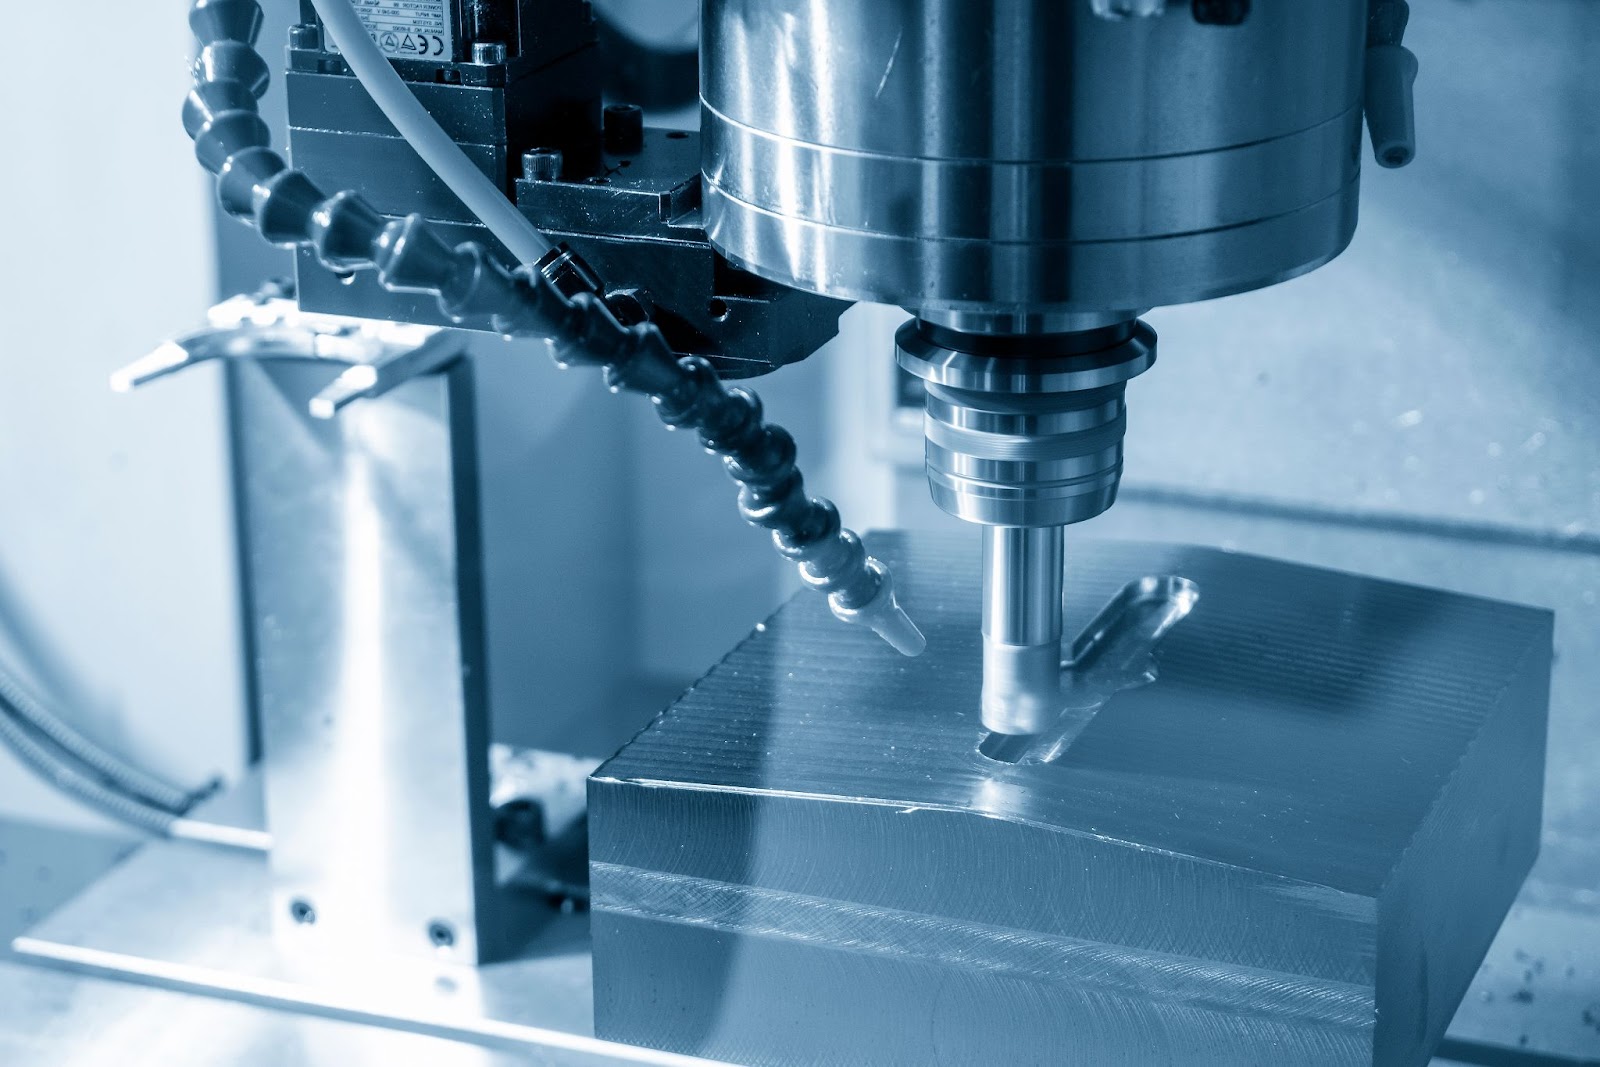
Surface roughness, also known as surface finish or surface texture, is a critical feature that can distinguish a rough looking prototype from a polished finished product. In this article, we’ll explain what surface roughness is, how it’s measured, and identify some typical finishes to showcase what can be accomplished with CNC machining, and when post-processing is needed.
What is Surface Finish?
So, what exactly is surface finish and why is it so important? Often, surface finish is a concern for cosmetic reasons, as smooth surfaces tend to appear more attractive. But surface finishes also have many practical uses. Rough surfaces have a higher coefficient friction which, in turn, causes increased wear and requires additonal lubrication between parts. With friction comes heat and material loss, which ultimately impacts the life of your products. Not only that, but a smoother surface finish is also superior to rough surfaces finishes in terms of sealing properties.

As surface roughness is such a critical feature, you cannot rely on vague definitions such as “rough” and “smooth.” There are more specific ways to describe a finish which utilze the three types of characteristics that define surface finish: roughness, waviness, and lay.
Surface Roughness, Waviness, and Lay
Surface roughness refers to the micro indications or irregularities over a set length and is characterized by the height of the peaks and valleys. As mentioned above, this feature is not only important from a cosmetic standpoint, but it also has significant effects on the properties of the product itself. Here are some reasons for a closely-controlled surface roughness requirement:
- Improving adhesion of paints and other external coatings — rougher surfaces improve adhesion
- Smoother surfaces improve corrosion resistance as compared to rougher surfaces because less surface area is exposed to harsh conditions. Also, the potential for corrosion-producing contaminants to sit on the peaks and valleys of a rough part is reduced.
- Improved sealing properties on faying surfaces (such as flange seals) — a smooth surface with a properly applied lay seals better
- Reduced micro and macro surface defects, which reduces high stress initiation points and improves mechanical properties
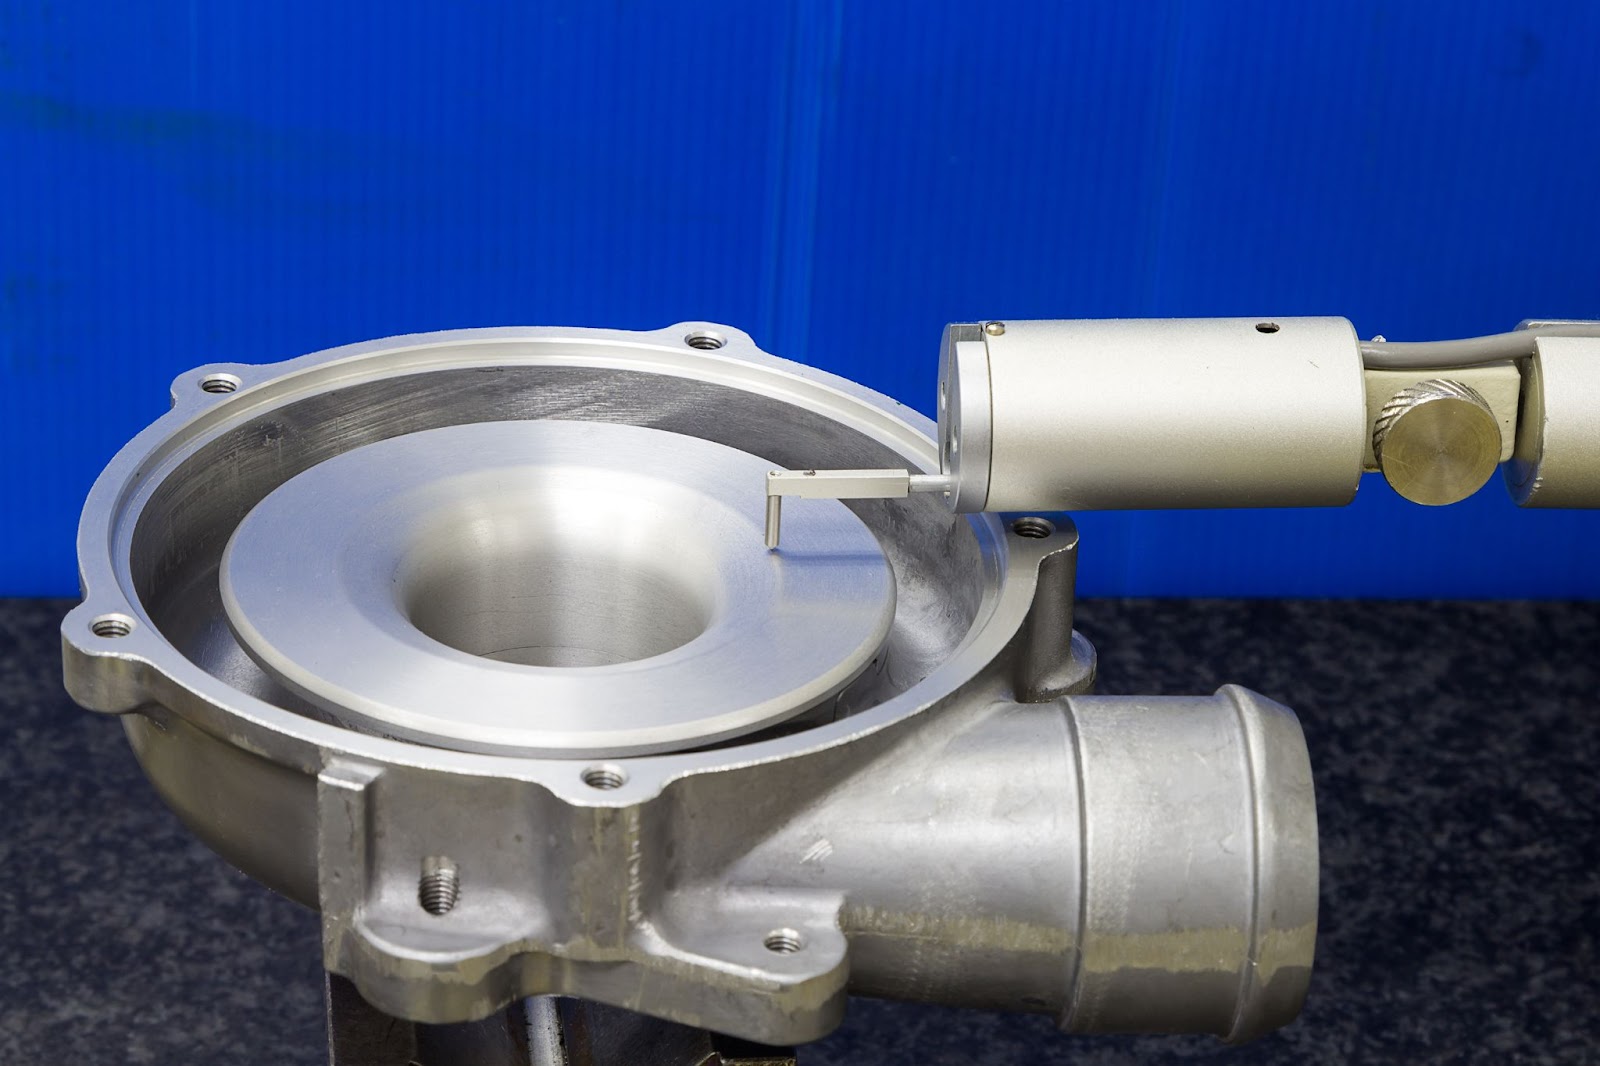
Waviness is a more macro view of these surface effects and is a measurement of the flatness of a surface, instead of the roughness of a surface. Waviness is outside the scope of this article, but it is also a critical feature that must be accounted for when considering the overall properties of surface finish.
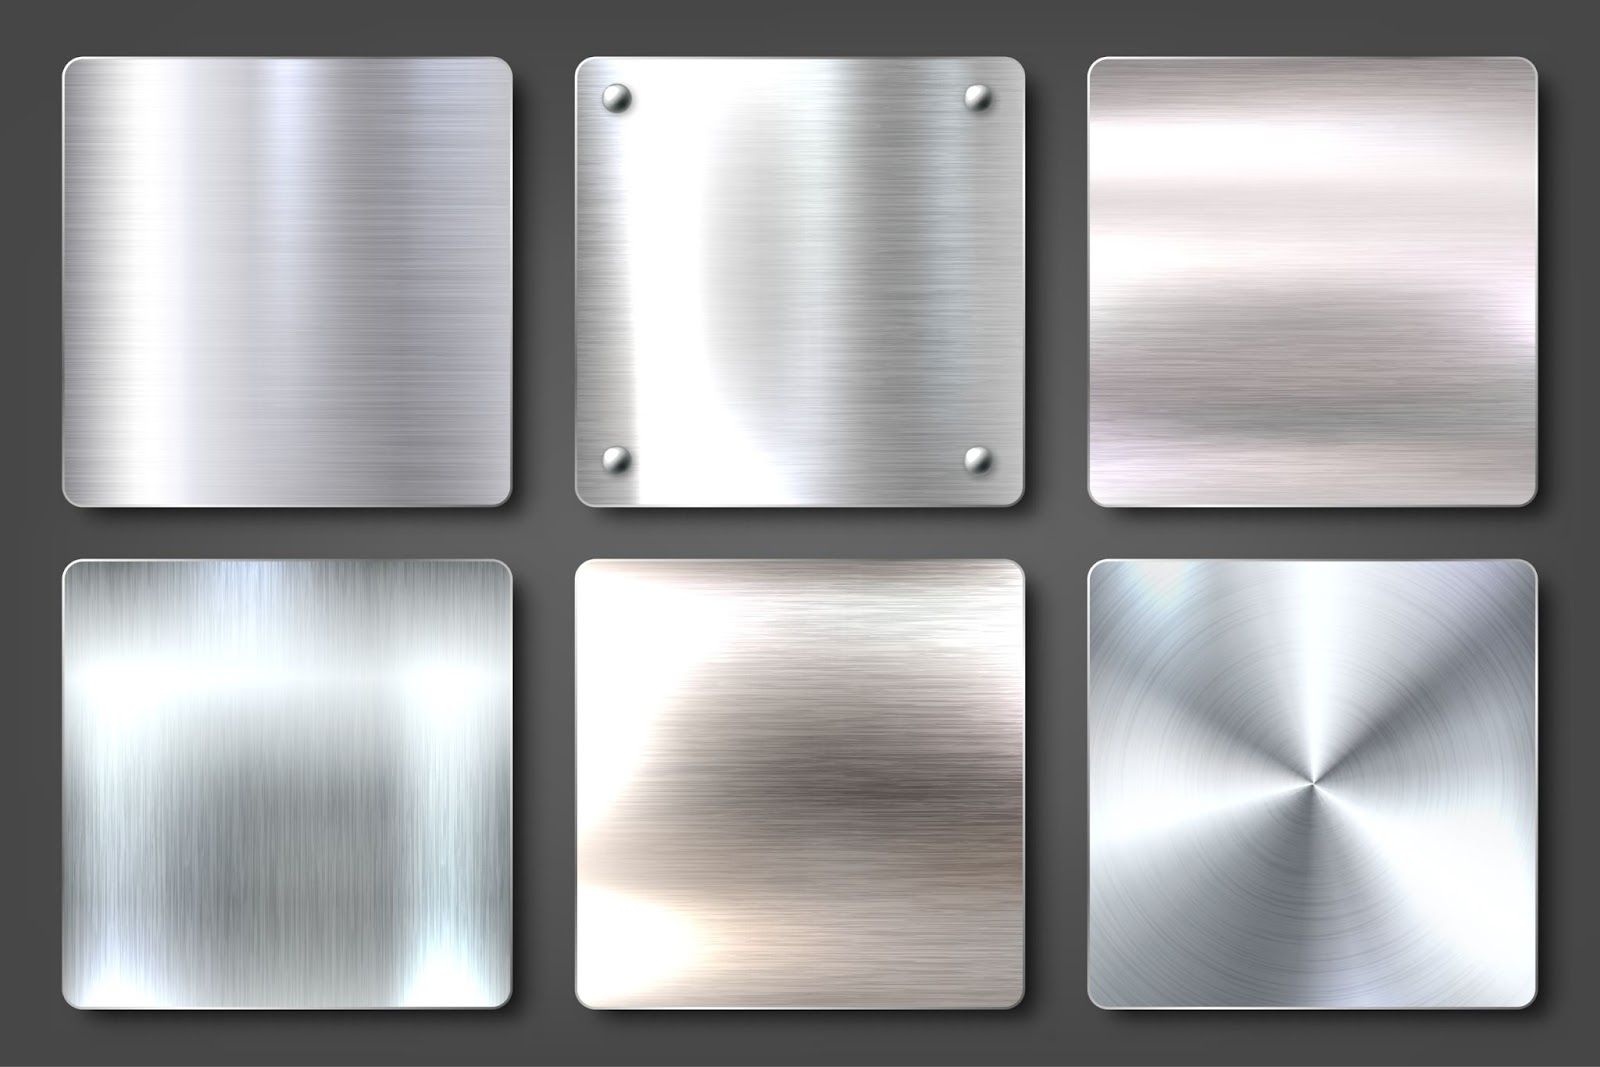
Lay is the direction at which the surface pattern is observed. An easy way to visualize the lay is looking at the direction of the machining or sanding marks on the part. For example, if you use a circular grinder on a surface of a cylinder, the grind marks follow a circular pattern, or, in other words, have a circular lay. Lay not only directly impacts the cosmetic appearance of a surface, but can also provide physical advantages such as increased sealing capability. For example, a circular lay for a metal-to-metal circular flange interface helps seal at the micro level due to the direction of the micro indications on the surface.
Measurement methods
So, now you know what surface roughness is, but how do you measure it? It is all about averages! Imaging looking at a surface cross-section through a microscope — there are peaks and valleys rising and falling over a relative plane. Surface roughness measures the average of the peaks and valleys over a specified measurement length. As you can imagine, this requires extremely sensitive equipment to determine these micro material undulations.
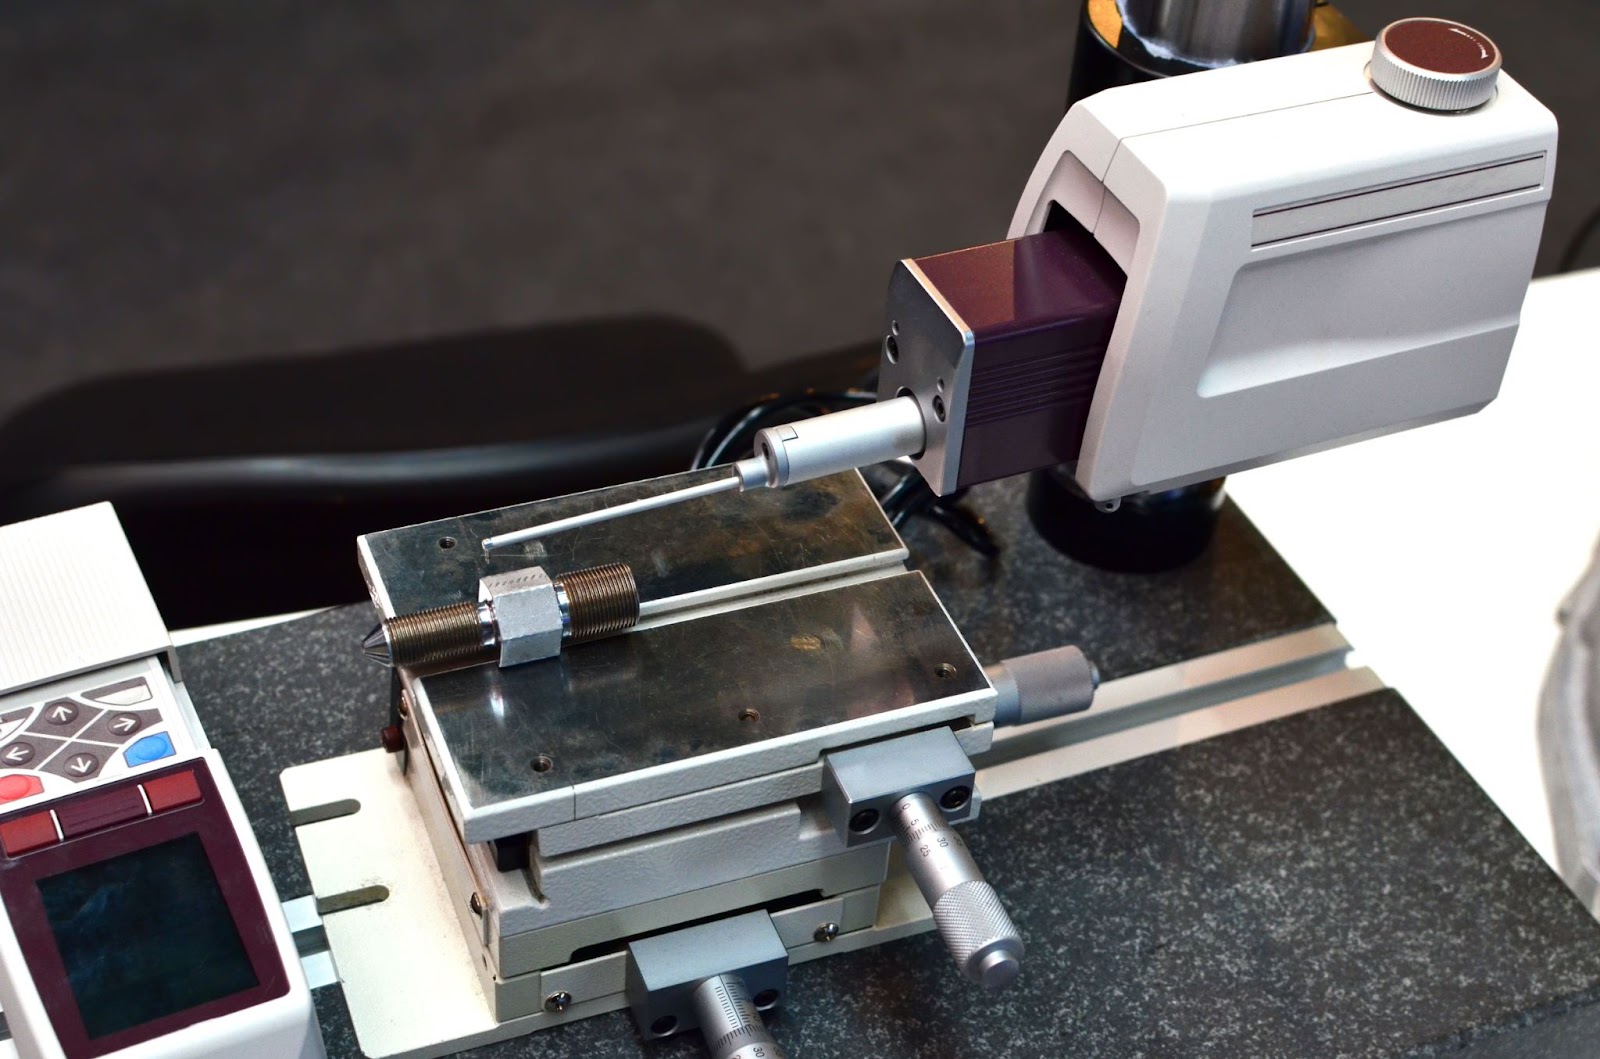
Here is a list of some of the typical equipment and methods used to measure surface roughness:
Profilometers
Profilometers are the most common method if high repeatability and accuracy is required to meet a specific surface roughness requirement. A profilometer — often called a surface roughness tester or surface roughness gauge — is a device with a highly sensitive probe designed to be dragged across a surface to precisely measure its peaks and valleys at a programmed length. The device then calculates the surface roughness value. More expensive and elaborate profilometers also allow the user to modify the calculation parameters or output other characteristics such as peak-to-peak distances and total wavelength amplitude.Using this method, there are several surface roughness terms you need to know in order to understand the results produced.
- Ra is the most commonly used surface finish unit for typical surface roughness requirements. Obviously the ‘R’ stands for roughness, but the ‘a’ stands for average. In other words, Ra describes the average surface roughness of the part. Ra is the standard value found on drawing requirements and surface finish charts and standards. When you see “125 surface finish, or 63 surface finish,” this number refers to the Ra value.
- Rmax describes the “max” distance between a peak and valley in a measurement range. This provides another characterization of the surface which is glossed over if you only consider the average. For example, if you have an area where a machining insert was dulled and caused a small rough patch, it drives down the average surface roughness, and is otherwise difficult to detect. A clearly defined Rmax would flag this as this rough patch and cause a high amplitude of roughness outside the acceptable range.
- Rz is also another way to interpret results, as it provides five instances of individual measured distances and averages the average value between the highest peak and the lowest valley in these sections. This allows for more impact from extreme outlier sections (see Rmax above) in the case for critical roughness requirements.
- Mu (μ) is the Greek letter representing the micrometers symbol, which is .000001 meters. This is the typical resolution of surface roughness measurements.
Comparison Methods
Comparison methods are common in shops where the surface roughness requirement is not as critical or precise. This method is fairly self-explanatory, as it requires surface roughness samples that are compared visually and tactically to the machined part. These samples — otherwise known as surface finish standards or a machine finish chart — are validated and certified to various surface roughness values to allow an inspector or machinist to quickly compare this standard to the product and validate the surface roughness. This is the easiest method, as you don’t need expertise to use a surface finishing chart, and a brief look tells you if the part conforms or not.Here is an example of commonly used surface roughness chart.
Ways to Achieve Various Finishes (Pros/Cons)
There are many ways to achieve the surface finish you need. As a general guide, this surface roughness table explains the types of manufacturing that can achieve your desired finish. Understanding exactly what you need and how to get there is critical to ensure that you choose the right process for the right job. The method of material removal, feeds and speeds, part fixturing, part and material stability and hardness, and machine capability all affect the surface finish. If you are not sure, it is best to ask what is achievable using these charts as a guide.
And once you’ve determined your desired finish, how do you ensure you get it? Below are some quick reference guides on standard abbreviations, drawing surface finish symbols and callouts, visual charts, and conversion charts on different surface finishes. These surface roughness symbols are commonly found on most drawings either with leader lines to the surface in question, in a general note, or within the tolerance block.
Conclusion
Surface roughness is a unique requirement and there are many ways to achieve your required finish. It’s essential to understand your surface finish requirement to ensure that you don’t pay for a finish finer than your manufacturing application requires — costs can skyrocket due to the processing required to obtain the smoothest finishes, and you don’t want surprises with your finished product. To learn more about Fictiv’s available CNC machined part surface finishes, check out this article.
For all your custom mechanical part needs, regardless of surface finish requirements, we’ve got you covered. Fictiv is your operating system for custom manufacturing that makes part procurement faster, easier, and more efficient. In other words, Fictiv lets engineers, like you, engineer. Create an account and upload your part today to see what our instant quote process, design for manufacturability feedback, and intelligent platform can do for you.
