Time to read: 3 min
A lot of hard work goes into making 3D printed parts shine once they come off the build bed. As revolutionary as 3D printing has been for hardware development, there’s still some manual labor that goes into every part.
Here’s a quick tutorial that shows how we clean PolyJet parts fresh off the build bed before delivering them to customers.
For this tutorial, we’re cleaning a VeroWhite part, since it’s the most common material used for visual models, which require a more polished look. That said, this process is largely similar for most of our materials.
Tools
- Spatula
- Probe Set
- Isopropyl Alcohol
- Sodium Hydroxide Solution
- WaterJet
- Compressed Air
Step 1: Remove part from build bed
Carefully remove the part (covered in support material!) from the build bed using a spatula tool.
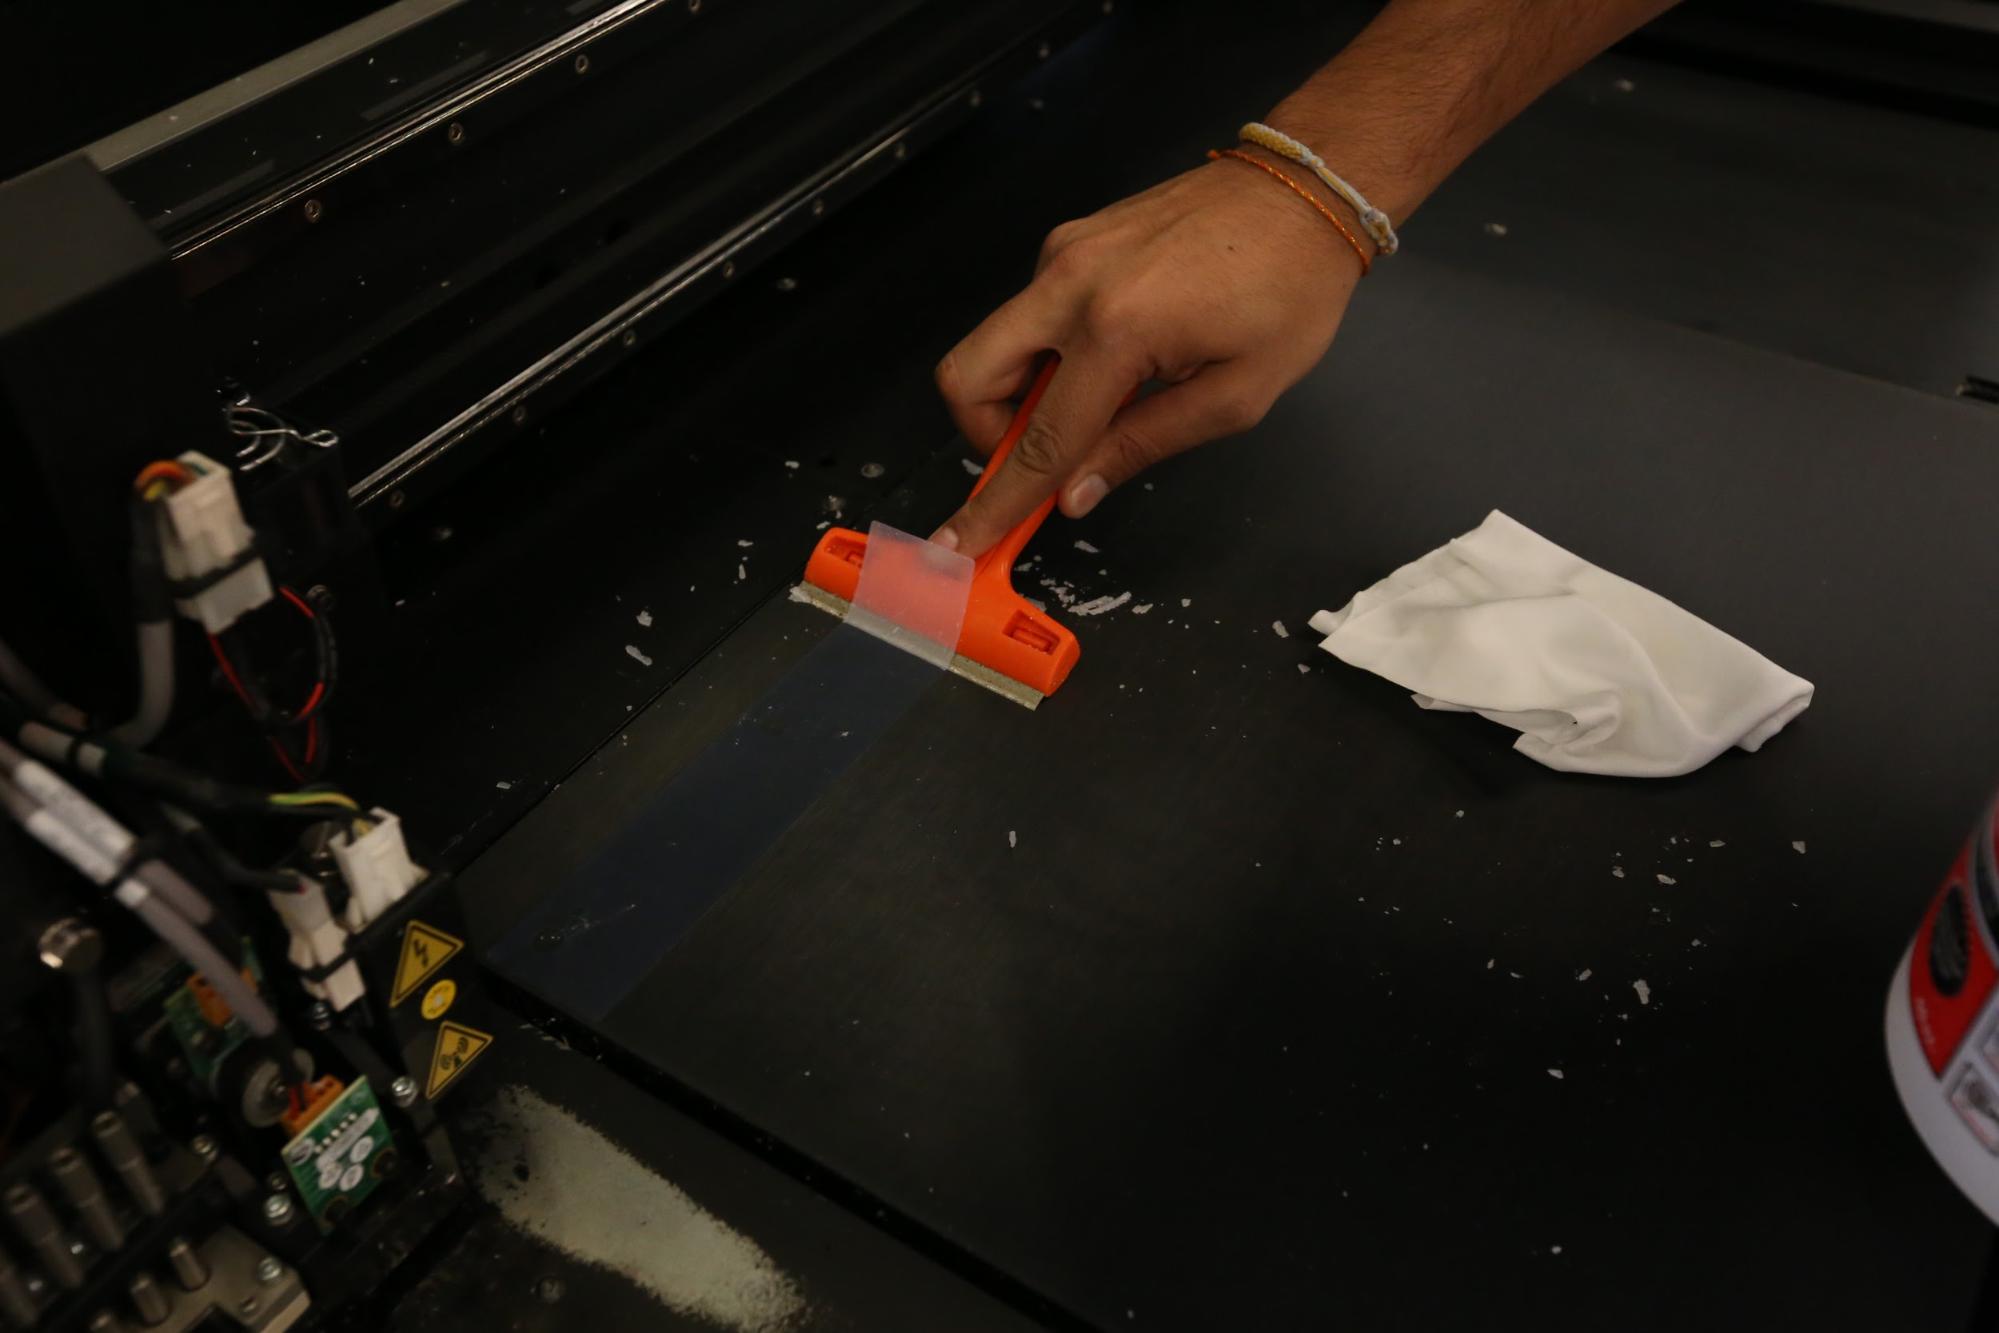
You’ll notice a footprint from the part left on the build bed—this is removed using a scraper tool, being especially careful not to damage the metal print bed. Spray the build bed with water and wipe it down with polyester wipes.
Step 2: Clean the printer nozzle
Clean the nozzle with Isopropyl alcohol to prevent material build-up and to keep the extruder and wipers clean. This process differs depending on the machine, but on the Objet 500, we drop the build bed and use a mirror to ensure the nozzle is clean.
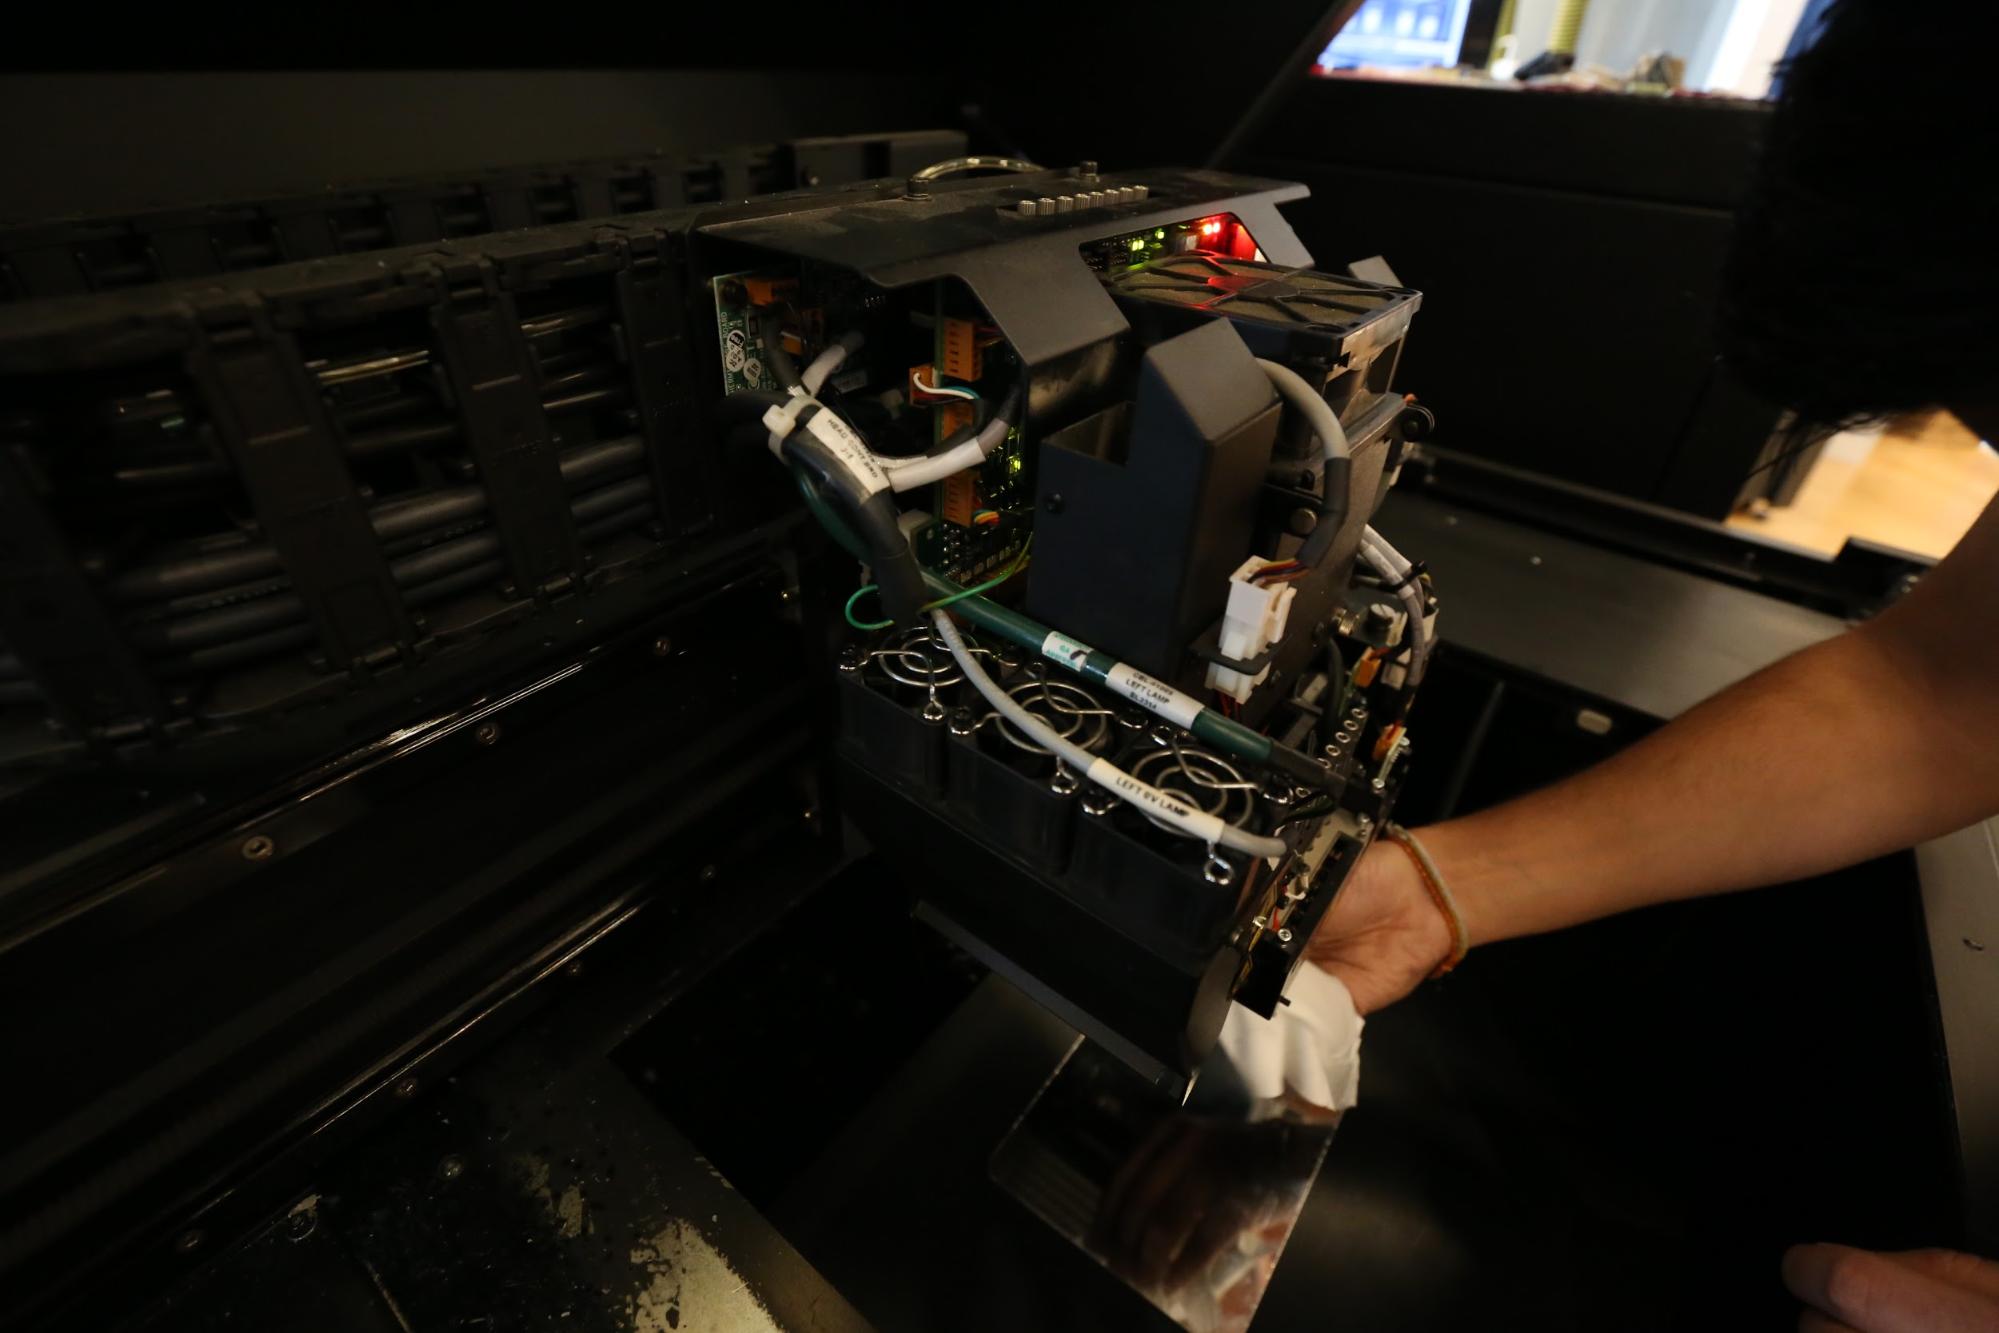
Note that it’s important to do Step 1 and Step 2 after every print to avoid buildup on the print bed which could damage the nozzle and impact the quality of future prints.
Step 3: Hand clean the part
Now focus on the part, which you will see is encased in a wax-like material. Start by hand removing as much of the material as you can (a probe set can be handy here).
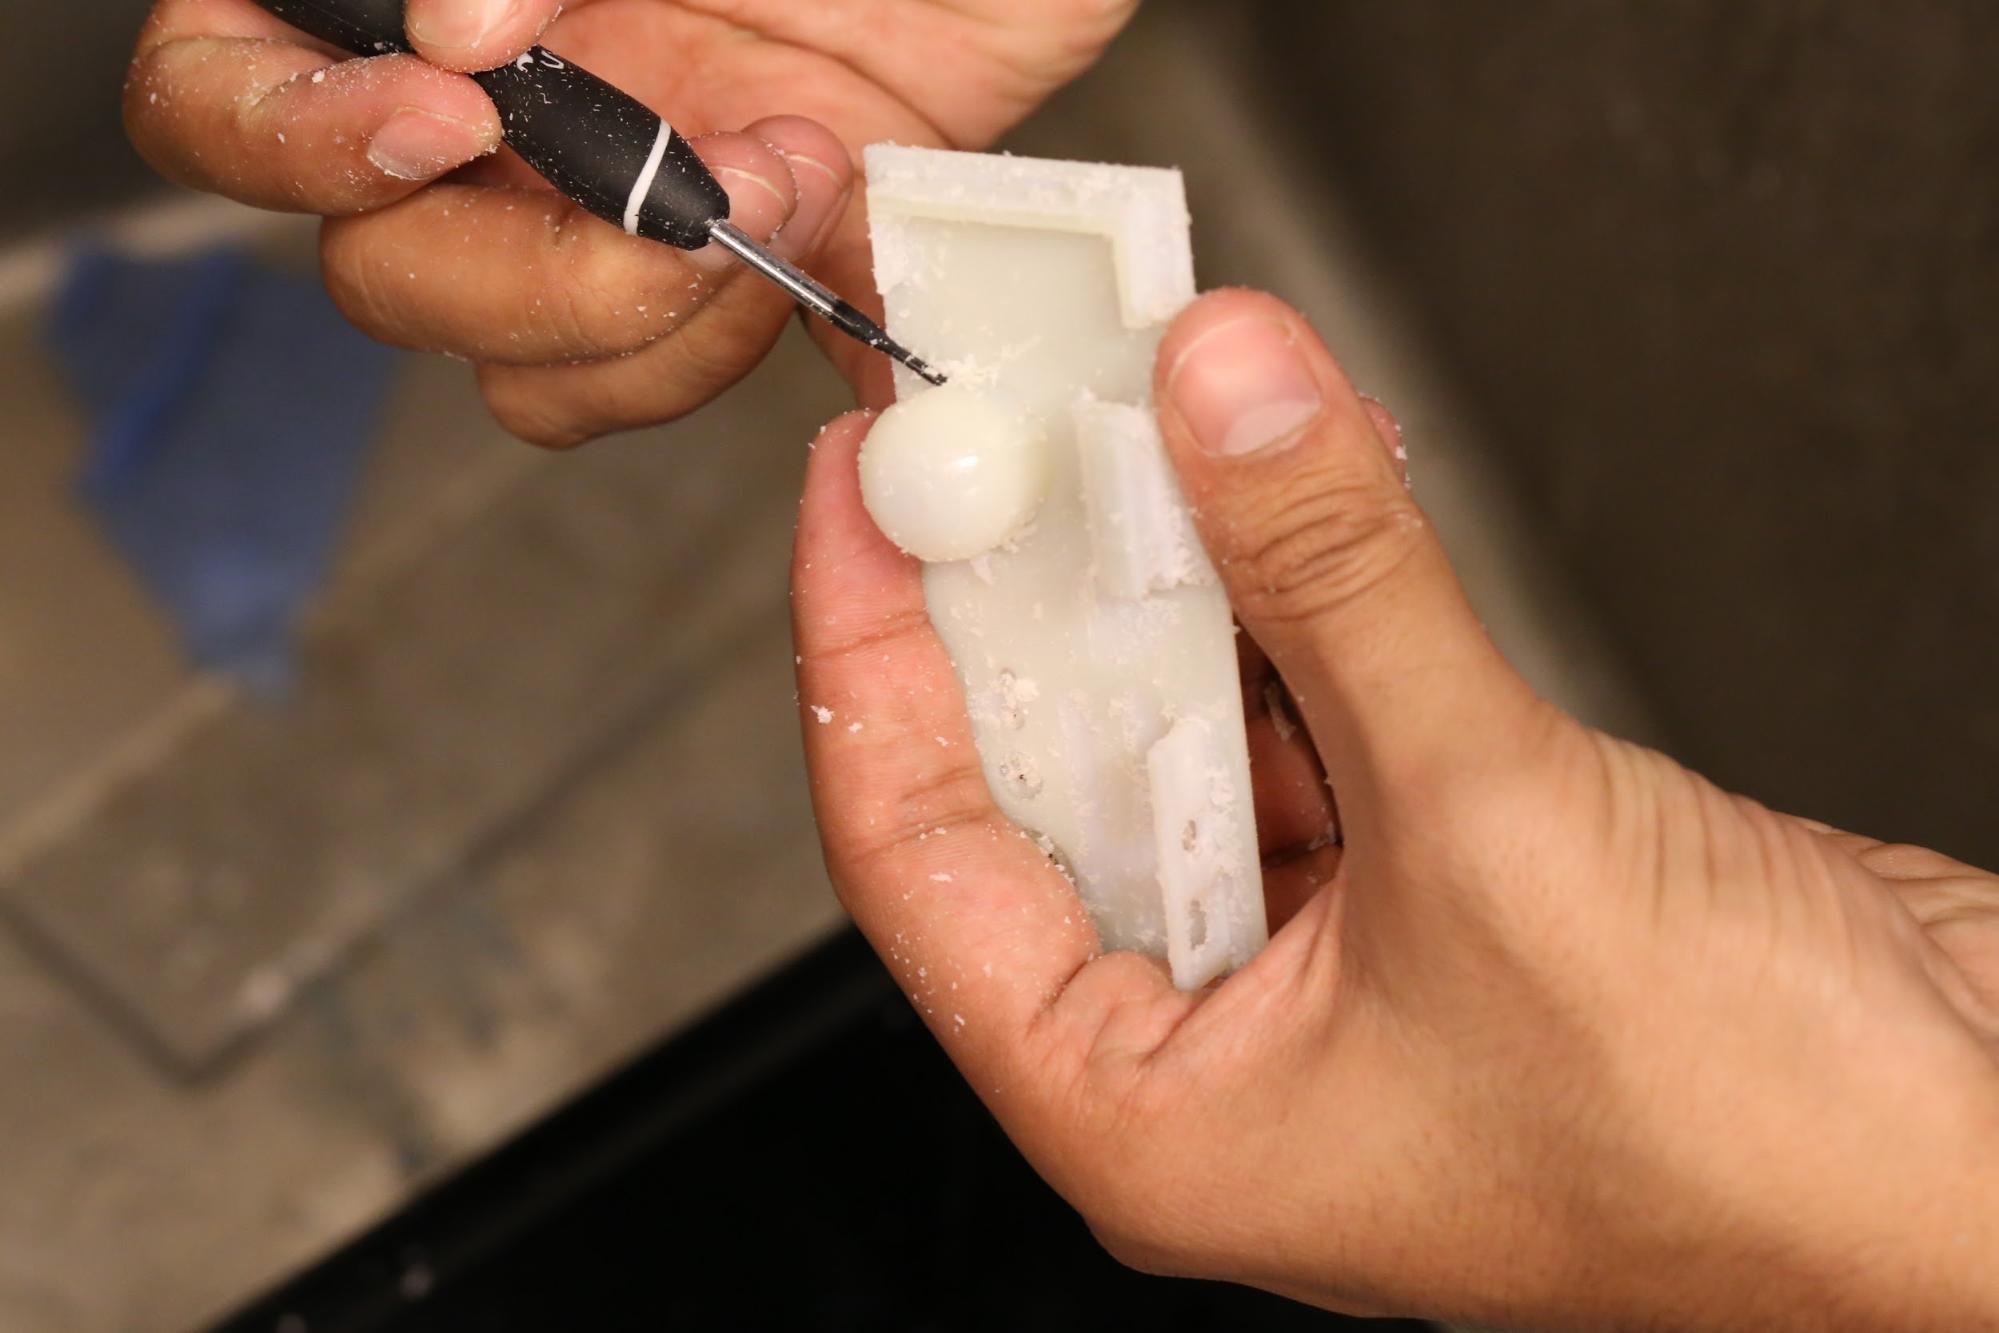
Step 4: Clean with a WaterJet
Once you’ve removed as much of the material as you can by hand, a waterjet will give the part a deeper clean and get into some of those hard-to-reach corners.
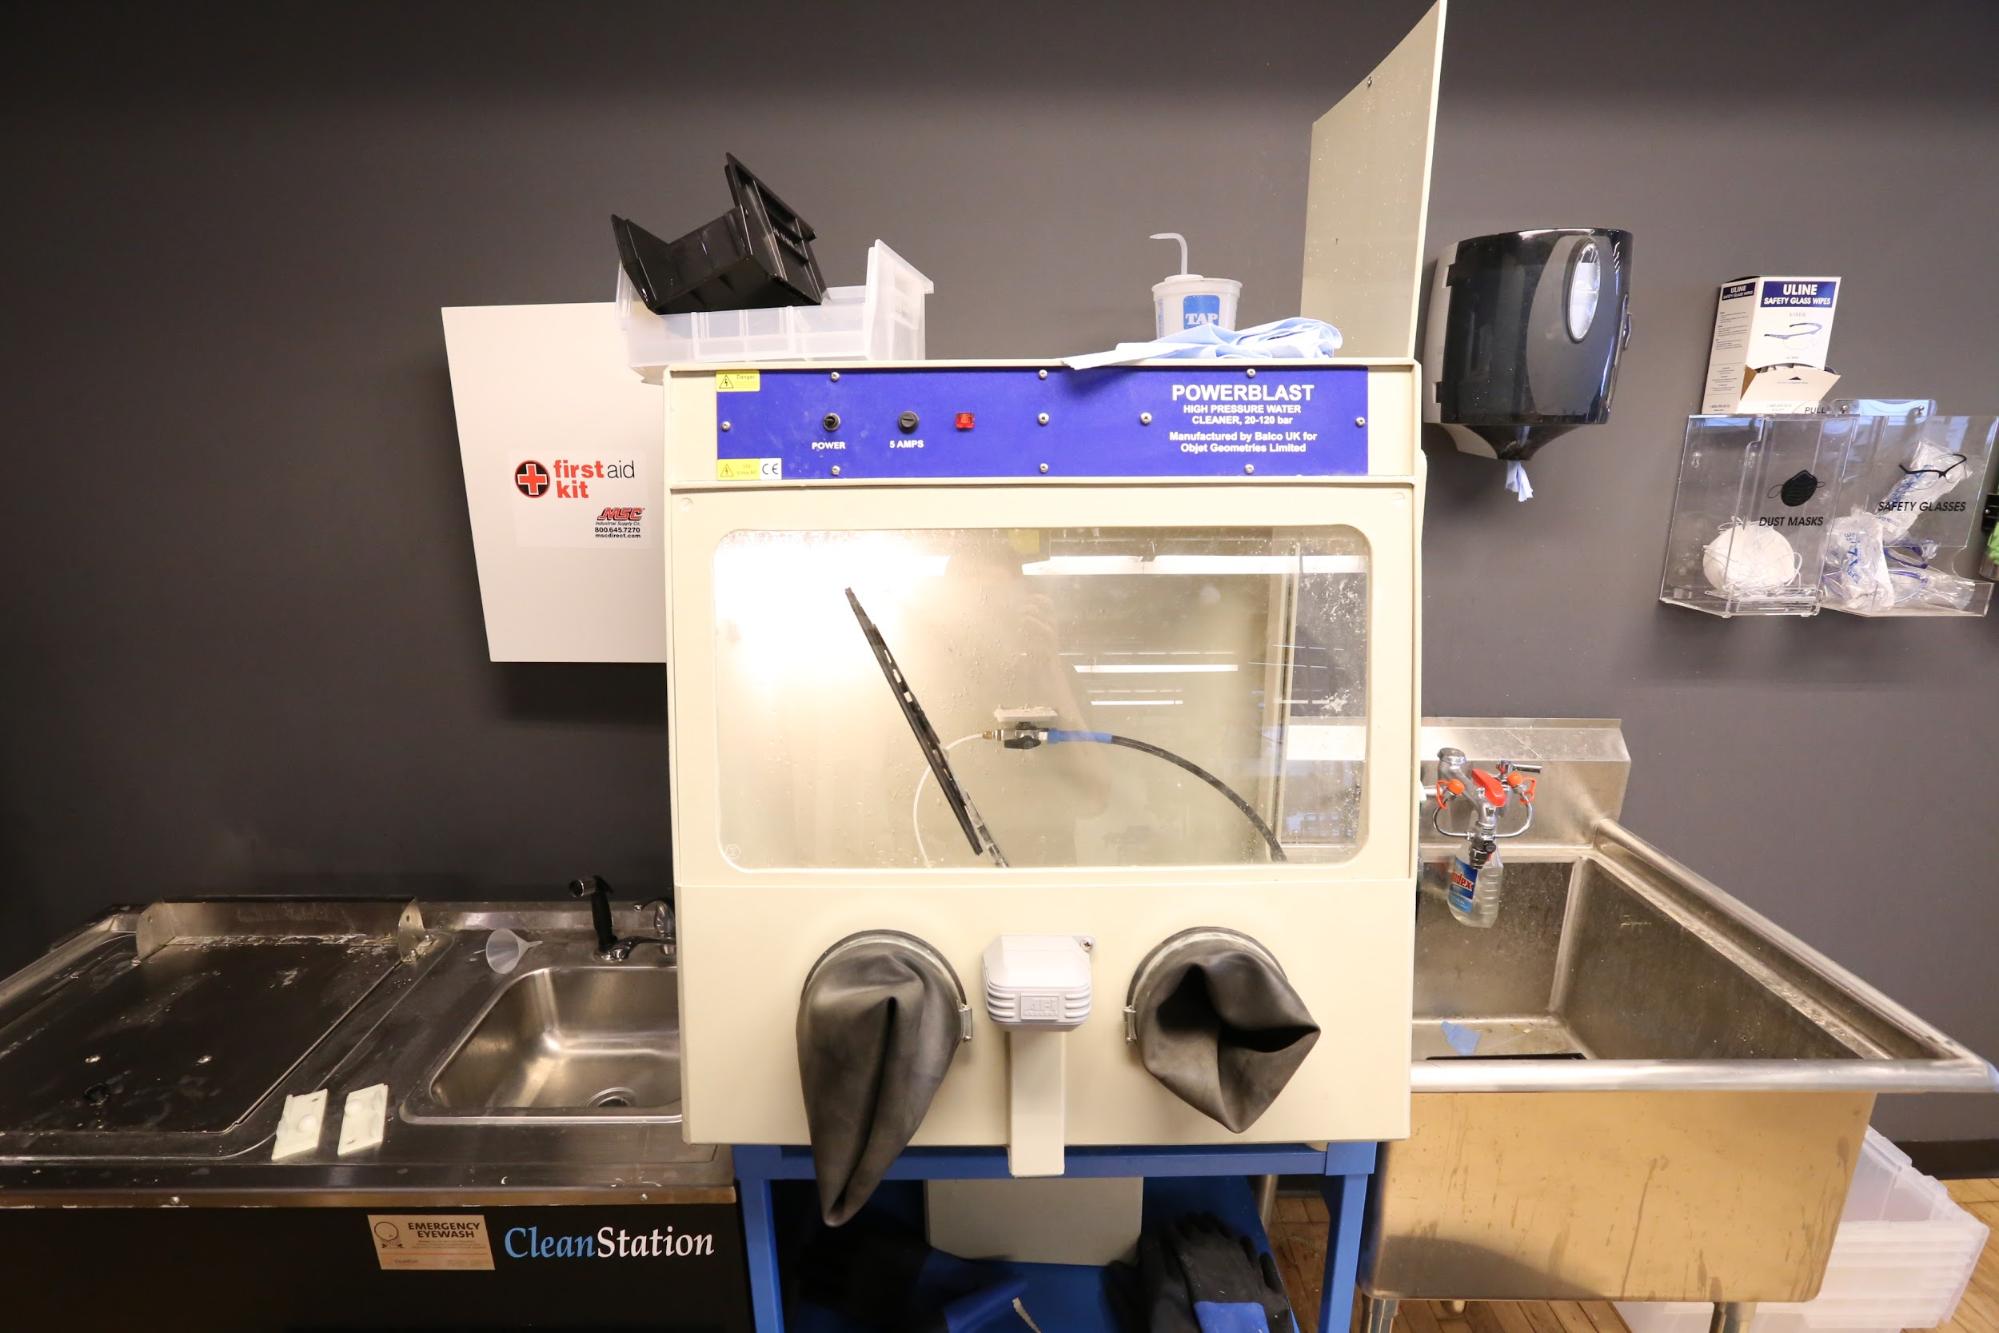
Make sure to set the water pressure and stream appropriately for the part. Fragile parts should be cleaned using a low pressure, fan stream while sturdy parts are okay with a high pressure, jet wash.
Step 5: Leave part in a Sodium Hydroxide bath
First. dry the part with an air compressor.
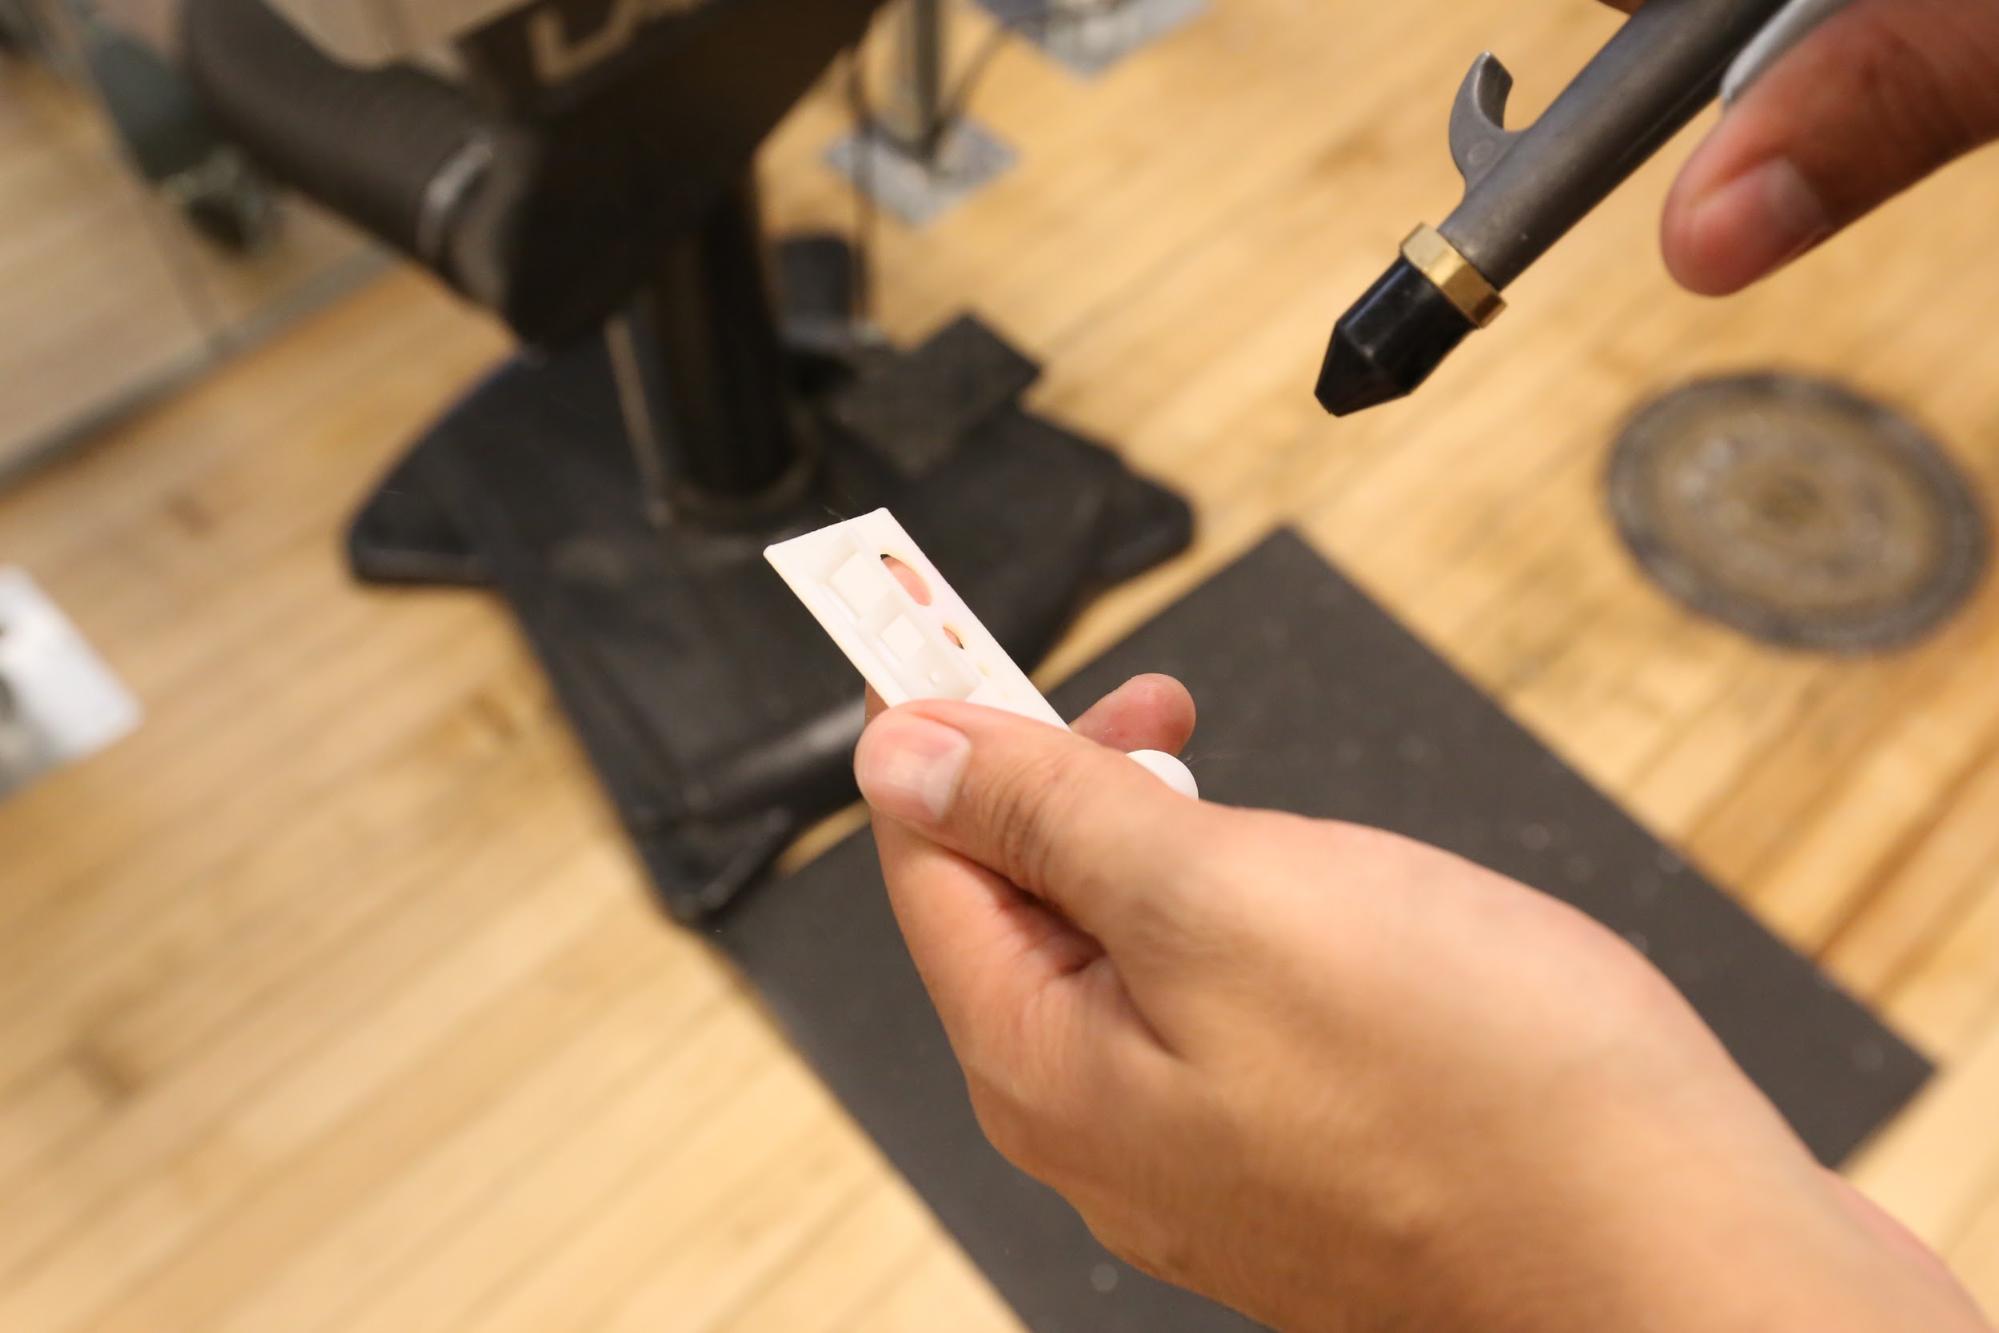
If you still see noticeable support material, repeat Step 4. If not, it’s time to place the part in a Sodium Hydroxide bath. We used a Stratsys solution here, but there are many different options available that work just as well.
The purpose of the bath is to remove any residue that might be left on the part from the support material. The part can sit in the bath anywhere from 10 minutes to a few hours depending on the part geometry.
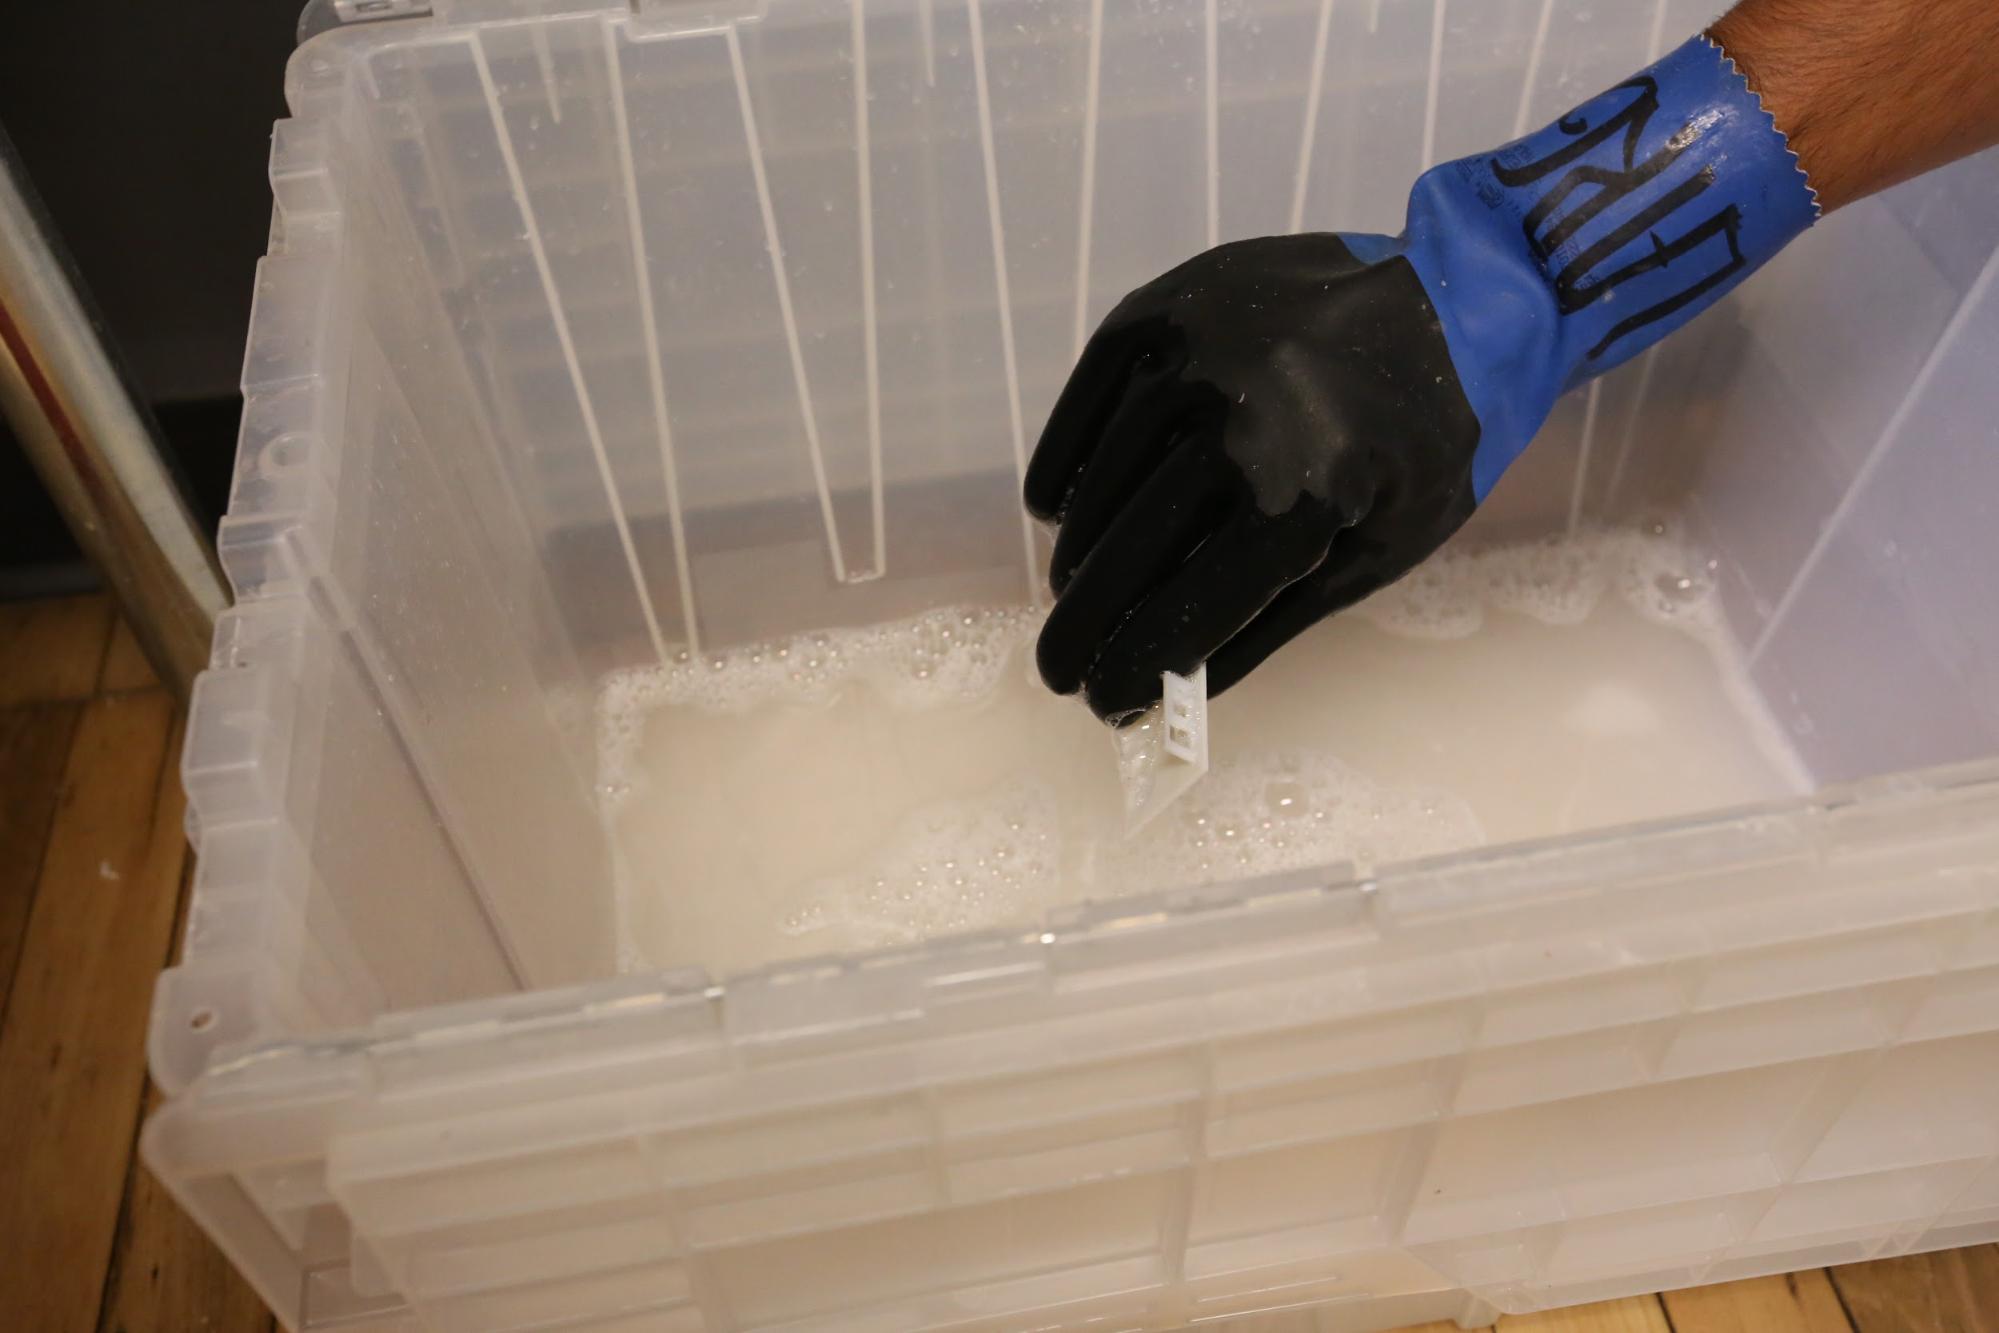
Step 6: Rinse and dry
Remove the part from the Sodium Hydroxide bath and run it under water to remove any loose support and leftover solution. Finally, give the part a few blasts of the air compressor to dry it up, and behold—your squeaky clean 3D part!
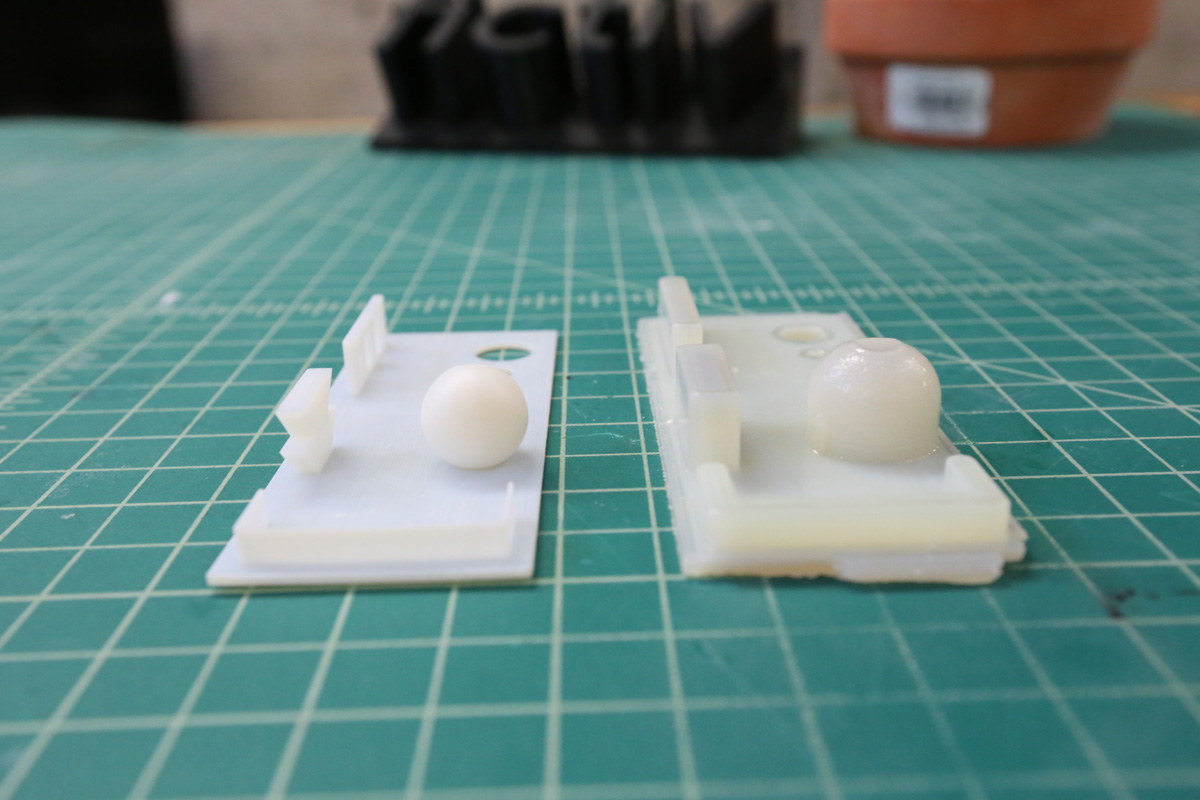
Check out the difference before and after cleaning:
