Time to read: 10 min
One of this year’s most popular Christmas gifts is the DJI SE 2 Mini Drone. It boasts level 5 wind resistance (up to 23.6 MPH), a maximum takeoff altitude of under 2.5 miles, and up to 31 minutes of flight time. All these capabilities are packed in a tiny package, weighing just over half a pound.
I recently had the opportunity to do a teardown of the DJI Mini 2 SE Drone, and I wanted to share my experience with you. It was really interesting to see this drone’s inner workings and components. I learned a lot about its operation and got an inside look at the complex design. In this article, I’ll share some key takeaways from my teardown and give you a closer look at what makes this drone fly. So, if you want to learn more about the DJI Mini 2 SE Drone, keep reading!
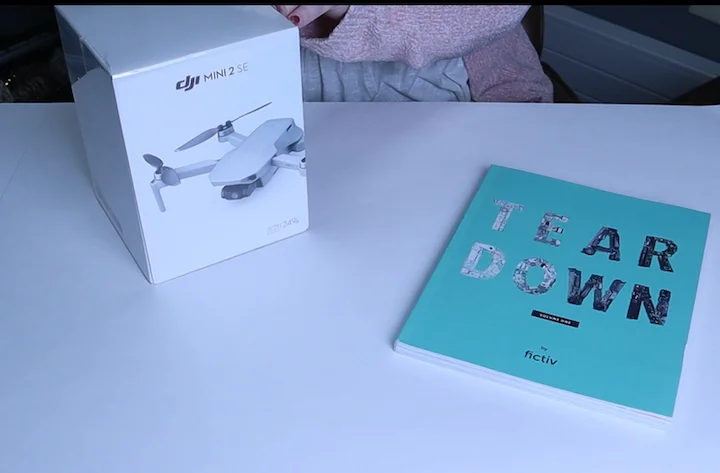
Tools I Used
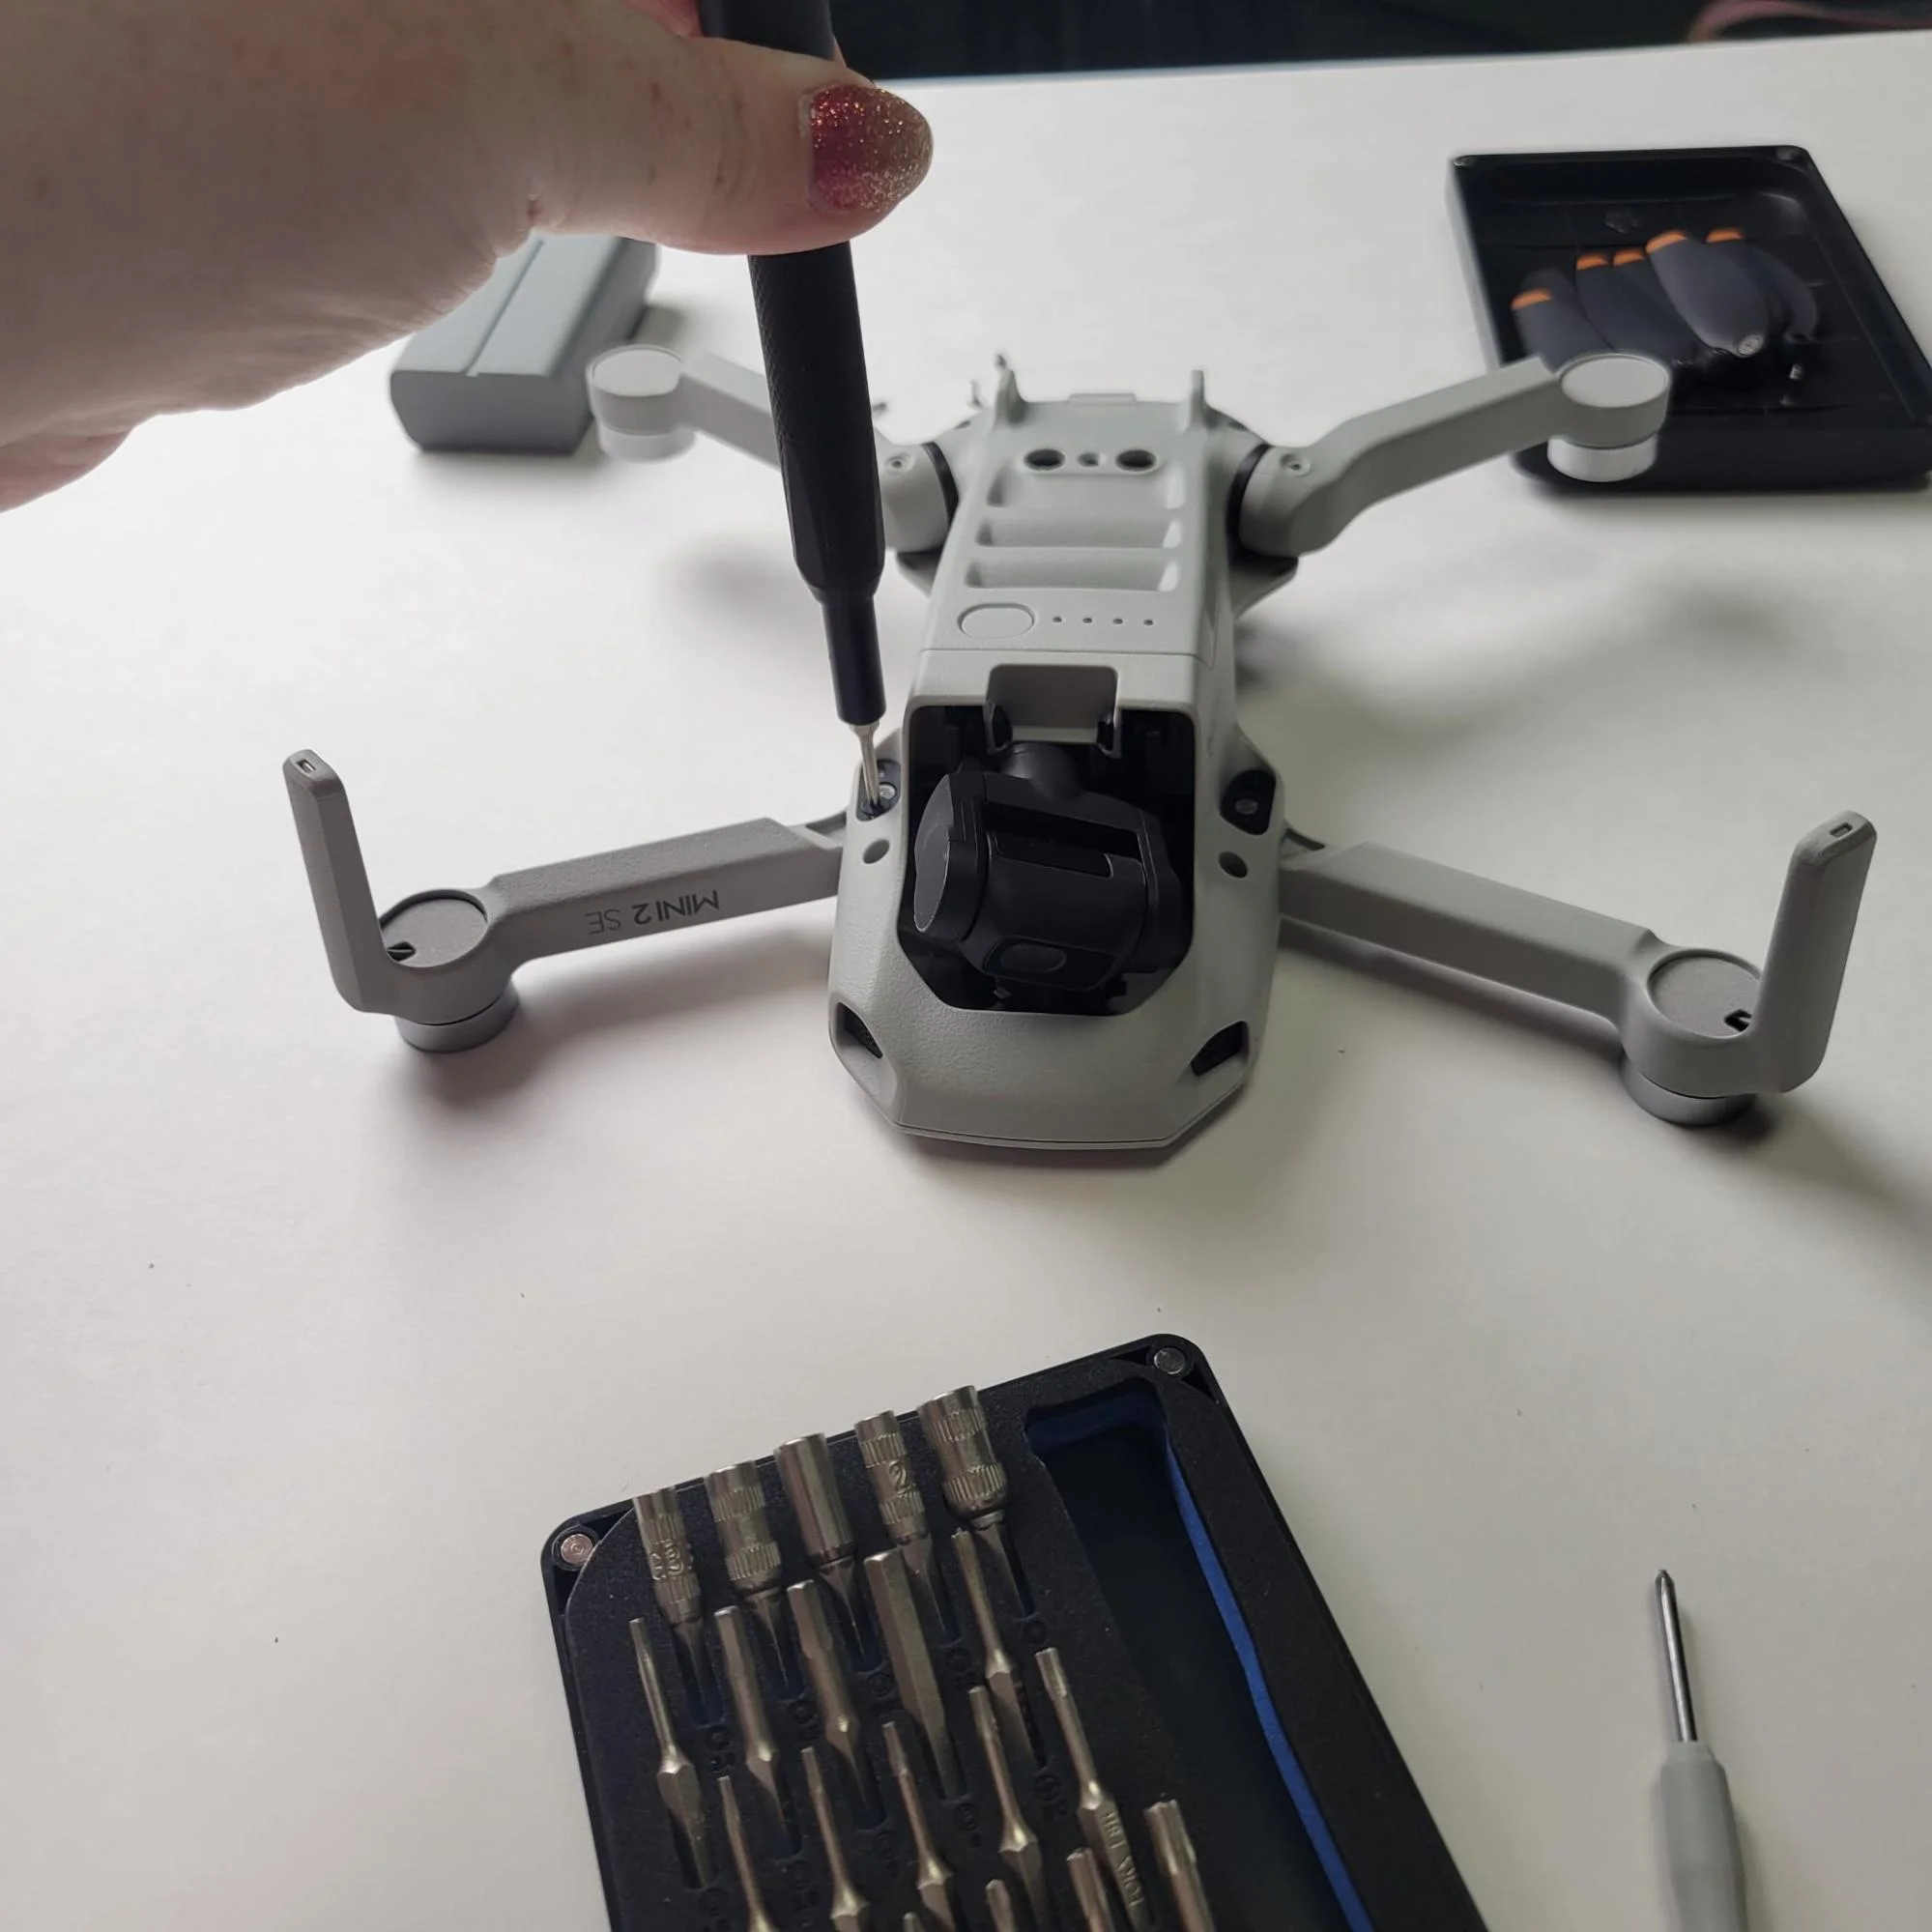
For a good teardown, you need the correct tools. Sometimes, you have to think outside the box and innovate with your tool selection, and I had an idea to use some non-traditional tools. Here is what I came up with for the teardown, and it worked pretty well:
- iFixit Mako Driver Kit – 64 Precision Bit Set for Electronics Repair is an awesome precision hand tool set with magnetic tips and an isolated, rotating end for easy turning.
- FAMILIFE Manicure Set is the non-traditional tool set I utilized because of the cutting tools with super sharp blades on the end. These were amazing for quickly and easily cutting otherwise inaccessible wires. I also utilized the tweezers from this set. I also used the nail file as a pry bar and a cuticle pusher as a pry bar. These tools are surprisingly robust.
- The screwdriver that came with the drone. This mini Phillips head screwdriver wasn’t very easy to use, so I swapped it for my own kit during the teardown.
Subscribe to Fictiv to be the first to hear about new teardowns.
Unboxing Experience
I felt it prudent to talk about the unboxing experience as the packaging for this drone is so well thought out and intuitive. I remember when, a decade + ago, sleek packaging like this was reserved only for cell phones and the like. But, now that our manufacturing capabilities have expanded, higher quality packaging, with some eco-friendly elements to boot. I am a sucker for renewable resource utilization, and DJI hit the nail on the head with their recyclable box and molded interior supports for the drone and remote control.
You can marvel at the unique and intelligent packaging in this photo:

Taking off the Propeller Blades

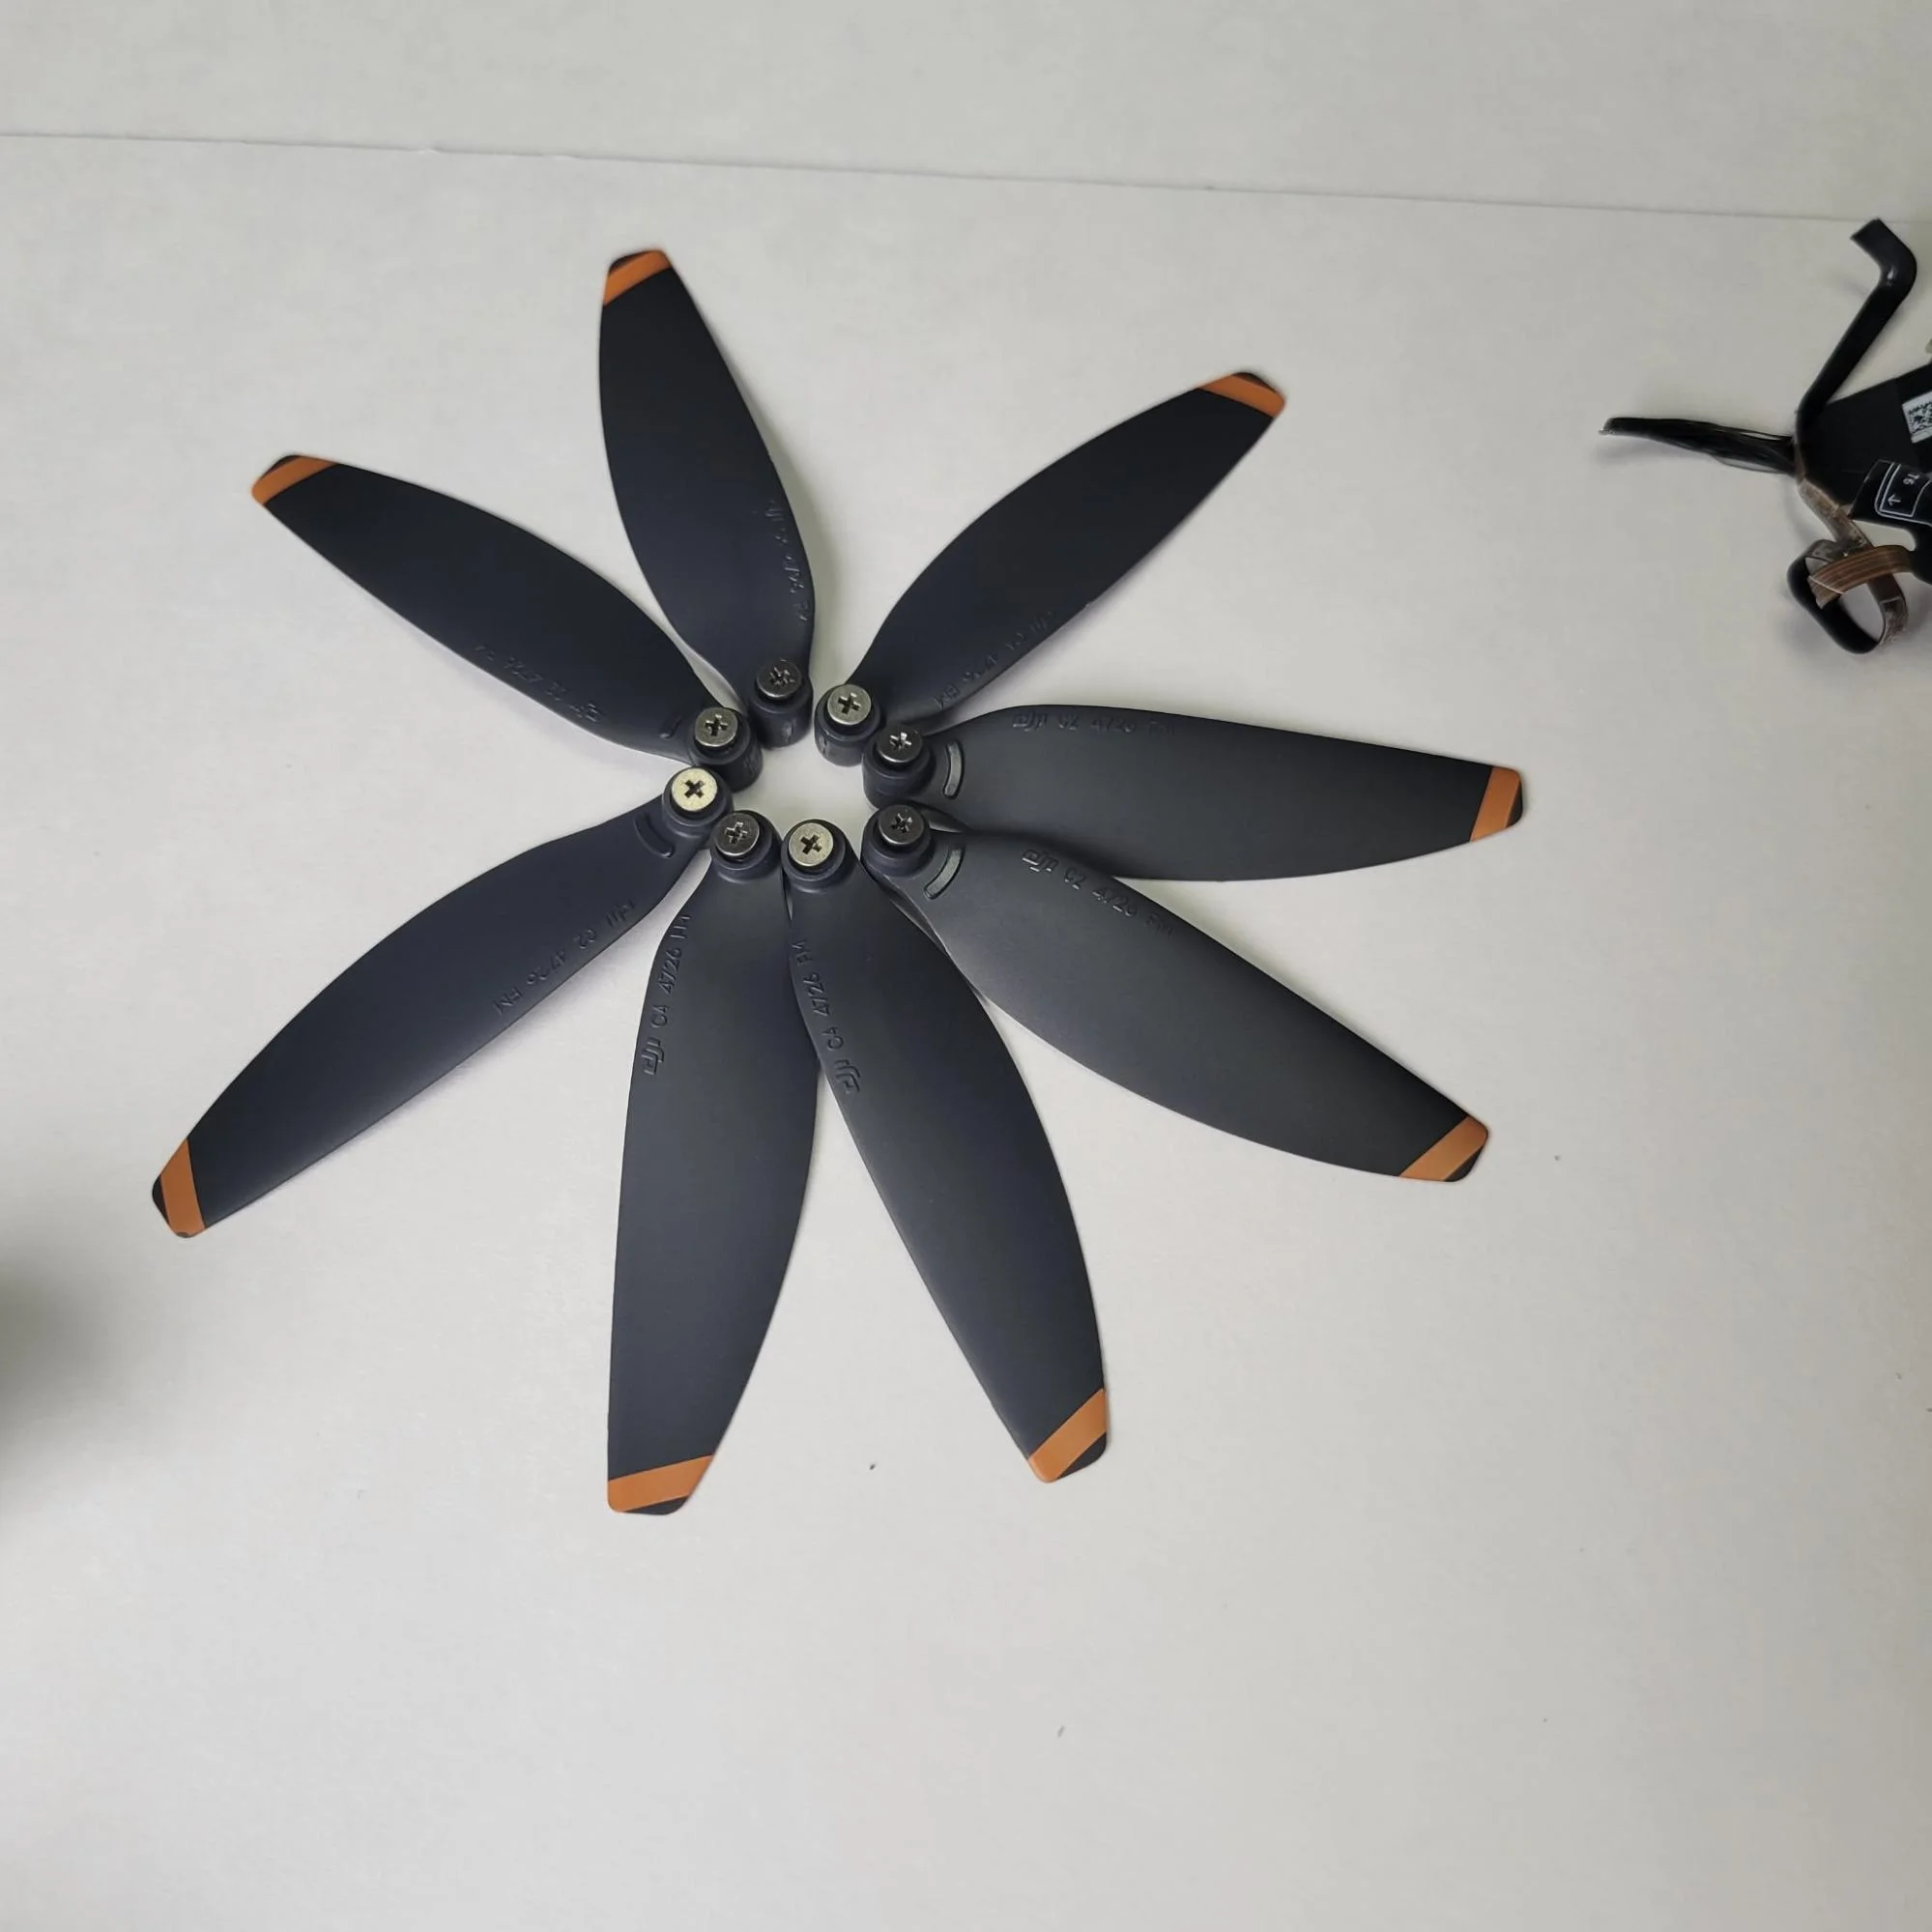
The drone contains 8 propeller blades, each fastened with a single screw making this part of the disassembly easy. The blades rest on these bearing-type circular protrusions and freely turn. I was also surprised at their lightweightness. The blades are so incredibly smooth and aerodynamic. They appear to be either injection molded or cut from a plastic sheet, and the holes are machined.
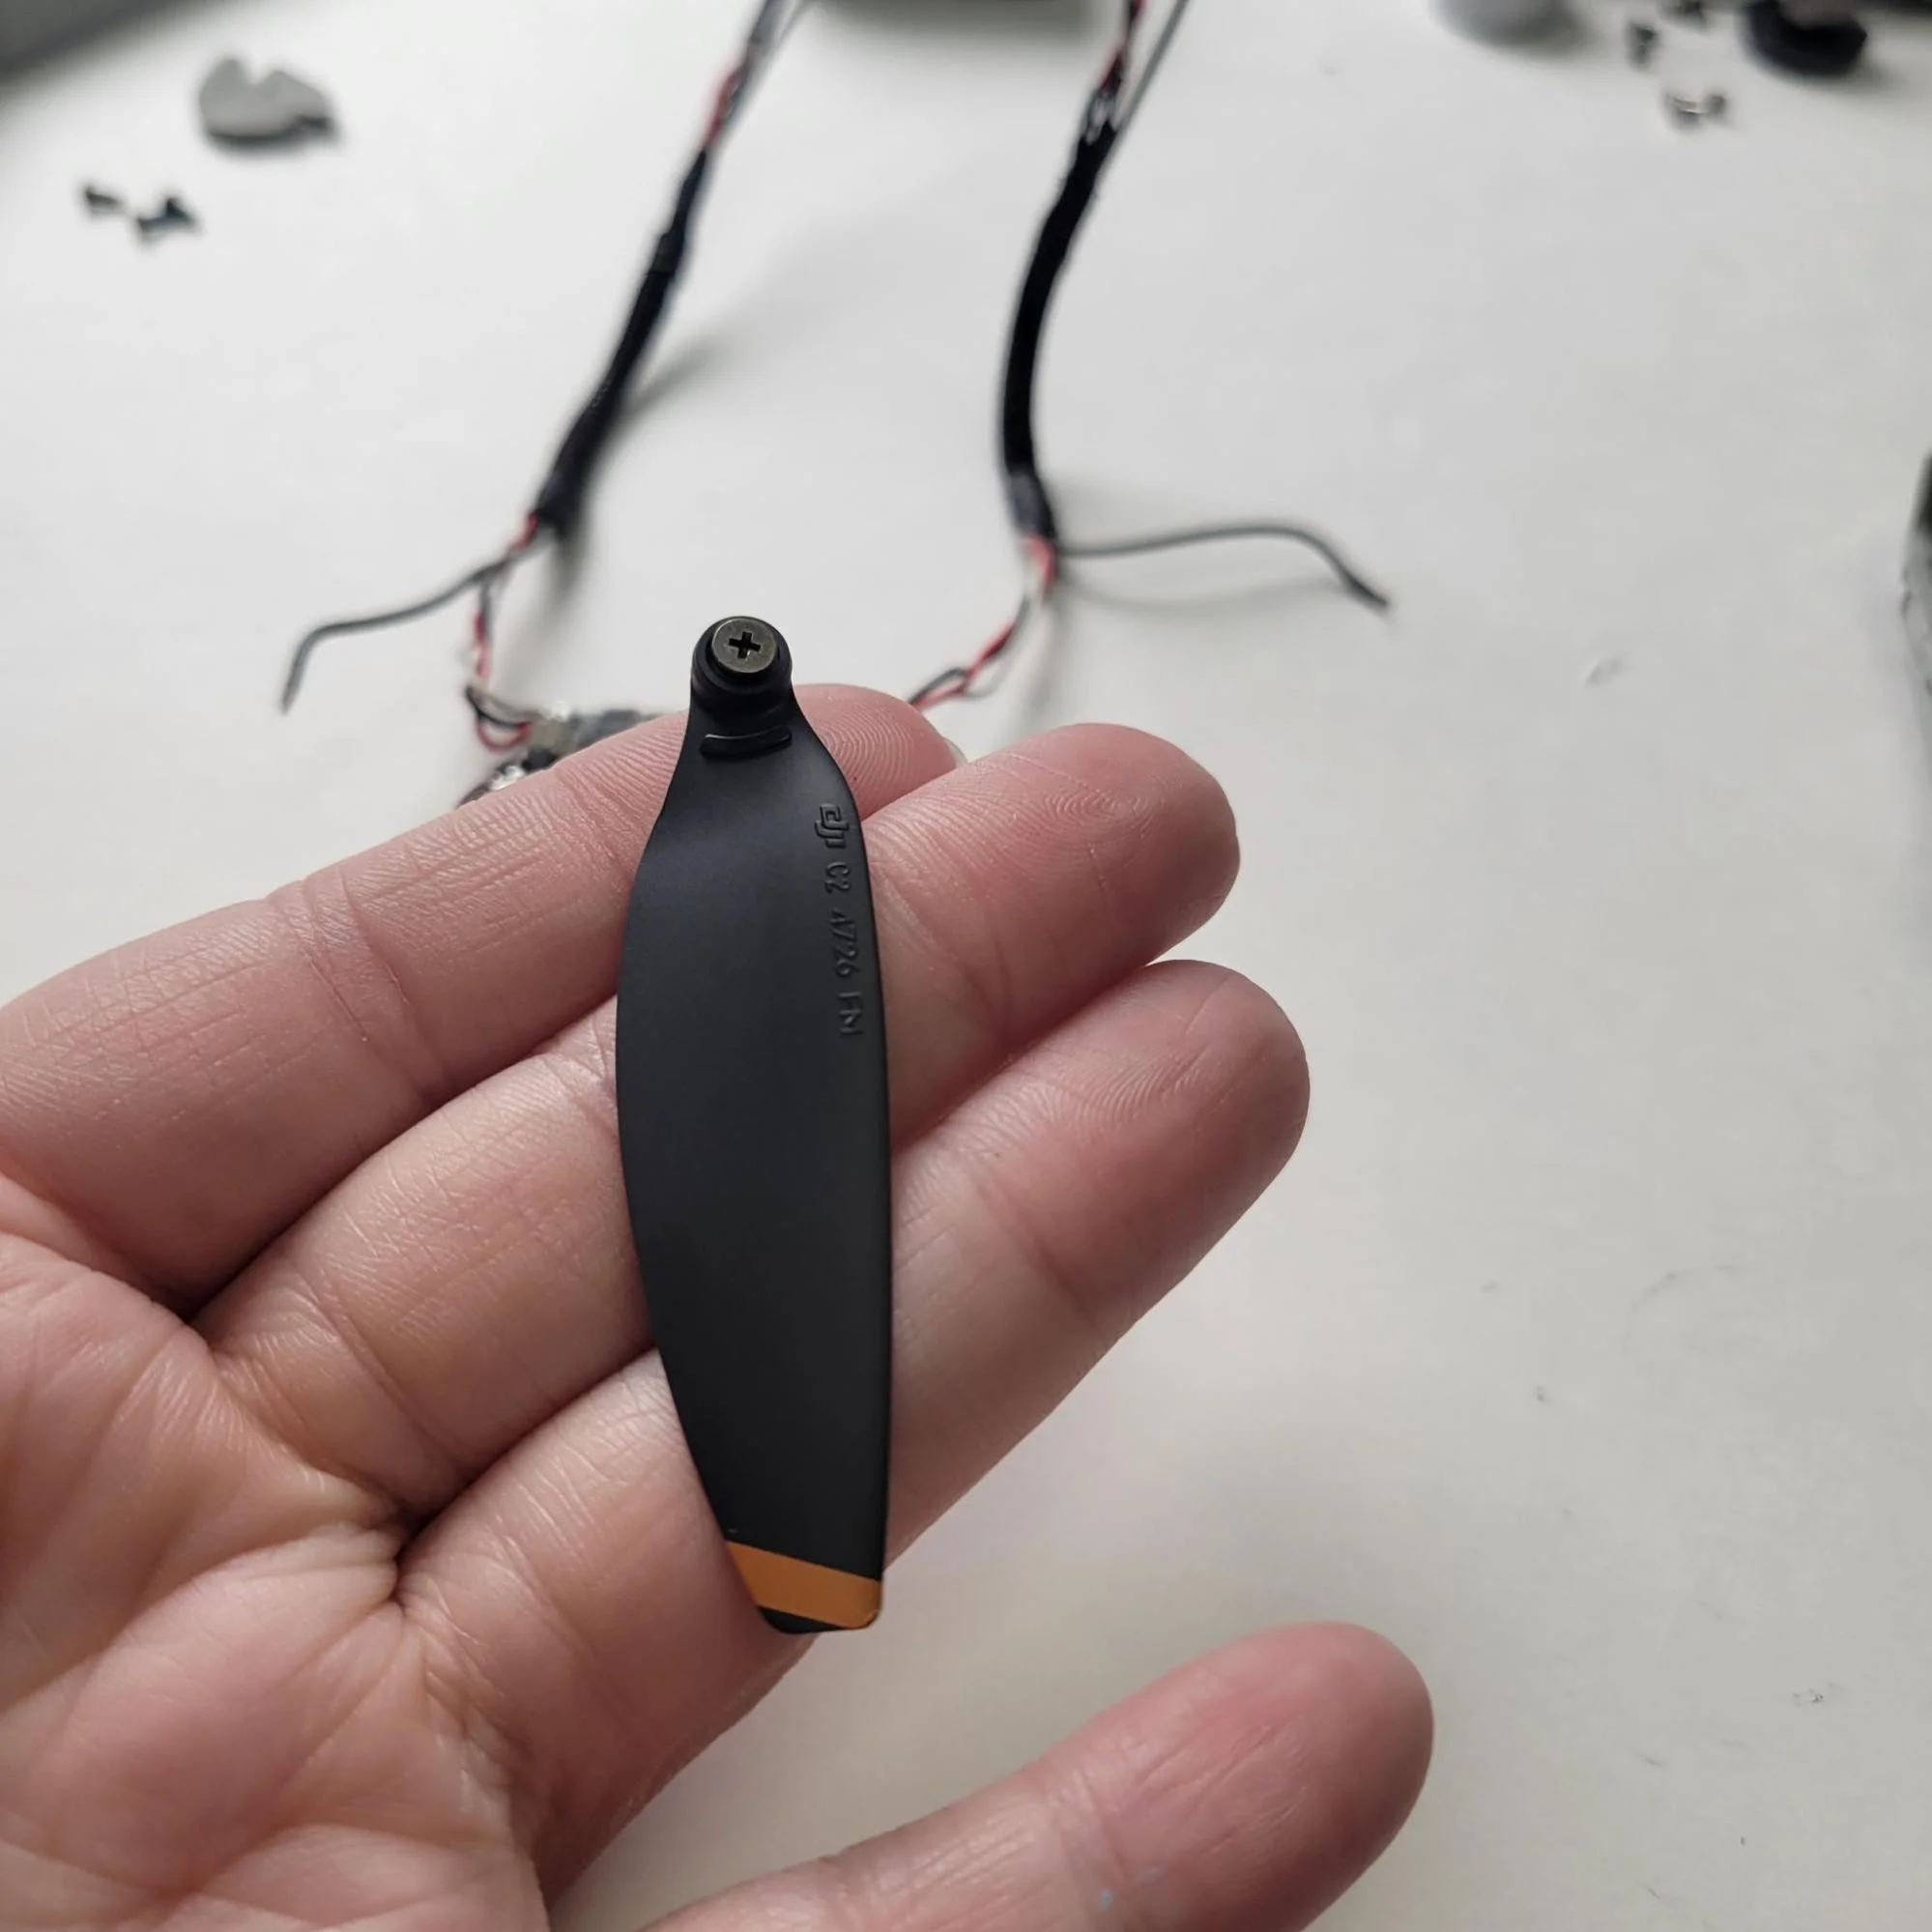
I also like the orange strip on the edges of the propeller, as this probably creates a nice visual while the drone is flying!
Camera and Battery Doors
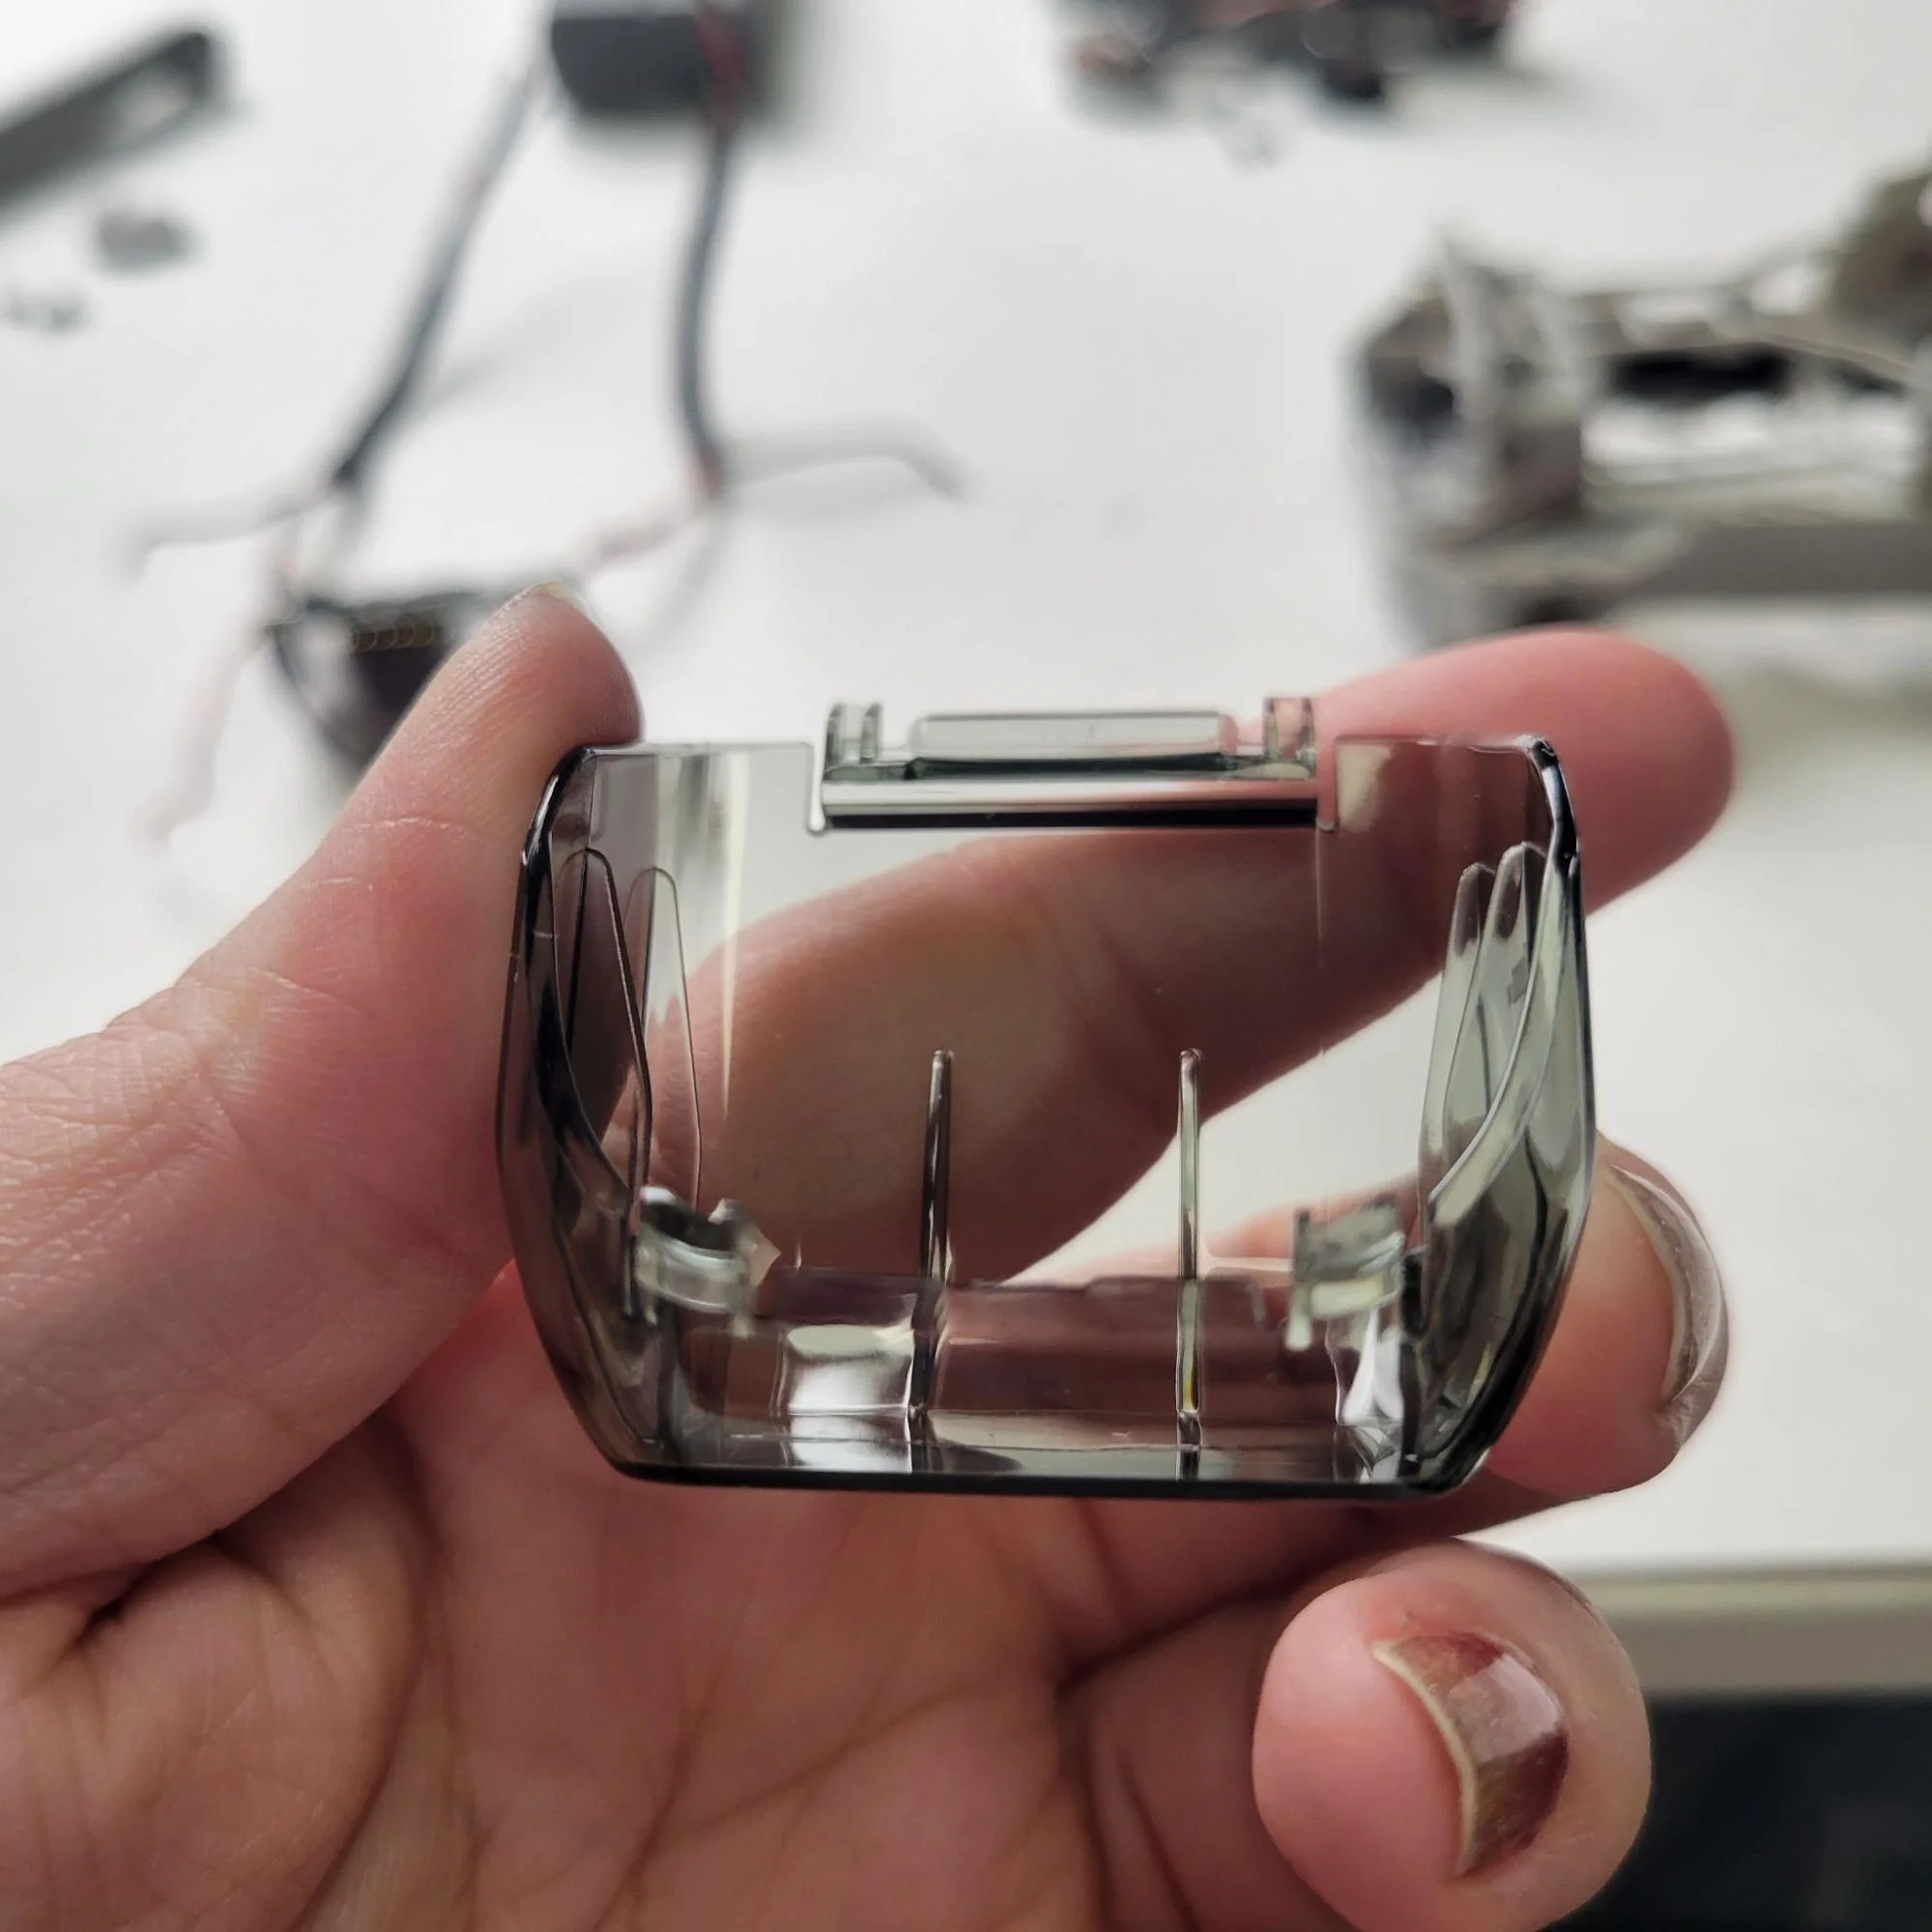
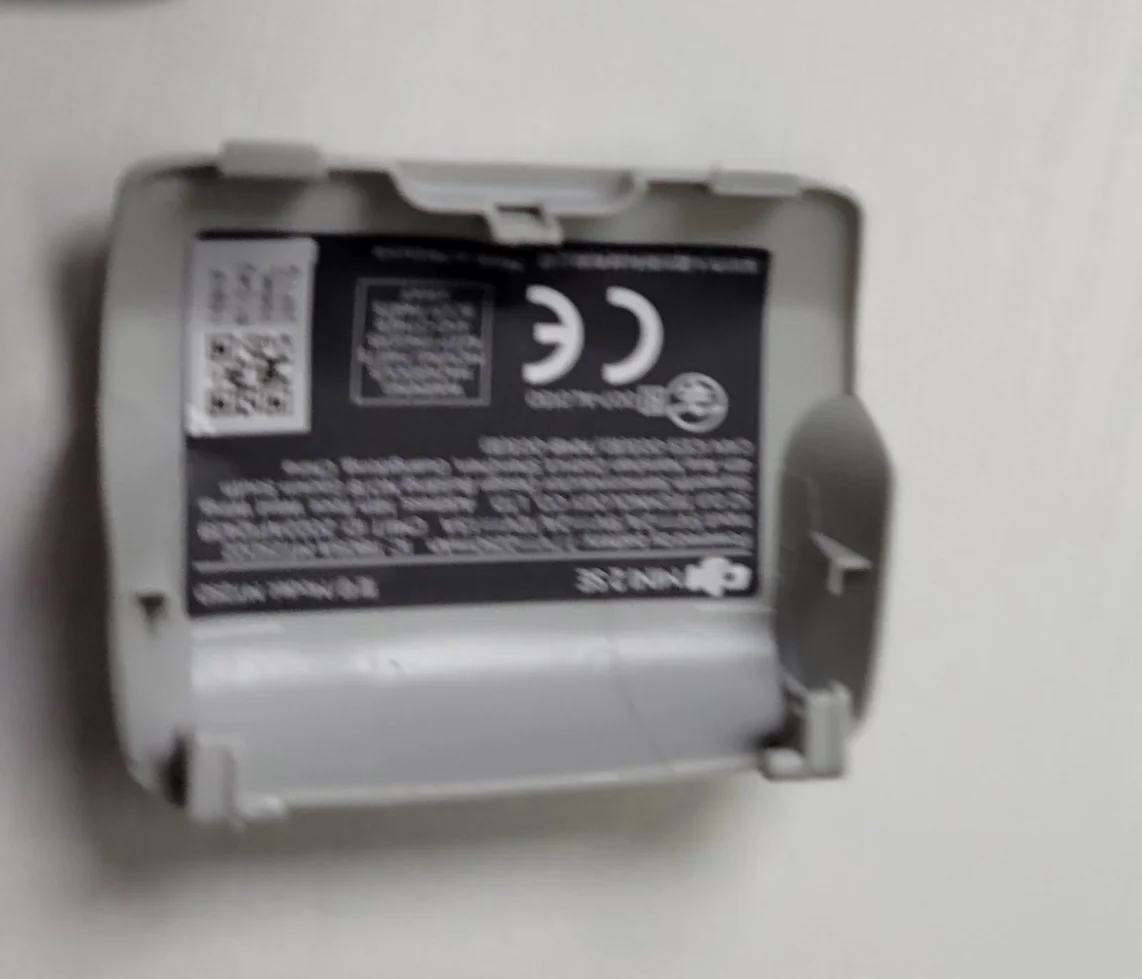
Both doors to access the camera and battery are single-piece injection molded and have built-in hinges. I found it impressive that these doors remained on the drone, even with the heavy vibration they saw, only with the snap-fit cantilever forces and the tension from the hinges. These injection molded parts also contain support ribbing on the interior, and both were pretty simple to remove once I figured out where the snap fits were.
Pro-Tip: If you want snap fits that are well designed, like those on the DJI Mini 2 SE Drone, check out our guide How to Design Snap Fits.
Bottom Drone Enclosure Removal
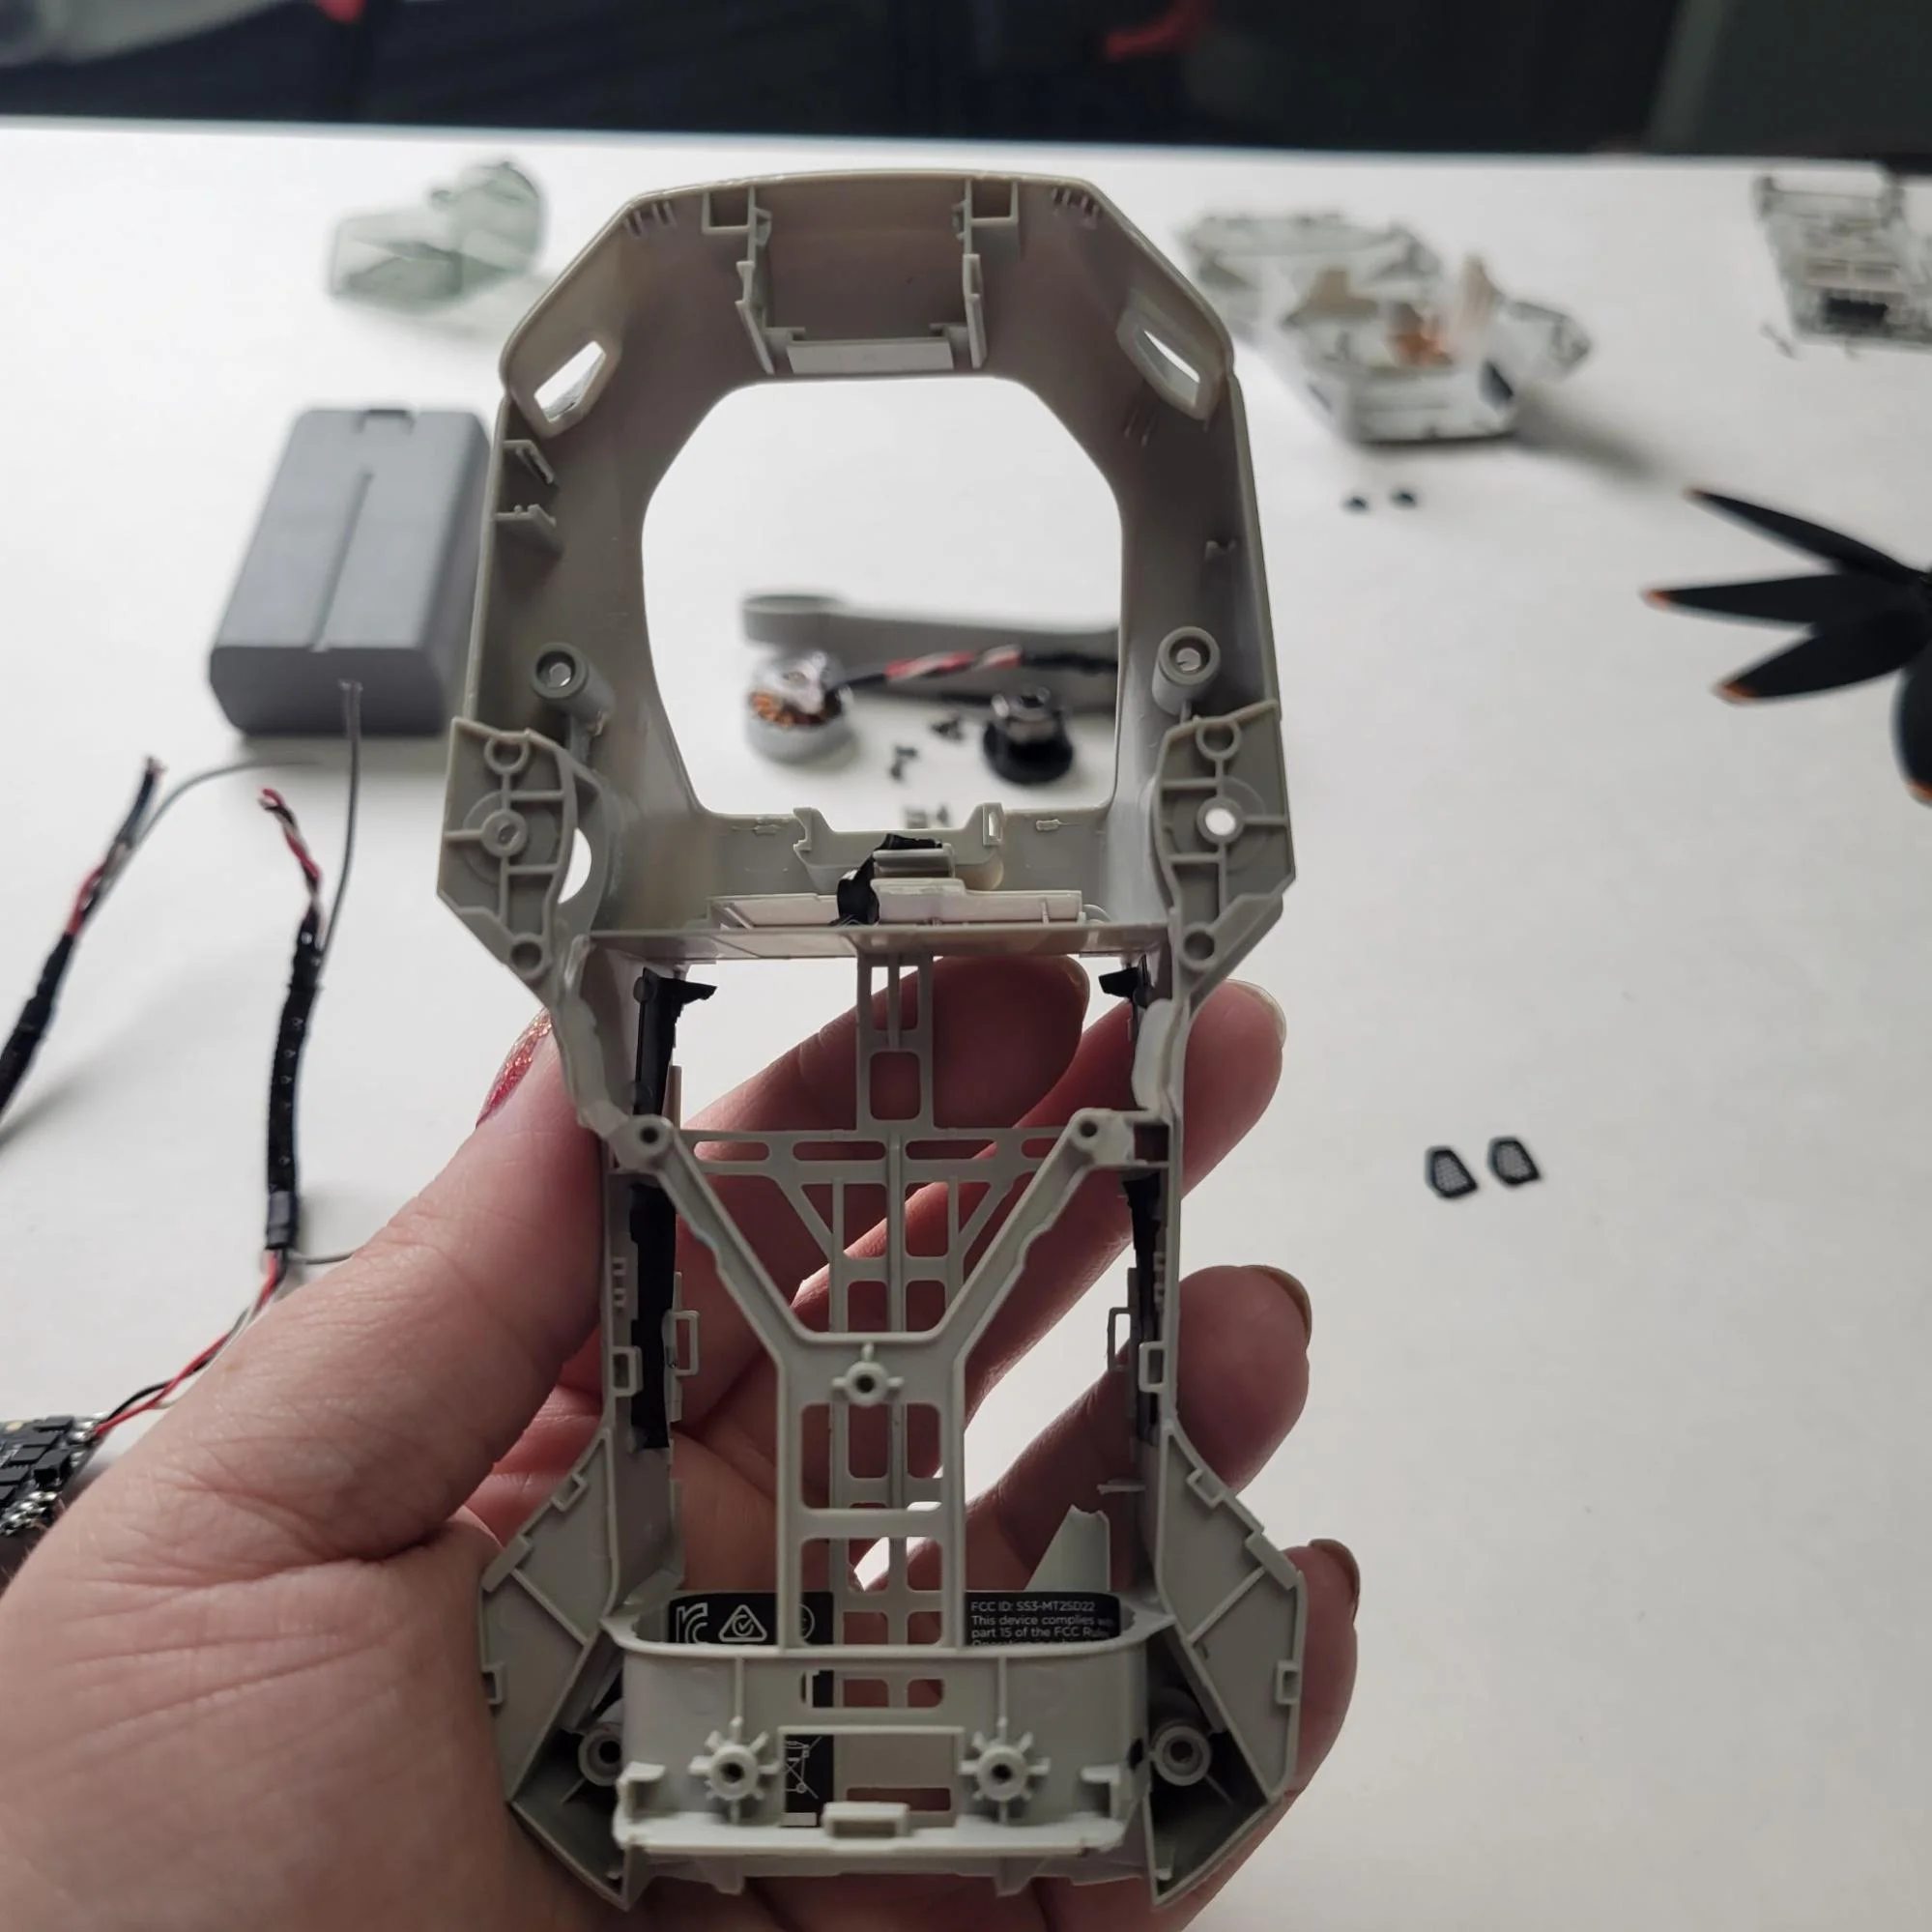
So, I decided to remove the bottom drone enclosure because removing it seemed more straightforward. This was not true. Knowing nothing about the design meant I had to suffer through trial and error to remove this well-designed and intact enclosure. The bottom enclosure is injection molded and was attached with several snap-fit locations and screws. It is designed to be attached to each propeller ‘arm’ to stabilize it.
This part was very difficult to remove, another testament to the sturdy and durable drone design. I was only able to remove a small panel with built-in ventilation for the electrical components that sit underneath it at first:

The bottom enclosure removal comes much later, but for the sake of thoroughness, here is an image of that part:
Removal of Top Enclosure
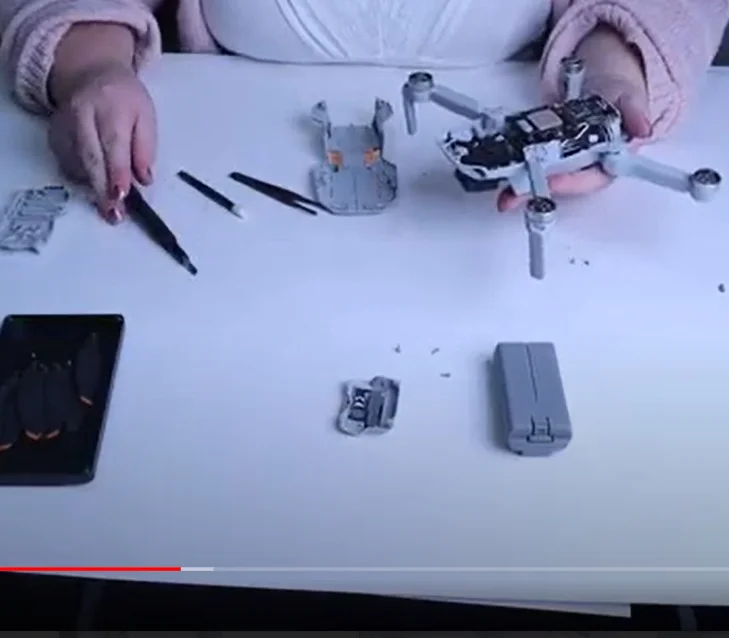
The top enclosure removal is what I did next. It required tons of patience because of all the snap fits within it that I couldn’t see. For the next teardown, I am asking for a CT scan of the assembly first (Am I right?). The top enclosure was attached with several snap-fit locations and screws alongside hinge insert holes for the camera door. It’s a pretty complex and sturdy injection molded part. Here is the top enclosure, which is a single injection molded part.
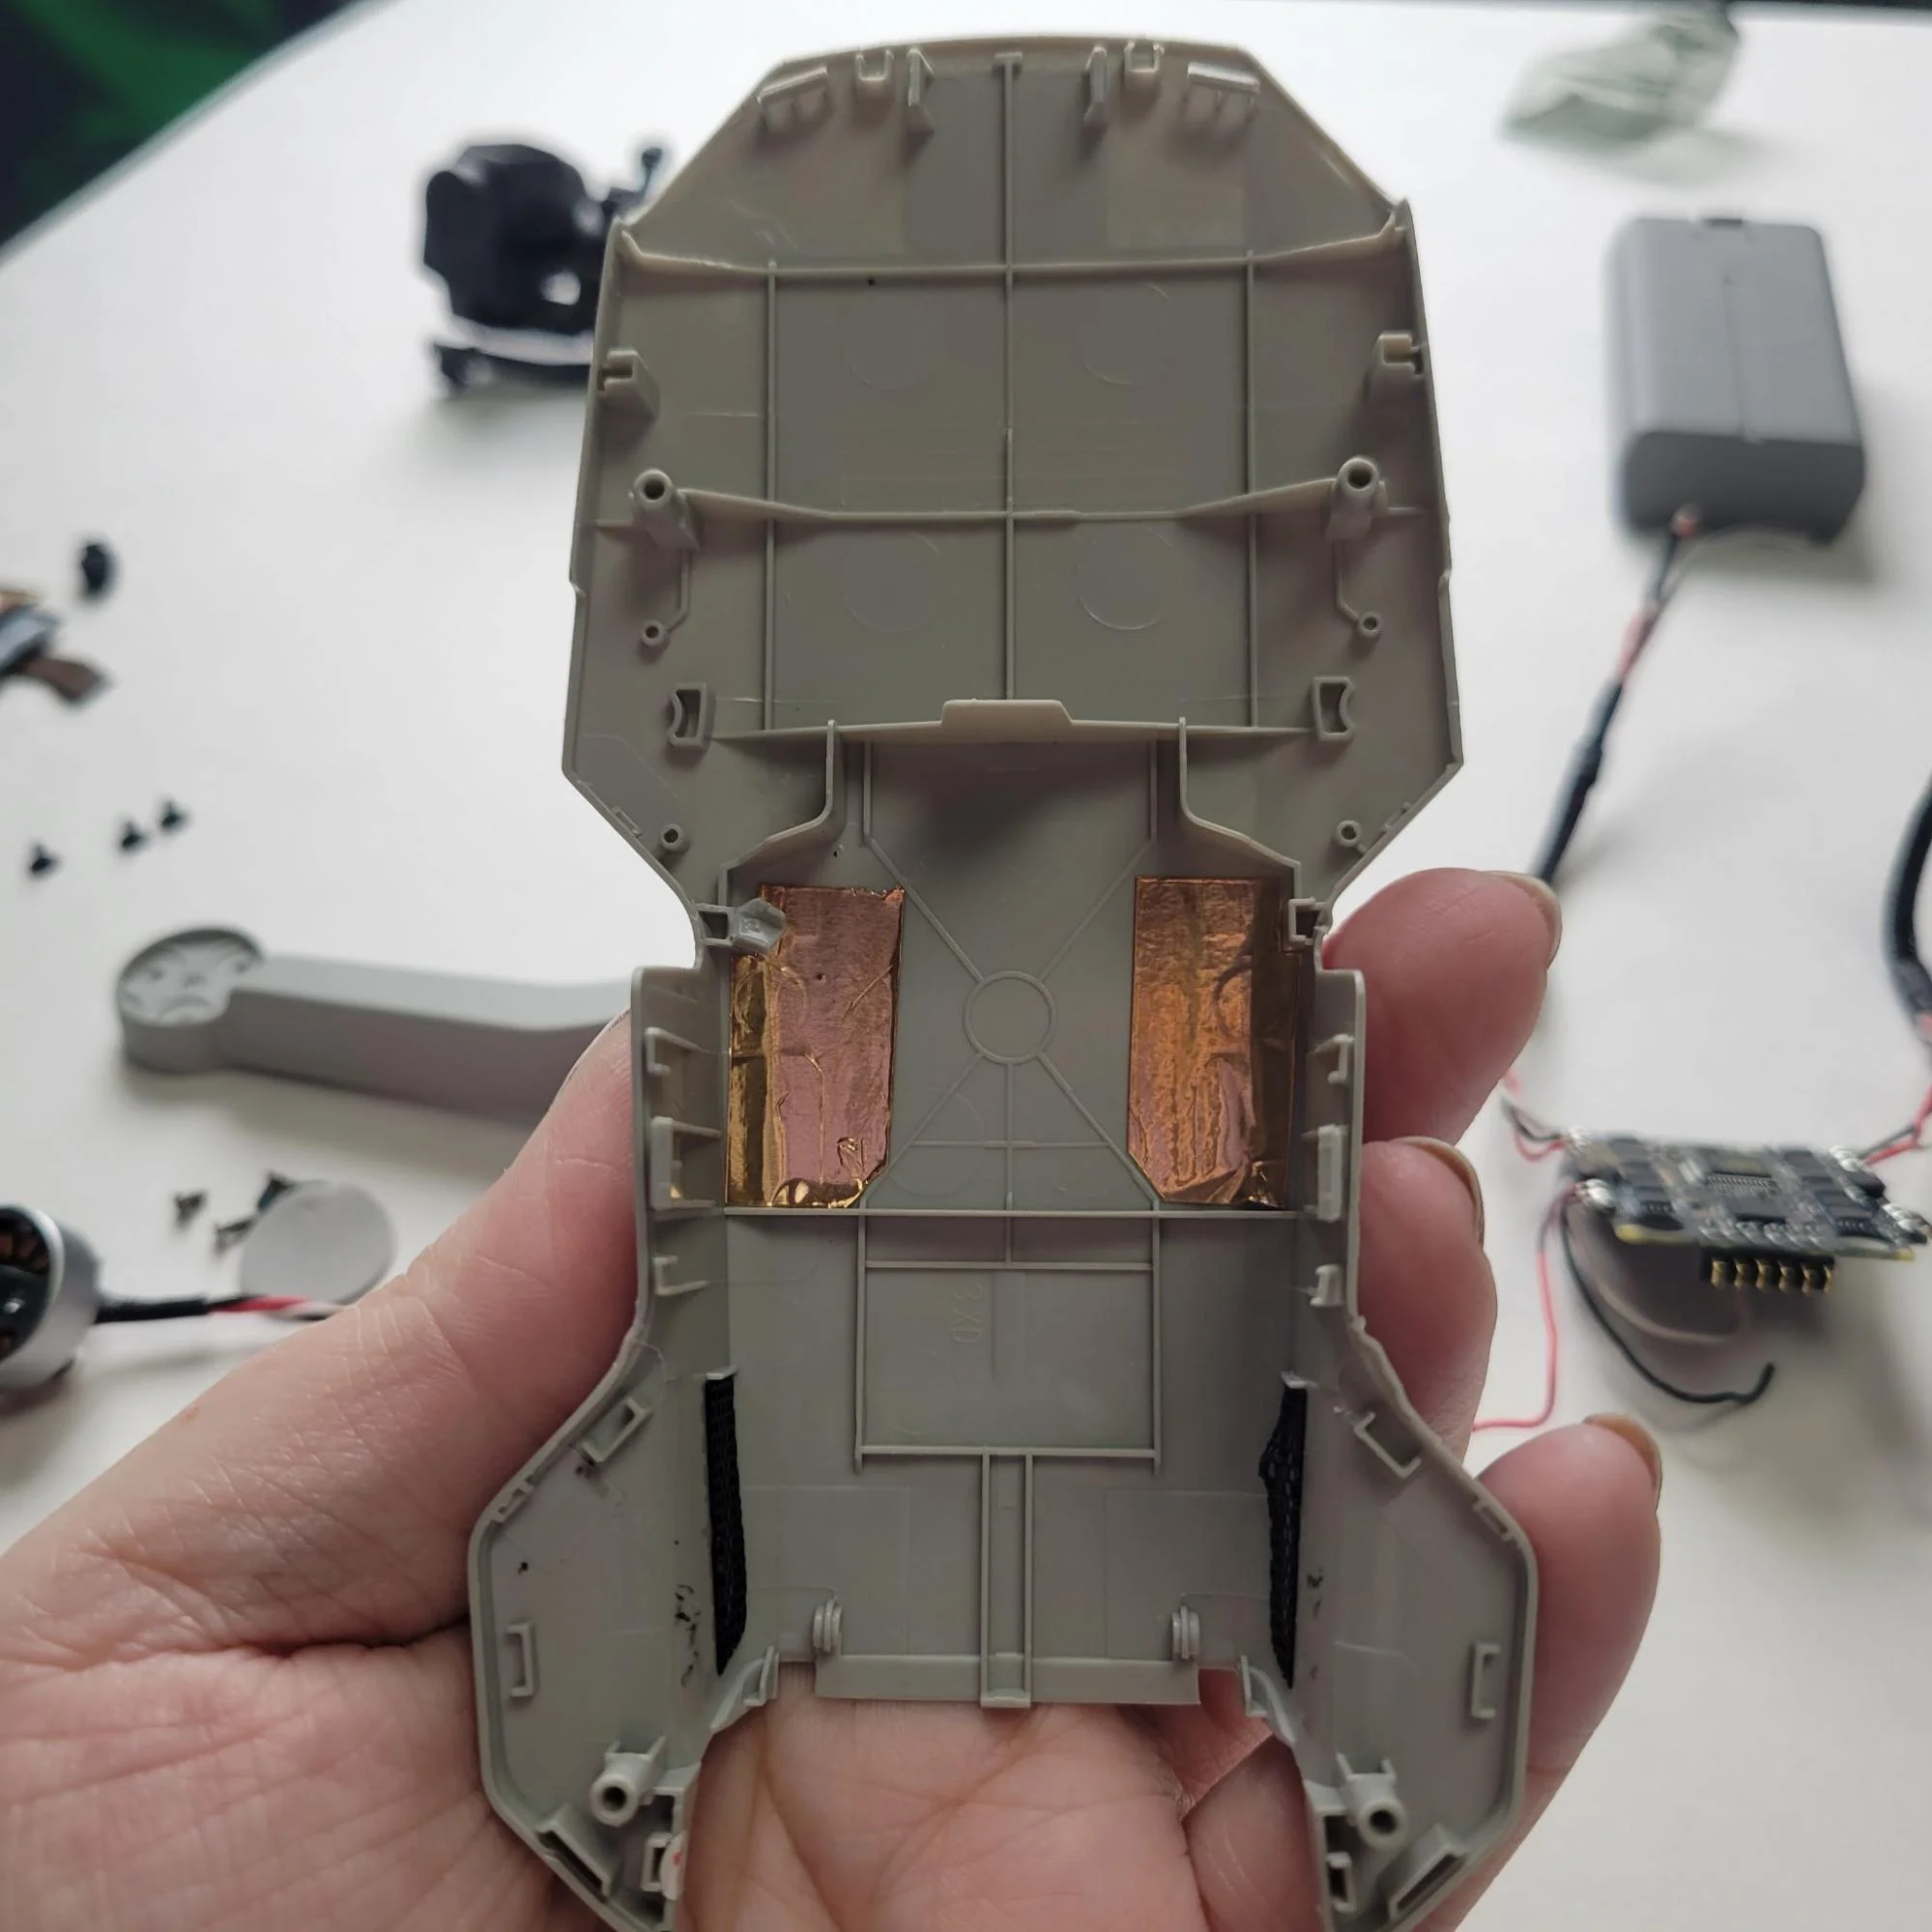
I also recognized the copper conductive tape near the midsection of the enclosure because it reminded me of my days using copper conductive tape to calibrate a scanning electron microscope. A good blast from the past!
I also want to point out that here is where I started noticing some intuitive and intelligent vibration dampeners throughout the drone assembly, some of which I haven’t seen before. I’m not exactly sure what the materials are, but some had pretty intricate designs that I could tell were specific to this application. Another brownie point for the engineers at DJI.
Electrical Component Disassembly
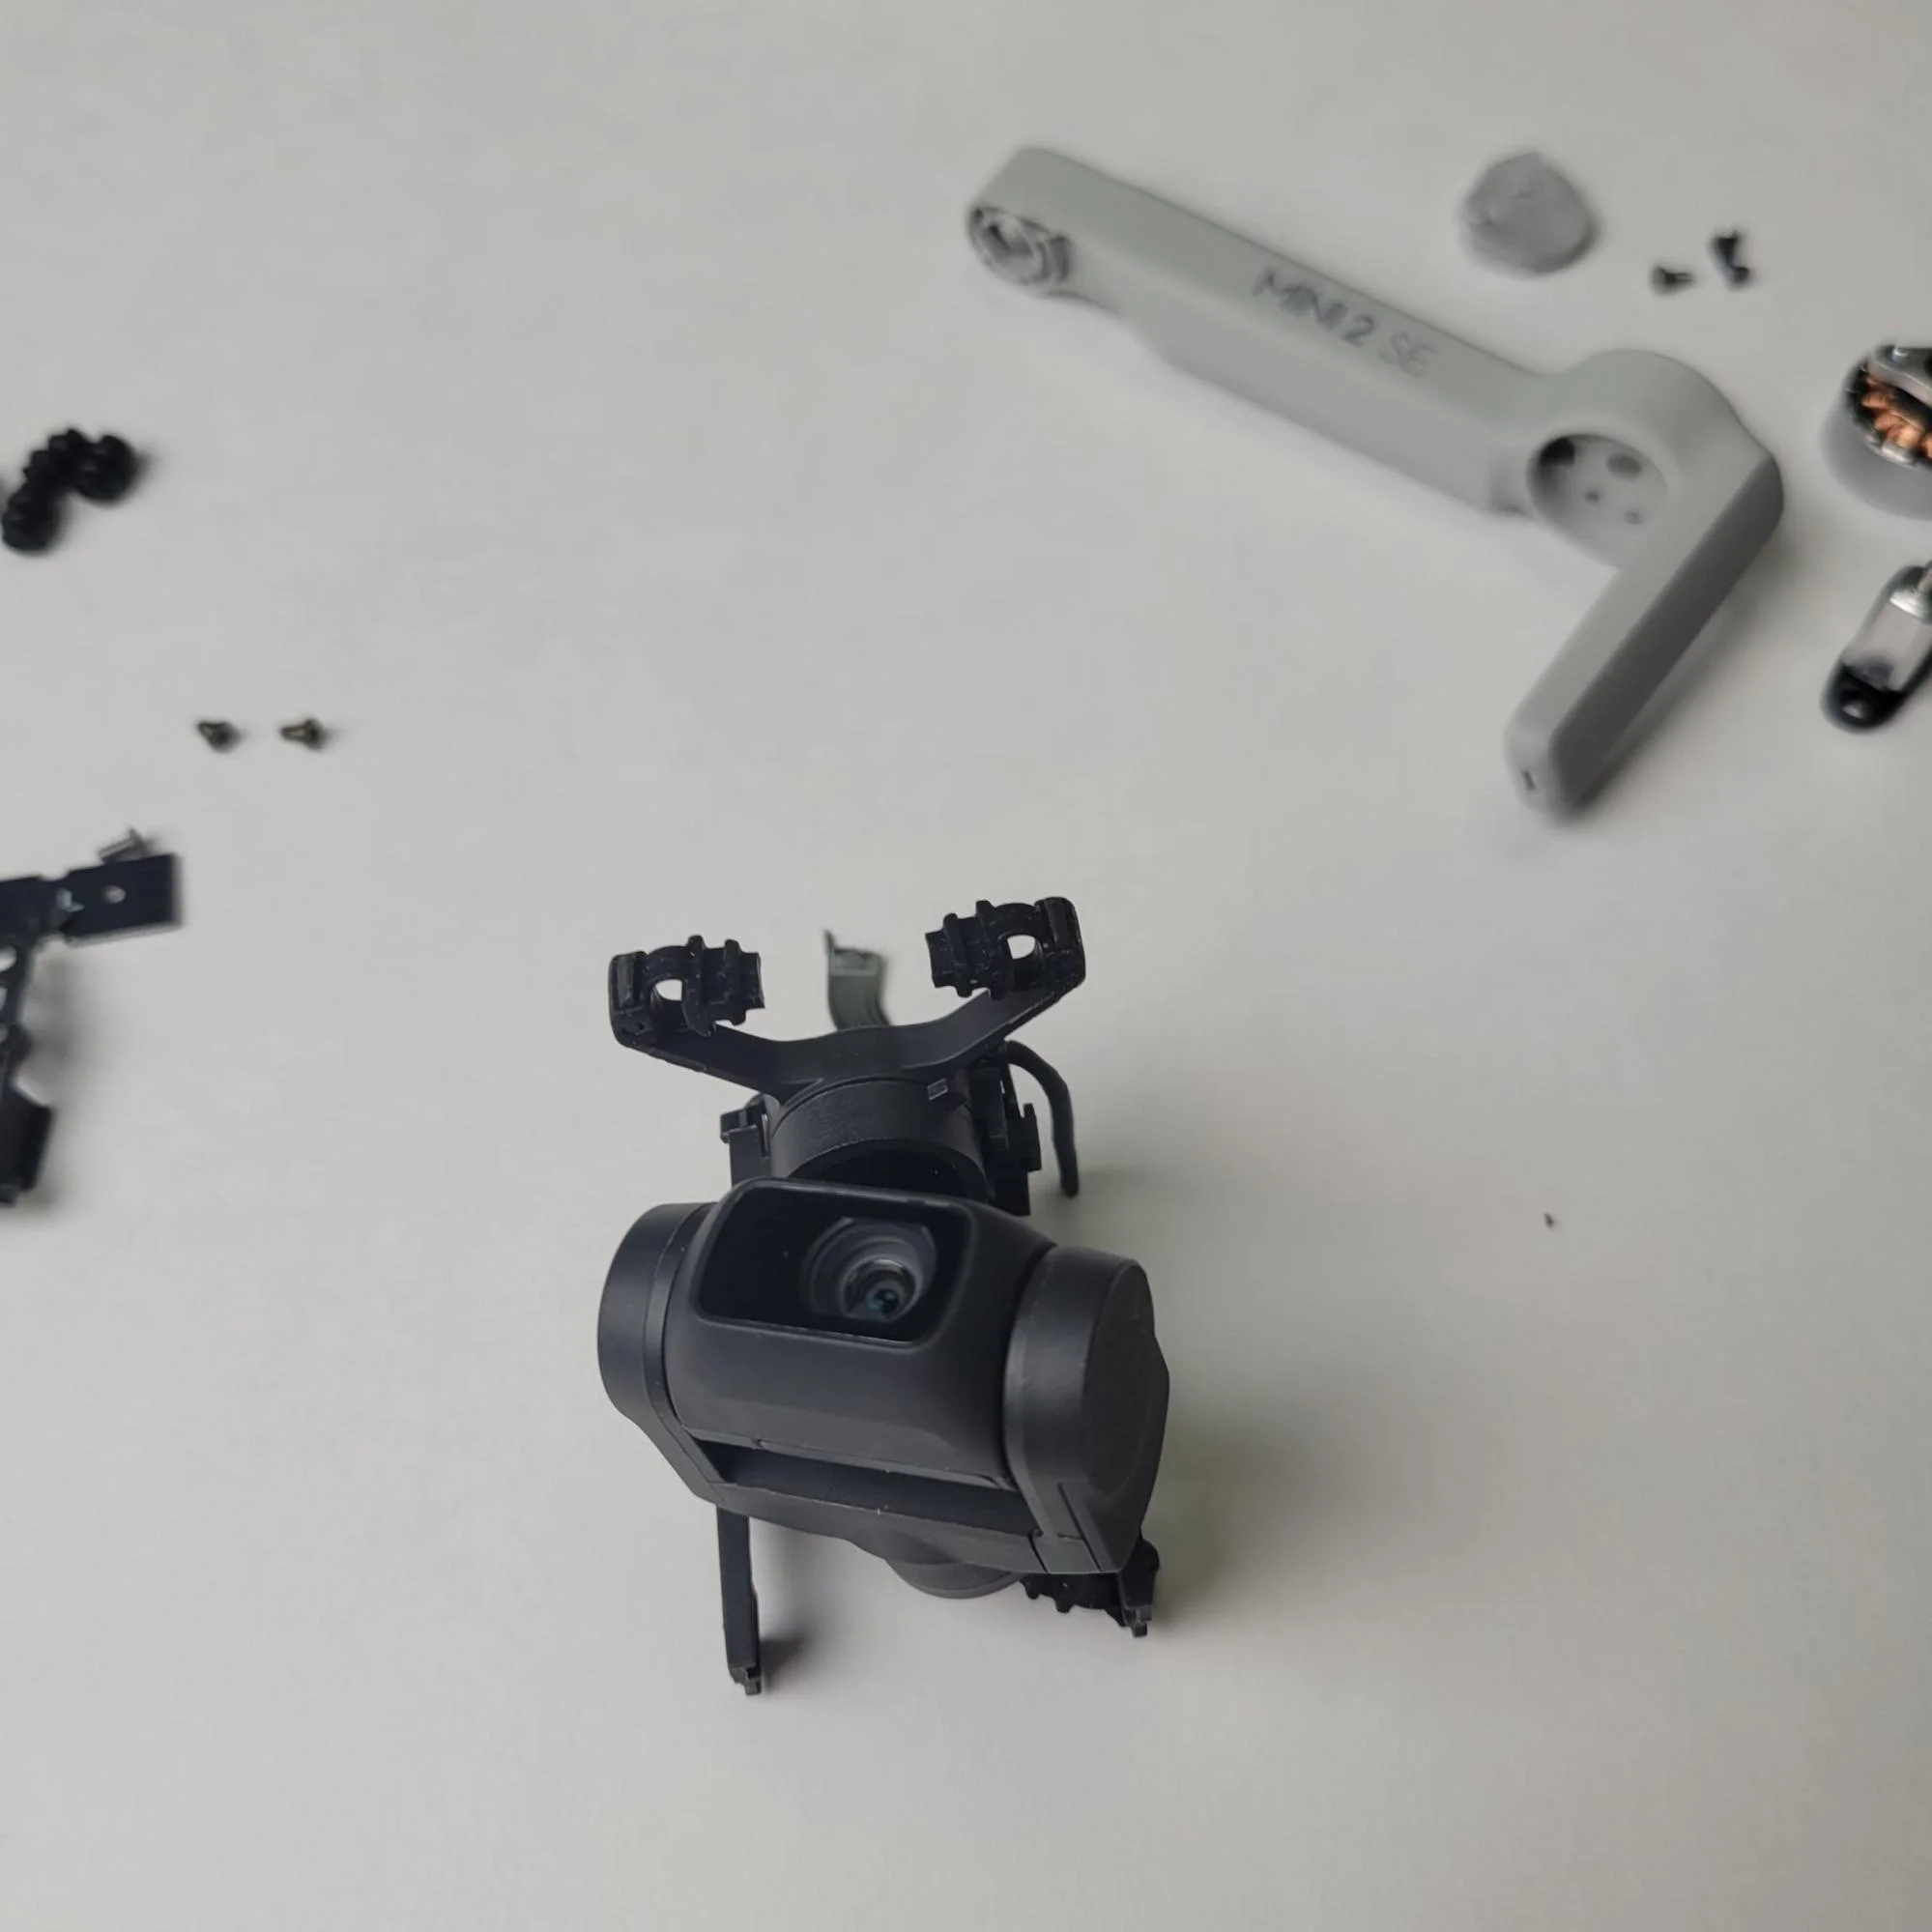
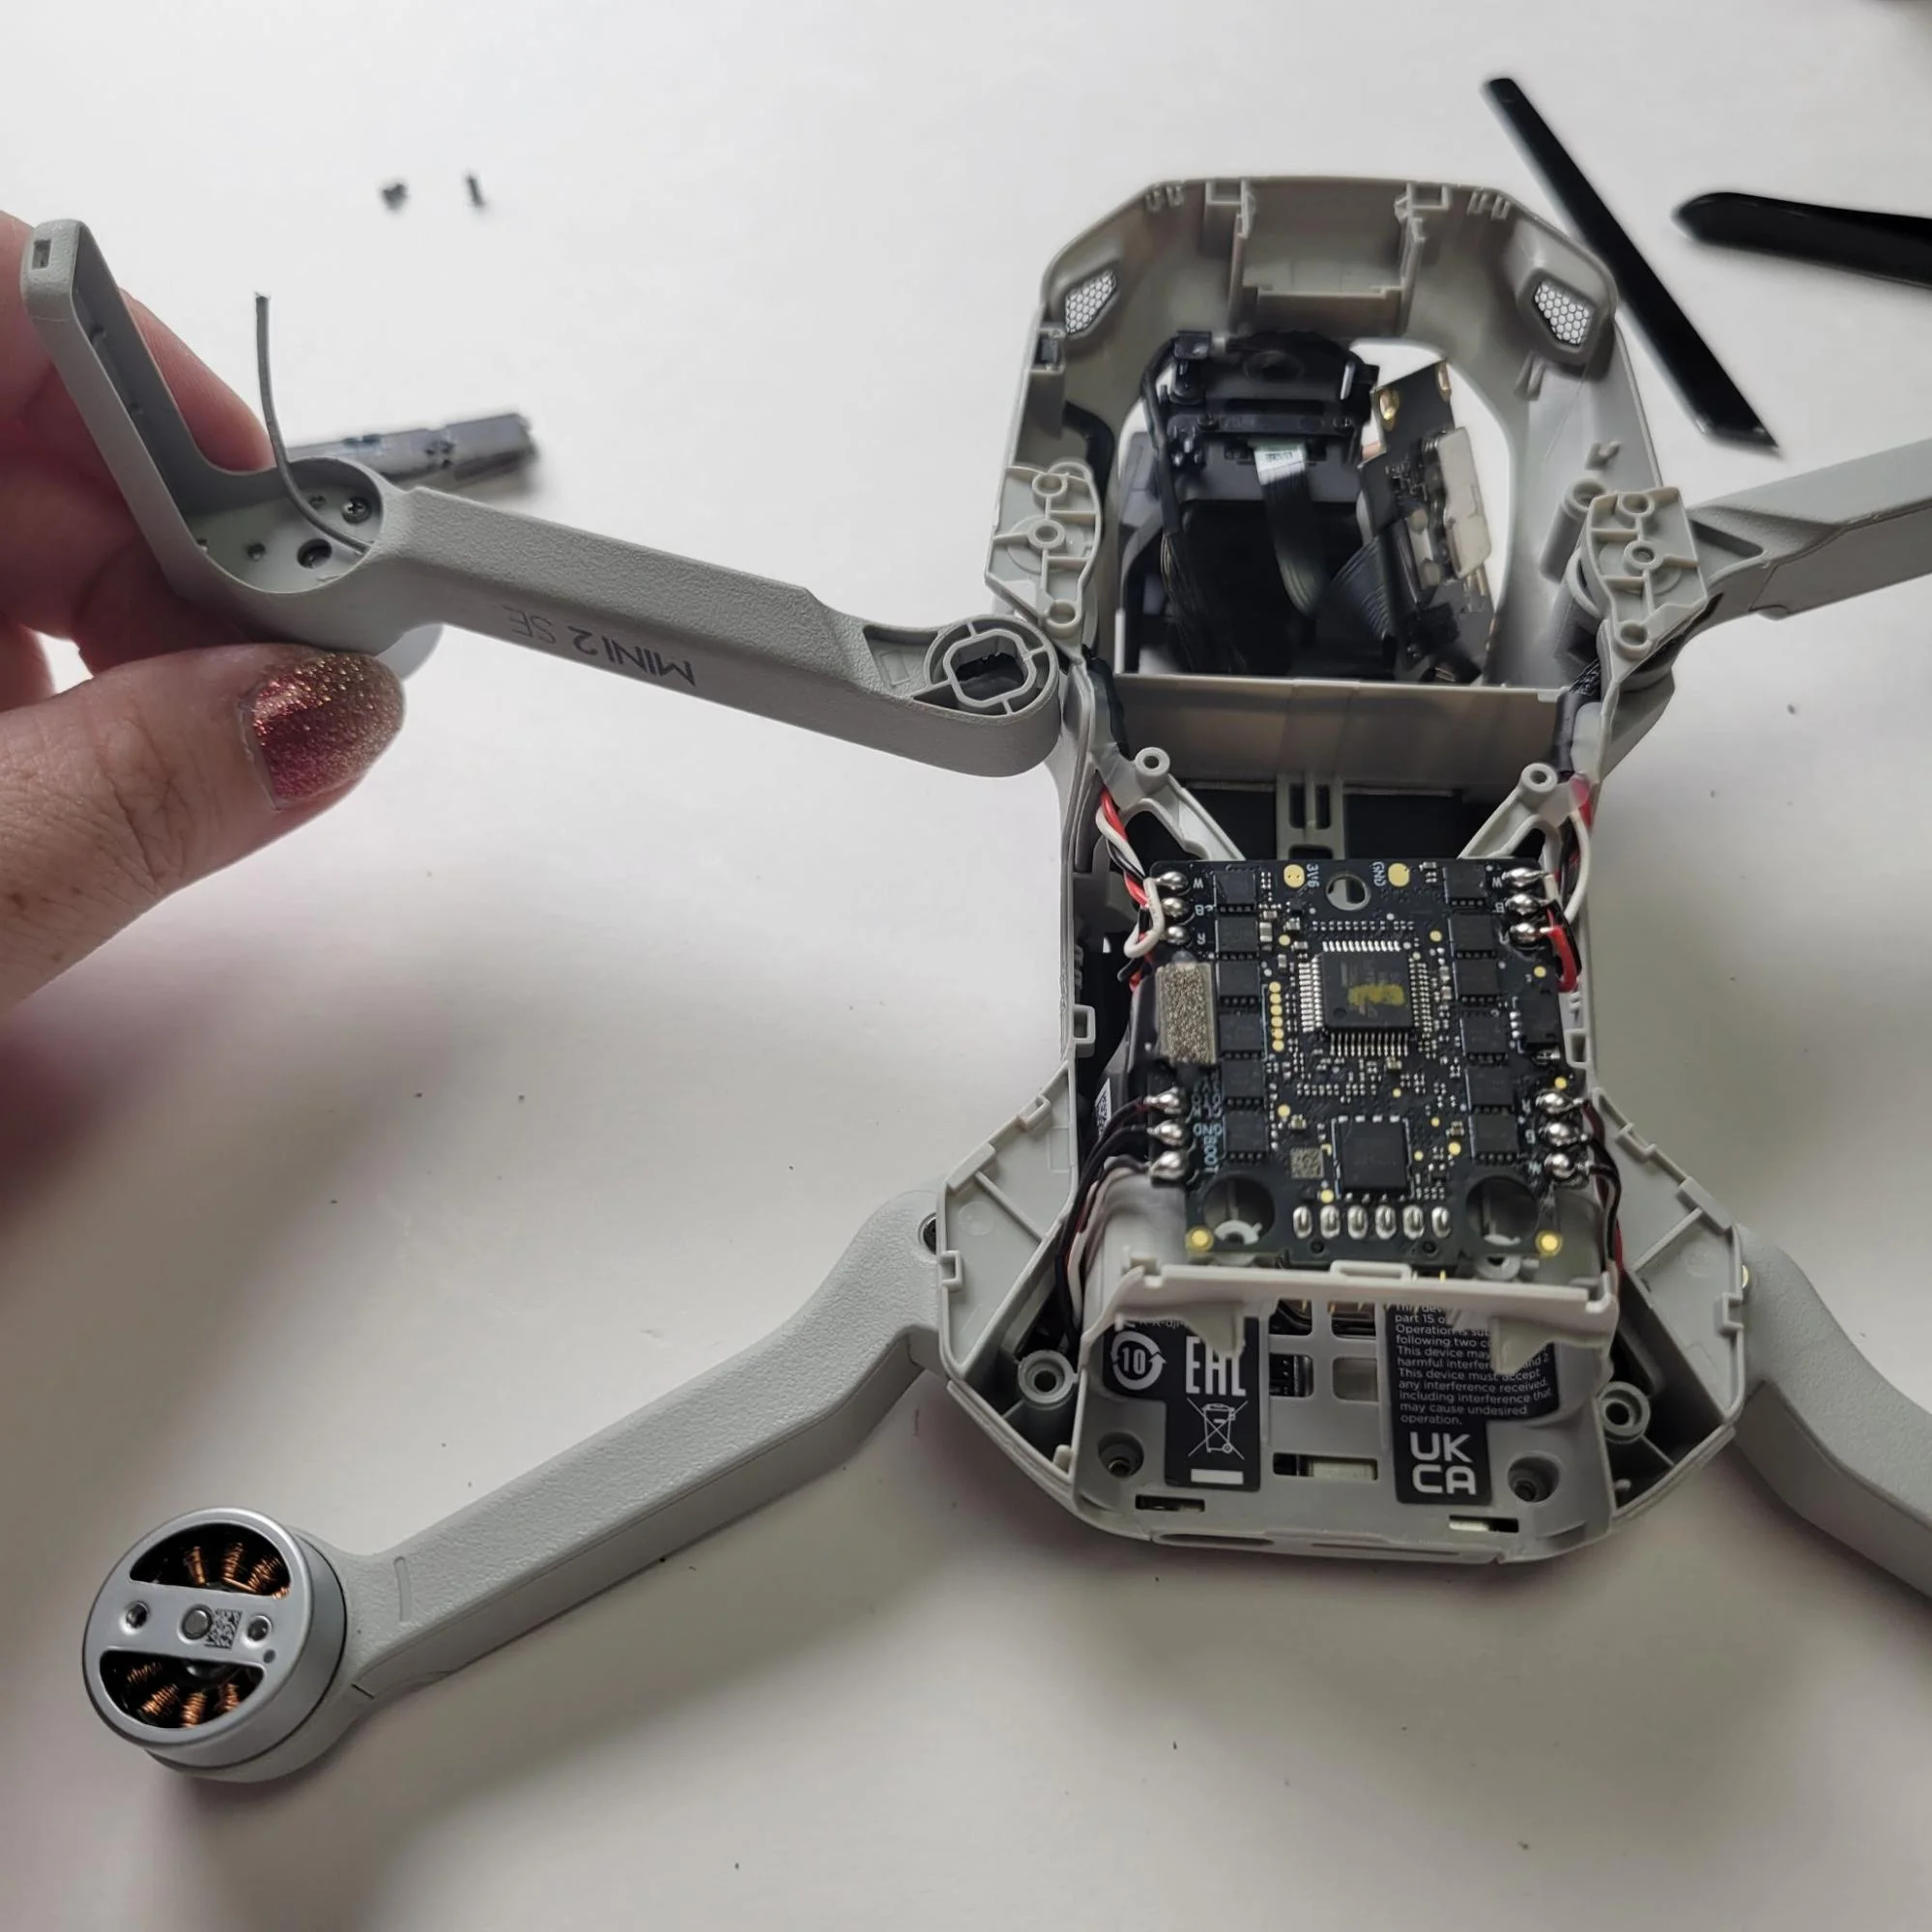
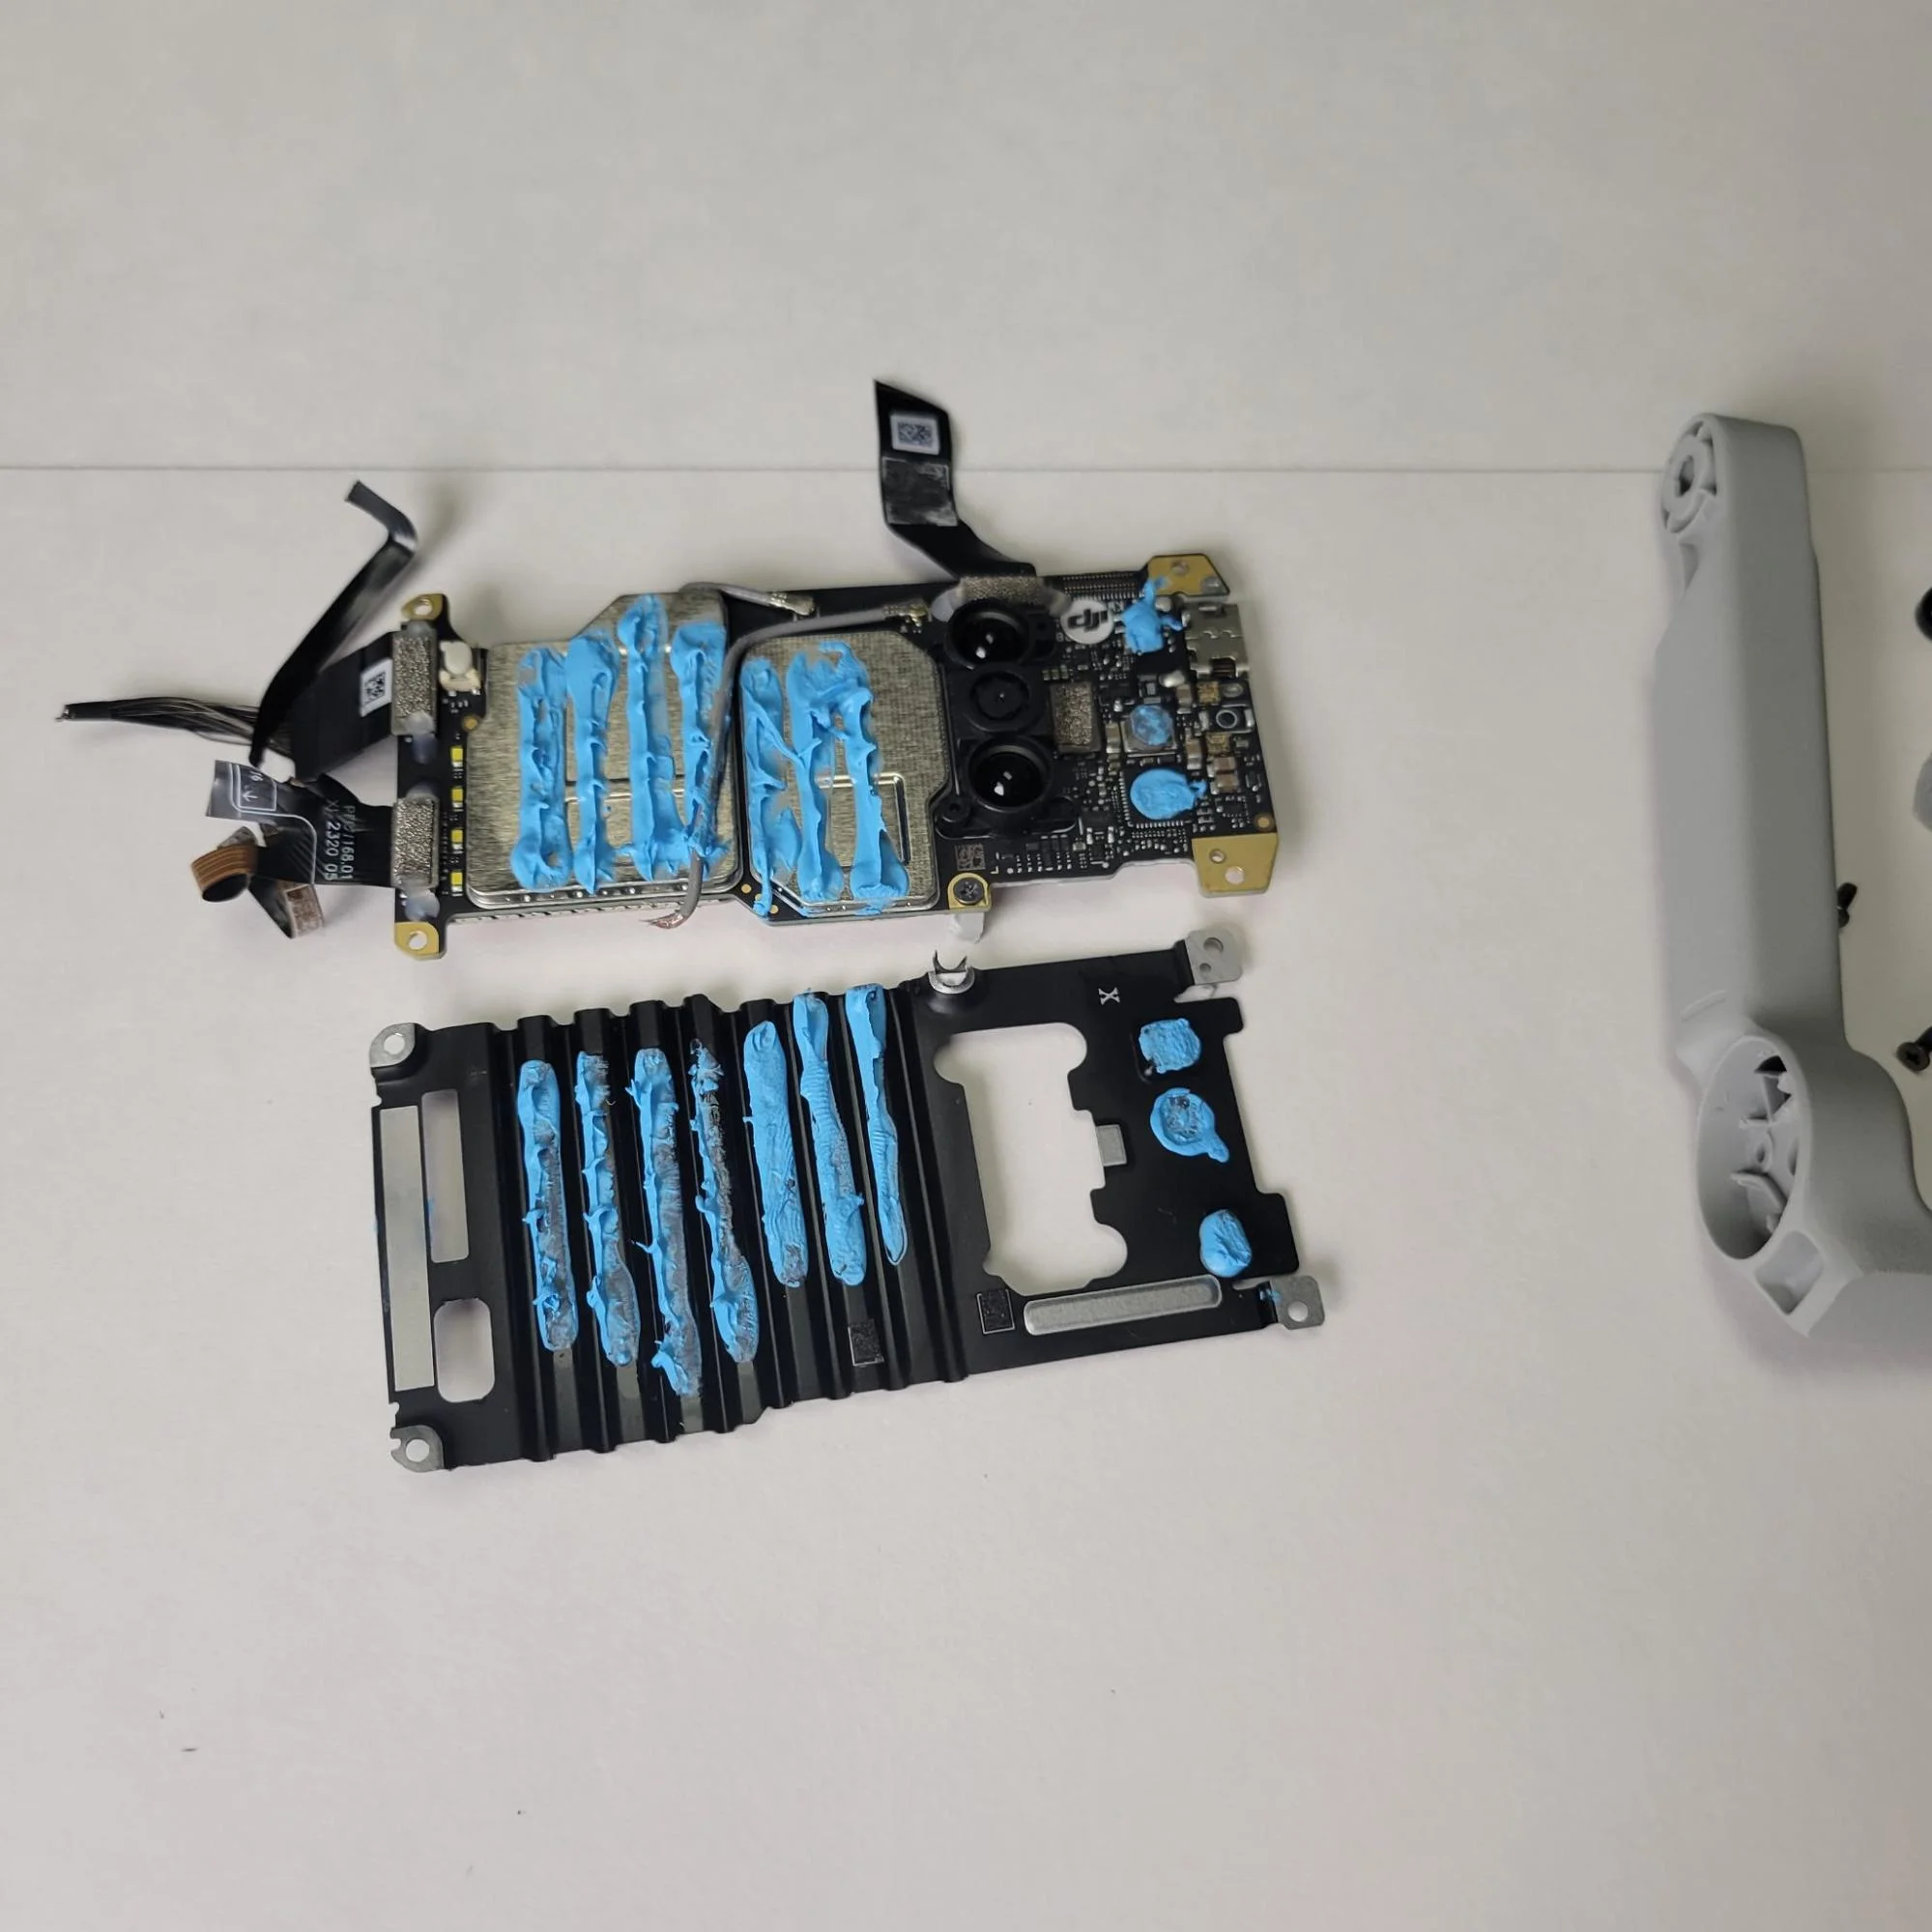
This drone has tons of tiny electrical components (perhaps micro-sized). They look similar to what you might expect in a sophisticated electronic device like a camera or laptop computer. Each propeller arm has 4 wires connecting it to the main body electronics components. The camera had several wires and wire ribbons connecting it to the electrical components (perhaps the power distribution board). I used the cuticle-cutting tool with the sharp blade to sever all wires and ribbons. The camera is on an elegant system of swivels to capture the panoramic shots that make this drone so popular.
While I am not an electrical engineer or electronics expert, I can appreciate the assembly, vibration dampening, and robustness of the electromechanical incorporation within the drone. Here are some excellent photos that depict the electronic components:
Drone Arm Disassembly
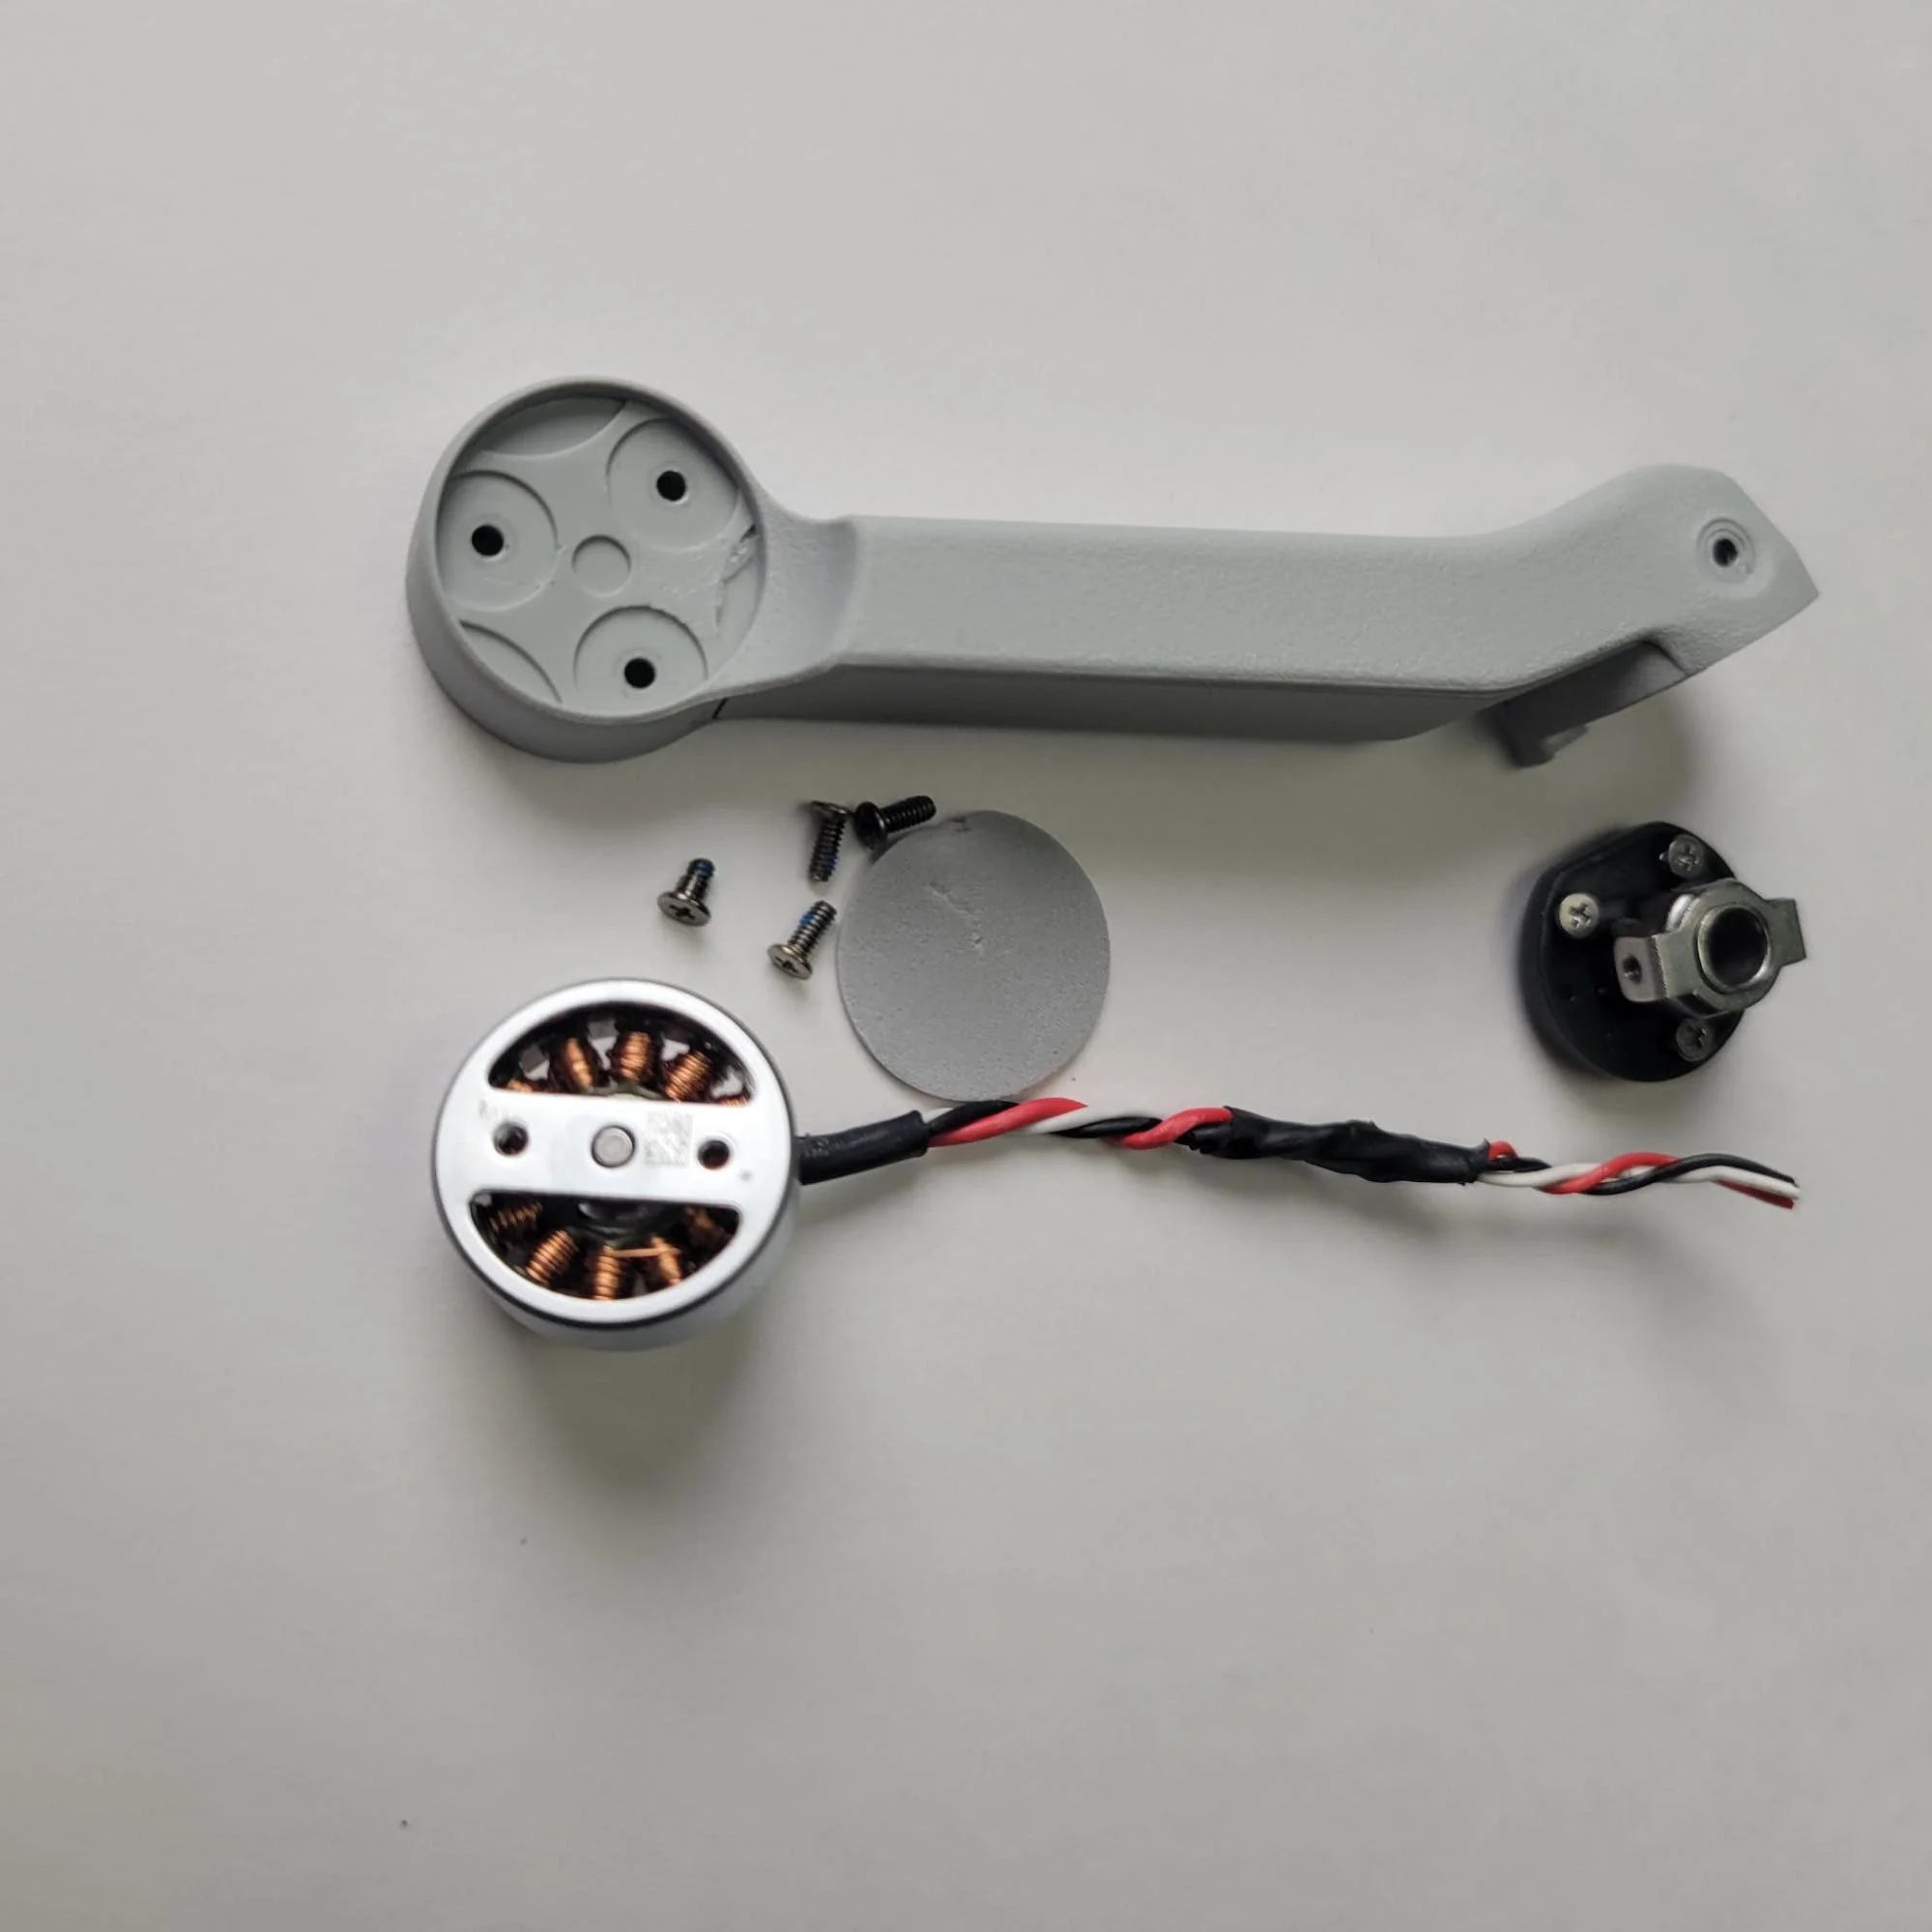
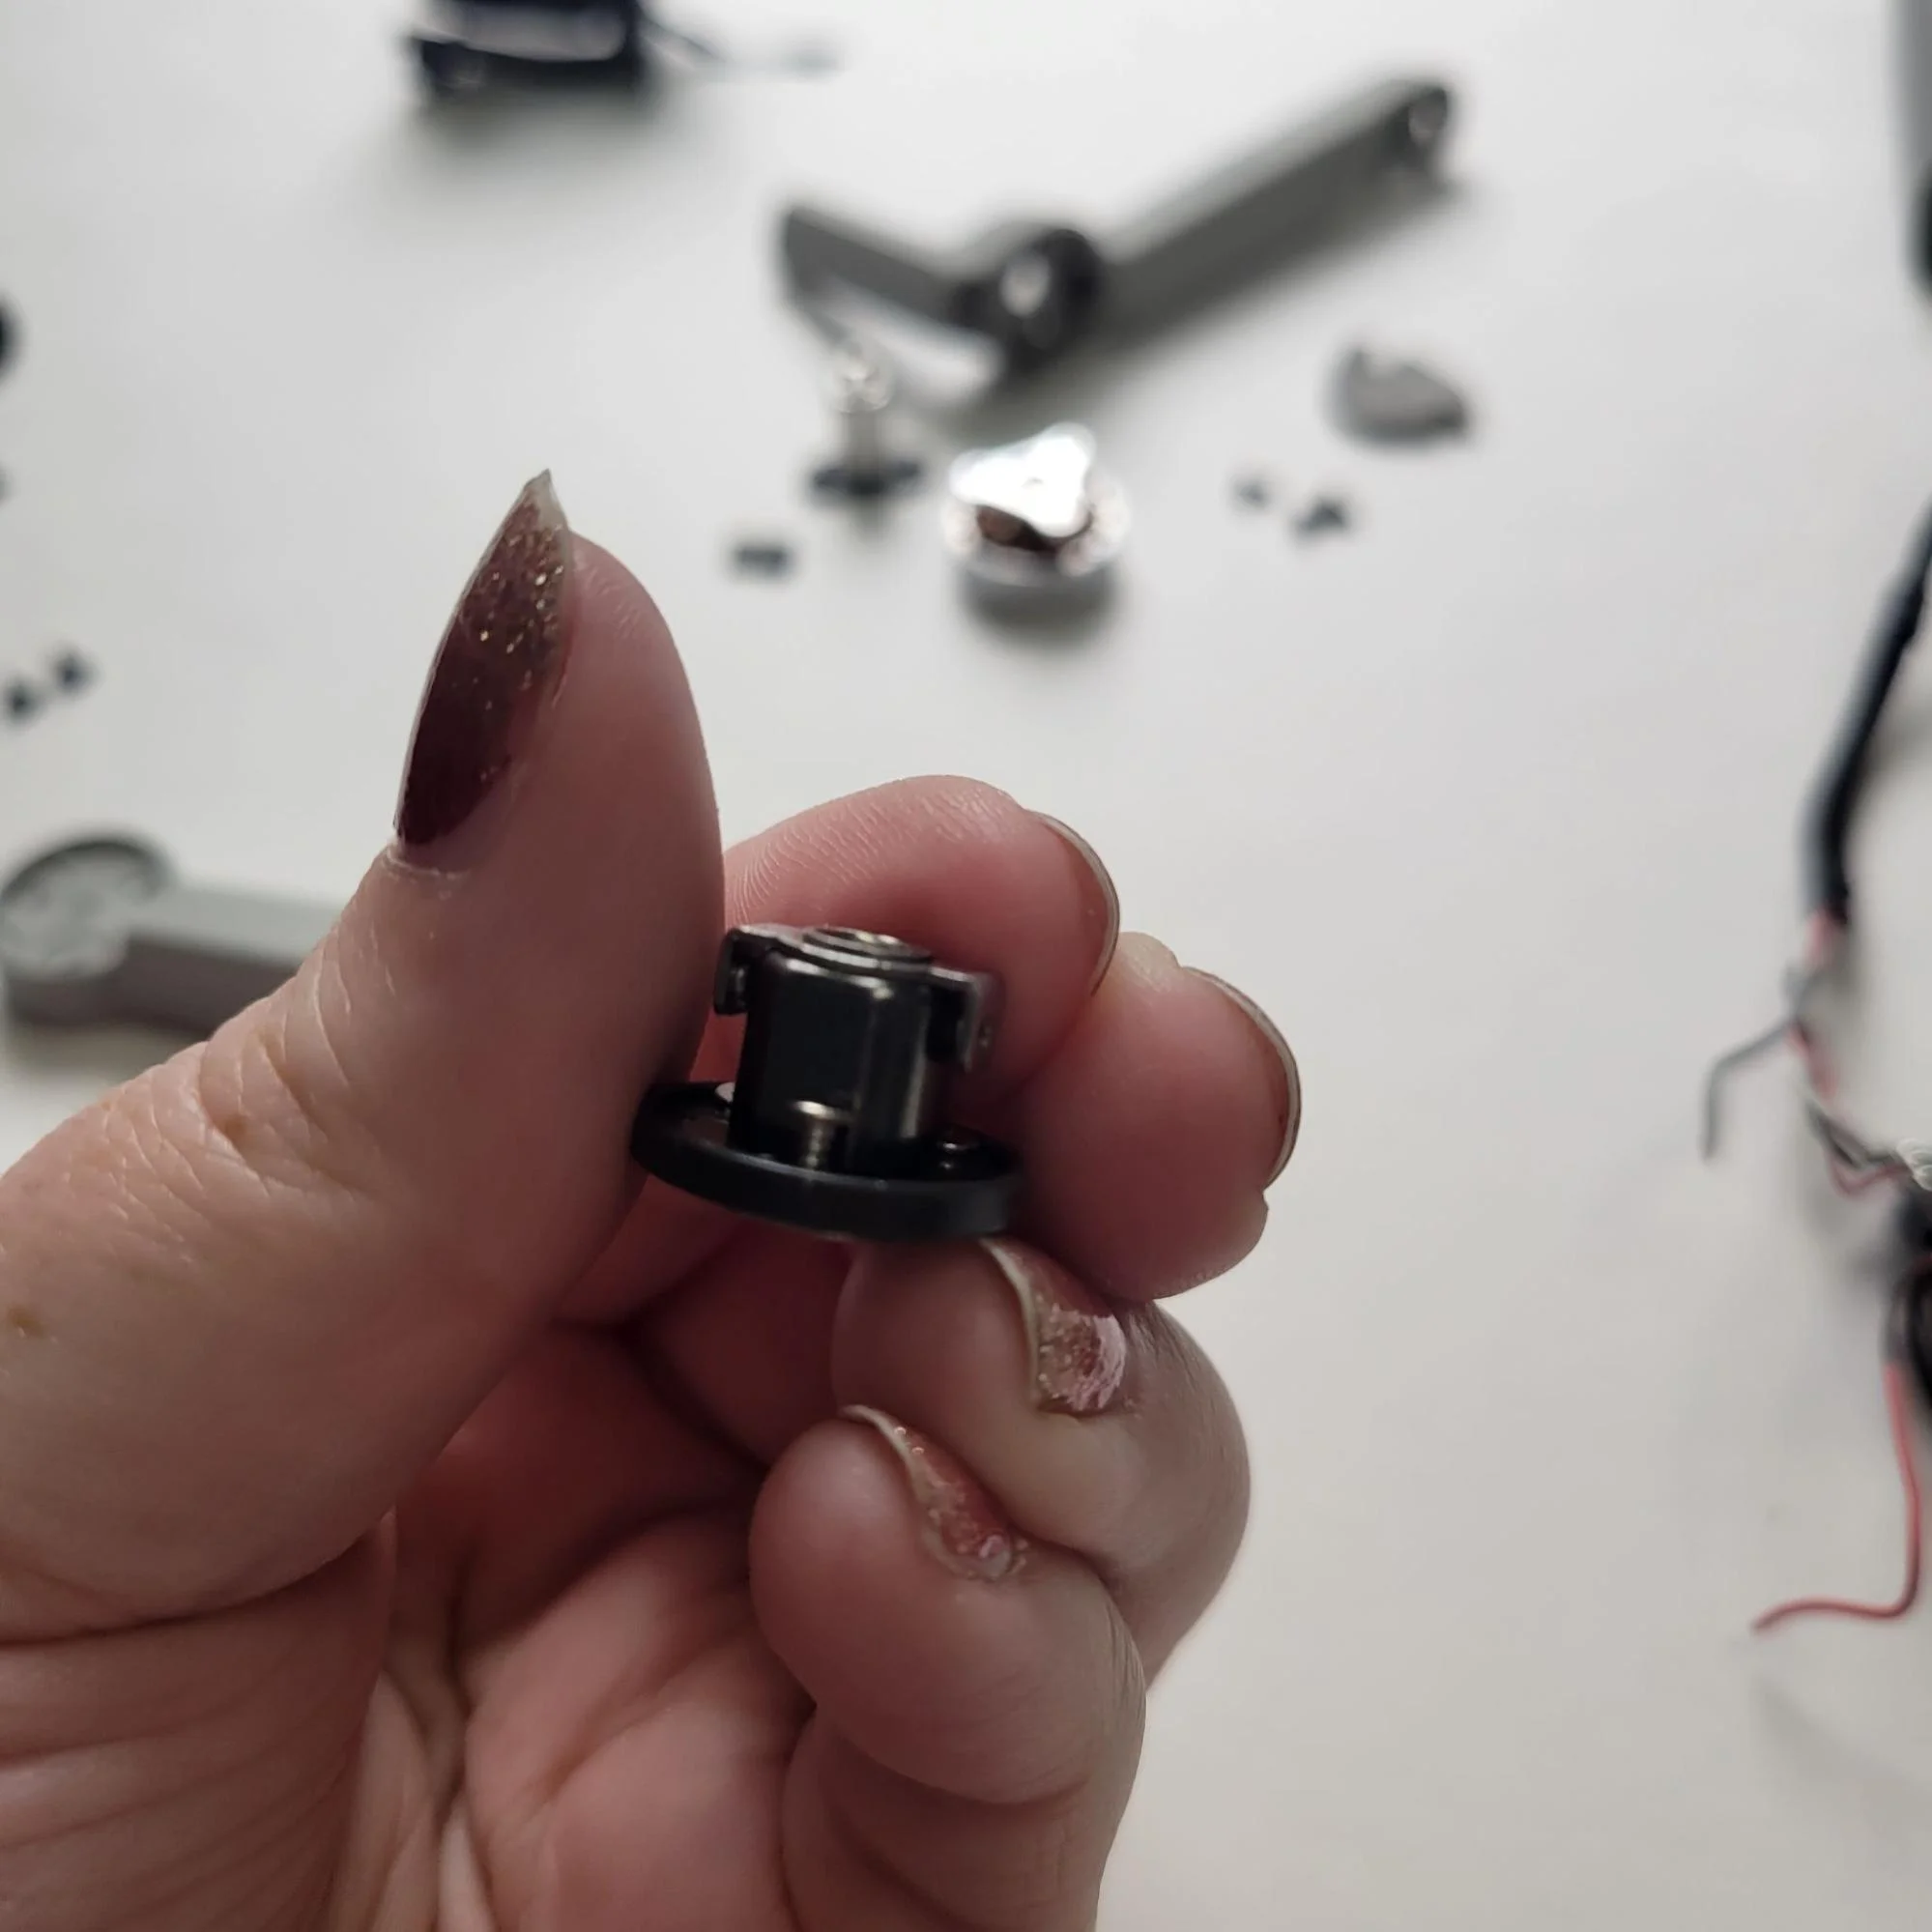
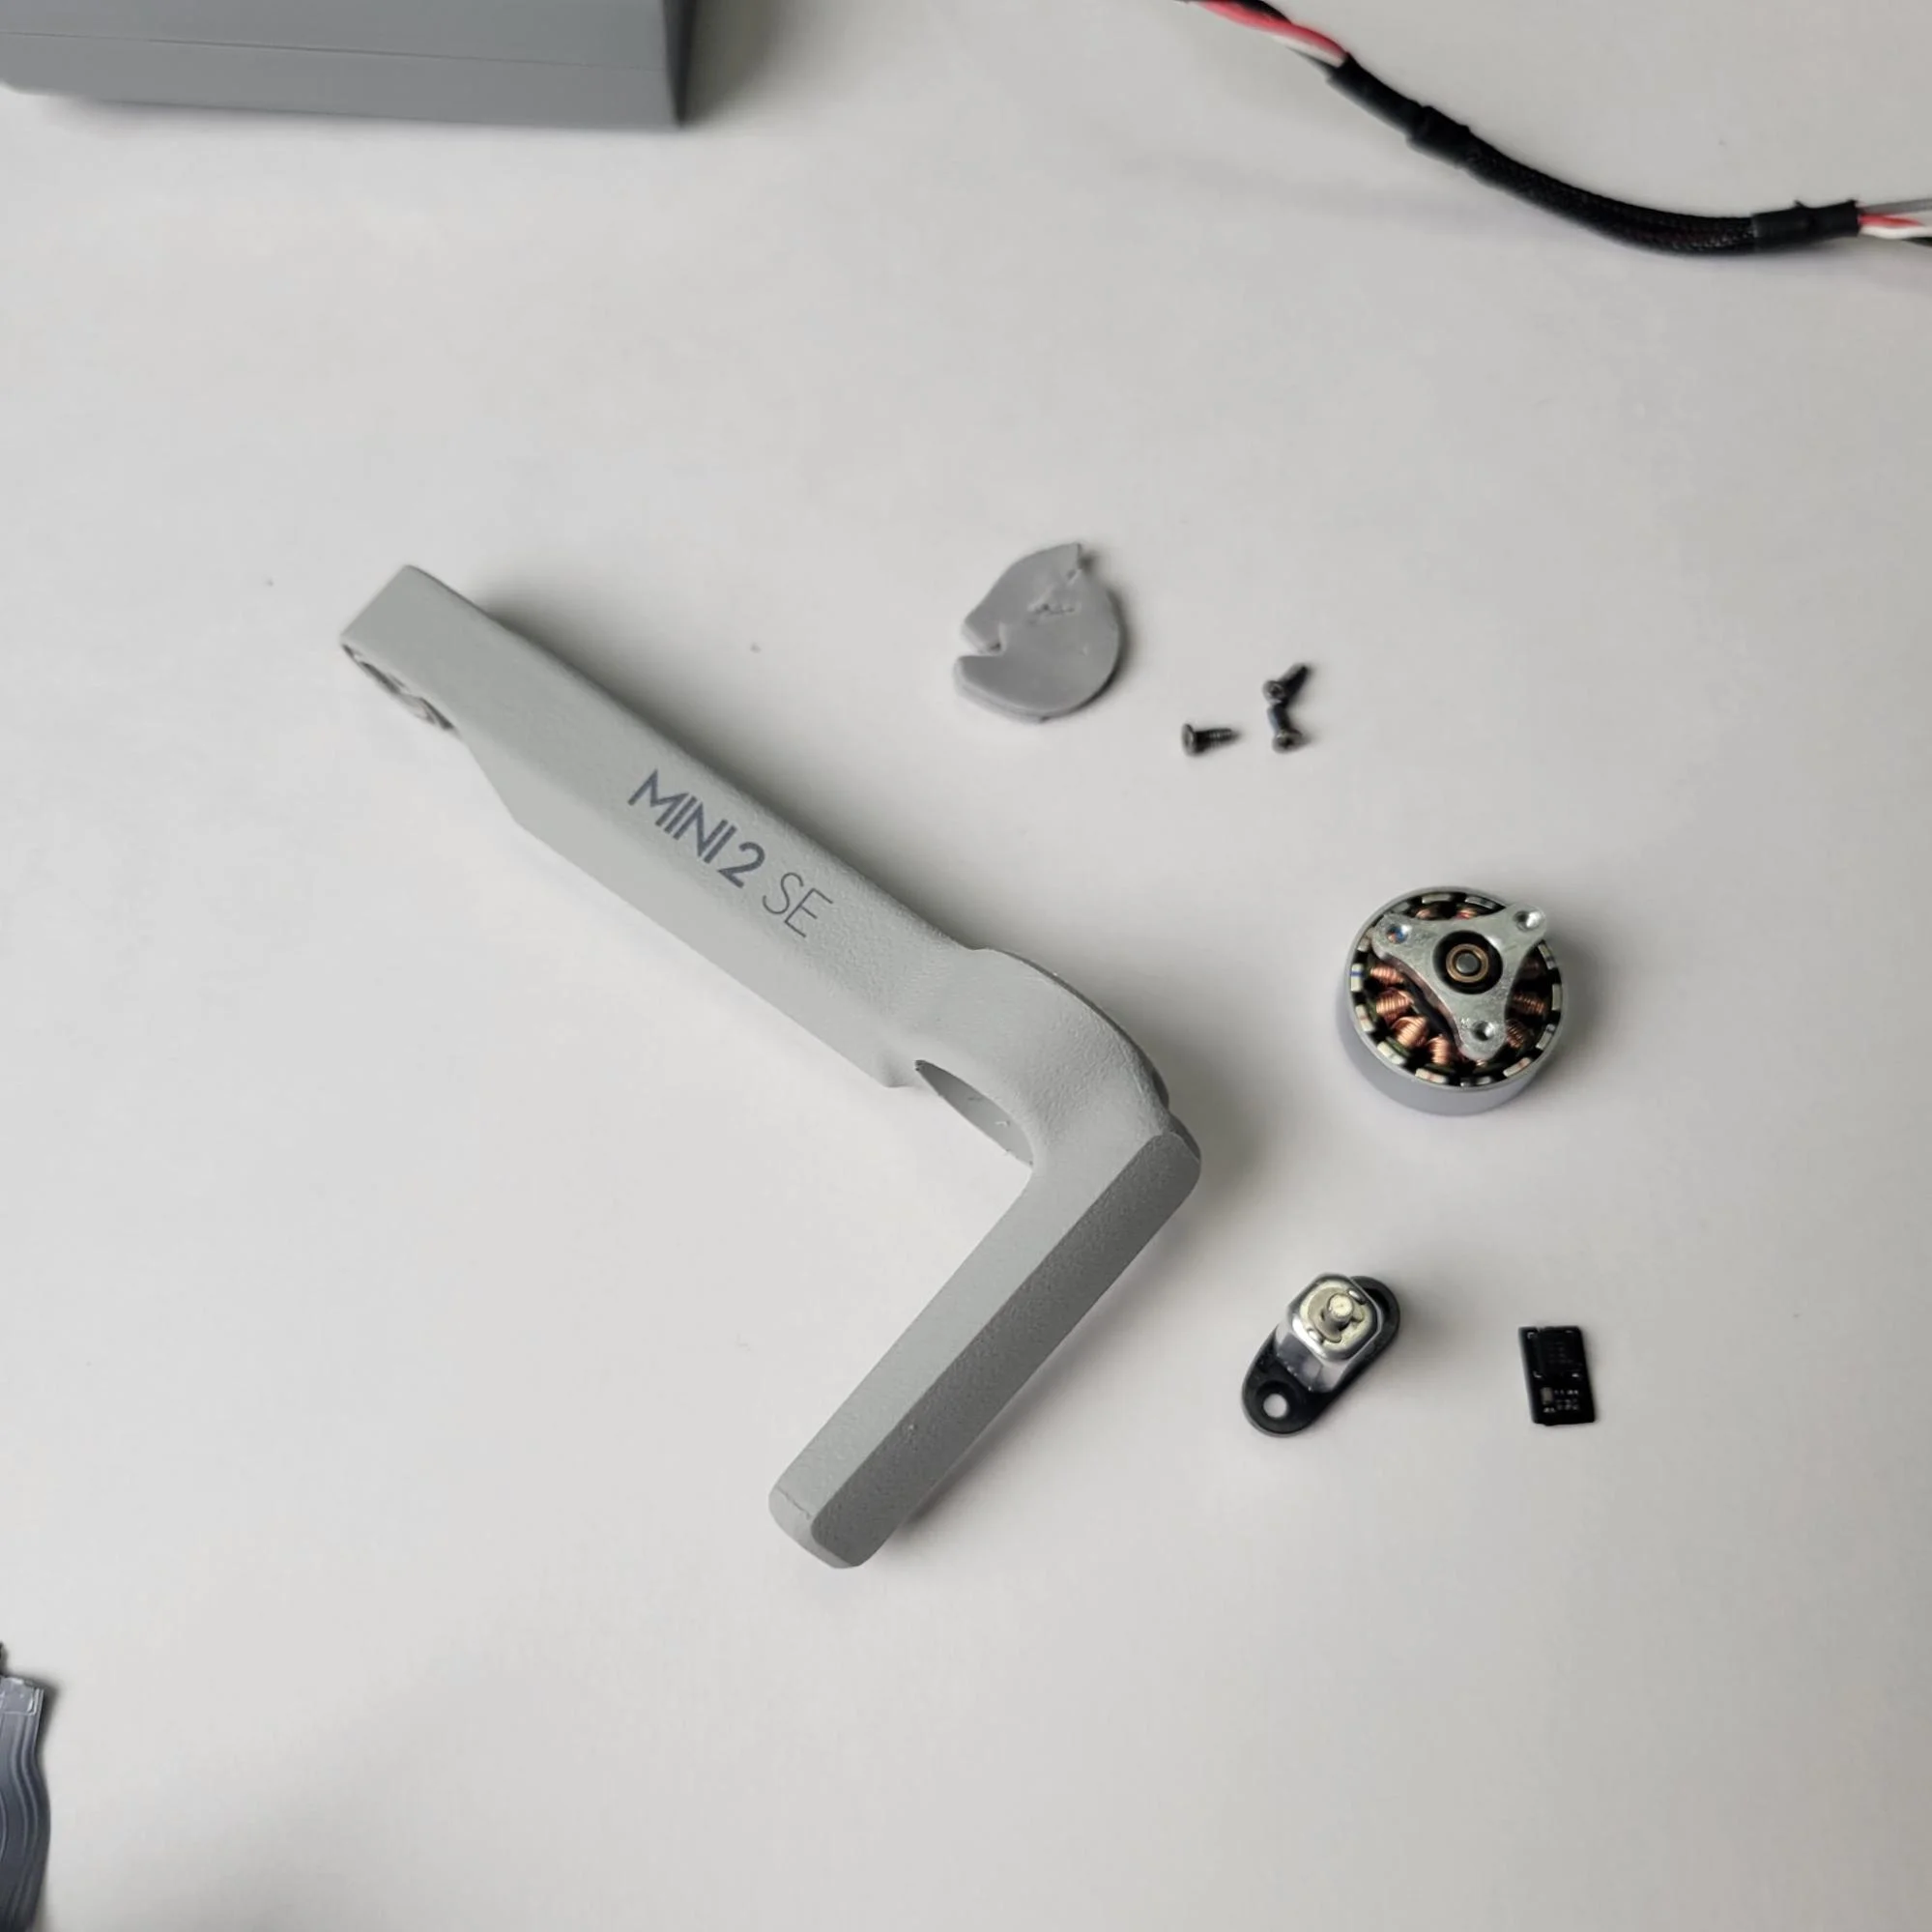
I disassembled the drone arms more or less throughout the teardown, so that’s why it’s our last section here. Each drone arm consists of one screw attaching to the main body and three screws under a foam pad, connecting each arm to a bearing on the propeller blades. At the attachment of the drone to the drone body is also a likely sheet metal or CNC machined bracket and cylinder/shaft assembly where the wires feed through on two of the drone arms and around on the other two drone arms. Within each bearing assembly are copper windings and three cables that feed into the windings, likely to turn the bearing and the propeller blades.
In conclusion, the DJI Mini 2 SE Drone is a marvel of engineering and design. Its compact size and impressive capabilities make it a popular choice for drone enthusiasts and beginners. Through my teardown experience, I gained a deeper appreciation for the thought and effort that went into creating this drone. The intuitive packaging, well-designed snap fits, and intricate vibration dampeners are just a few examples of the attention to detail that sets this drone apart. Whether you’re interested in the drone’s propeller blades, camera and battery doors, electrical components, or drone arm assembly, there’s something fascinating to discover.


