Time to read: 5 min
Most hardware-focused startups have only one chance to build a product that users will value, enjoy using, and adopt into their lives. If a user has difficulty using a new device or isn’t able to seamlessly integrate it into her life, chances are it will end up in the home ‘electronics graveyard’, banished to the closet or basement to live with the old stereo, first-generation iPads, and CDs.
No hardware team has time for that.
It’s common knowledge that building a connected, fully functional, useful, and beautiful device is extremely hard to do. Unlike app and web development, building hardware is fraught with real manufacturing obstacles and painful cost and design tradeoffs due to product size, sensors, housing, and other necessary material constraints. But if you are able to capture users’ attention, excitement, and engagement with your debut product, you’ll gain the momentum required to continue on to develop your second and third generation hardware products.
Teams who test their product ideas, concepts, and designs with users early on gain serious advantage over those who do not. These teams identify their product’s core focus and experience earlier, save time and money from re-works and re-builds, minimize waste, and maximize a product’s chances of success with consumers the first time around.
I’m excited to share with you a surprisingly easy and cost-efficient way to test your product with users before you tackle those tough hardware manufacturing hurdles! And it doesn’t take a lot of time or money, just a little elbow grease, getting out of your office, and leveraging some research know-how.
Tip #1 Plan ahead to do just 1-2 days of interviews ‘in the wild’
First, plan at least 2 weeks ahead to be out of the office and in the ‘real world’ for 1-2 days gathering feedback from your users. You will need this prep time to make sure your minimum viable product, prototype, or concept is ready to share and representative of what you plan to ship. You will also need this time to find, recruit, schedule, and confirm your testers (this can be tricky, but don’t worry I’ll give you some ideas for how to do this part as well).
Tip #2 Recruit just six potential users, focusing on their behaviors
Recruiting the right users for testing is often the biggest obstacle to getting the user feedback you need. I admit – this is the thing that holds me up the most when I’m trying to do my own research. It’s really difficult to find people who are willing to lend you their time. And a potential tester pool becomes even smaller if your product is targeted toward people with specific interests, activities, family or household structures, locations, etc.
My advice to teams who are getting started with user research is to make it easy on yourself and start by recruiting among the people you have access to – your network of colleagues, friends, and family, using email and social media.
In the research field this is called ‘convenience sampling’. It’s a real sampling methodology that is aptly named. Definitely don’t let the idea of ‘biasing’ your participants hold you back here; there’s a way around that.
When you create a call for participants, make sure to screen potential testers based on their authentic personal behaviors, activities, and interests, not based on their the relationship to you, demographic details, availability, or level of interest in doing research. Doing so will enable you to get authentic and helpful feedback on their interaction with your product, remove the recruiting obstacle, and help minimize what is often referred to as ‘bias’ in tester feedback.
Tip #3 Go low fidelity: think props, screen shots, and storyboards of your product
You don’t need to have a fully formed product or MVP (minimum viable product) to start testing with users. In fact, it’s better if you don’t! Remember, you want to gather user feedback as early as possible, while you are still flexible enough to make the form, the features and design experience the way users need it to be.
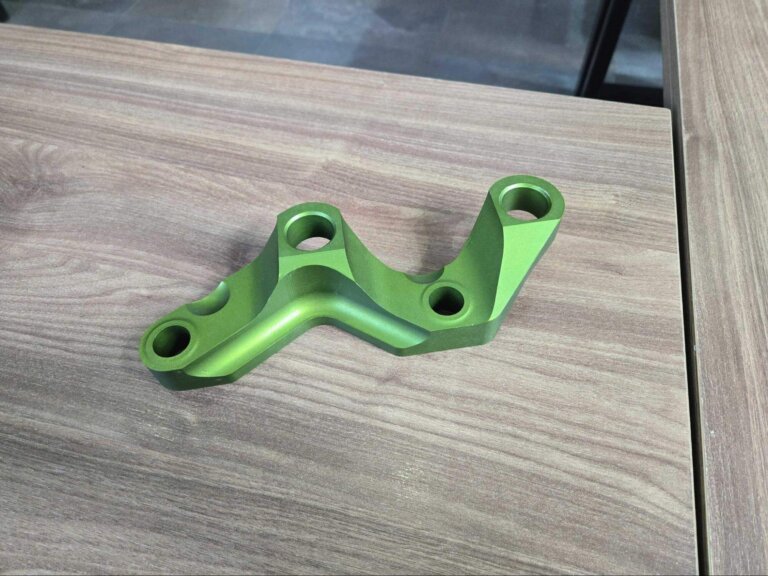
To prepare your hardware product for testing with users, create both a prop that acts as a representation of the physical form factor and a set of sketches, screen shots, images and/or storyboards that represent what your full product experience will eventually be and feel like.
To accomplish this, you can use a 3D printed model for the physical prop and low cost prototyping tools such Post-it notes, InVision, stop-motion animation, and/or various other free online storytelling tools to create any UIs and context.
Tip #4 Ask users to show you, not tell you
Once you decide what prop, prototype, or storyboards you’ll show to users “in the wild,” you want to start nailing down the interview protocol, or exactly what you’ll ask testers. These interviews will act as your testing ‘data’ and company intellectual property.
Here is an example of a brief interview protocol that I often suggest to hardware teams:
- Meet testers in the context of where your product will be used (home, park, office, etc.).
- Start by giving users a quick 1-2 phrase introduction on what the product idea is and does.
- Gather initial impressions of the concept.
- Introduce the prop or hardware prototype.
- Have users imagine that the prop is fully functional and get their initial feedback on where they might place it and how they might interact with it.
- Ask users to show you how they might do 3-4 tasks or activities using the prop, introducing the screenshots and storyboards to fill in the gaps of the product experience where needed.
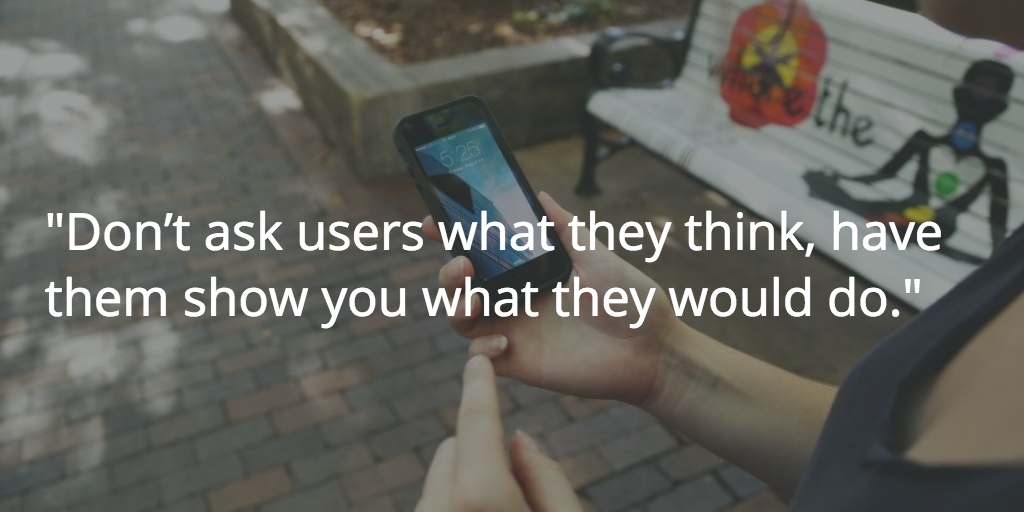
Throughout your interview, focus on one goal: don’t ask users what they think, have them show you what they would do. This approach is the secret to getting the data and insights you need for your hardware-specific product – and why you made that prop prototype and proof of concept to take out to the world in the first place!

Tip #5 Look for the biggest patterns (and standouts too)
Once all your interviews are complete, review all the feedback and look for the biggest patterns in perceived usefulness and usability. Pay close attention to where your product may currently fit in and not fit into users’ lives, giving you a window into possible patterns (and obstacles) for adoption.
This should be a relatively quick process, as research has shown that the most pervasive usability obstacles will present themselves within 5-8 user tests. If you don’t see a clear pattern you can add interviews in increments of 2 or 3, or re-focus, iterate, and re-test.
If you happen to catch some standout feedback, that’s great too. Information Theorytells us that random variables are packed with valuable information, so use any unique data and insights you gather towards novel product ideas & directions.
You Got This
Now you have the know-how. You have what you need to go test your product with users and get that time-and-money-saving feedback you need to make a product that resonates with users – the first time around.
I’ve included a 2-minute video that recaps this process to help jump-start your inspiration and get you started.
Good luck, and happy testing!


