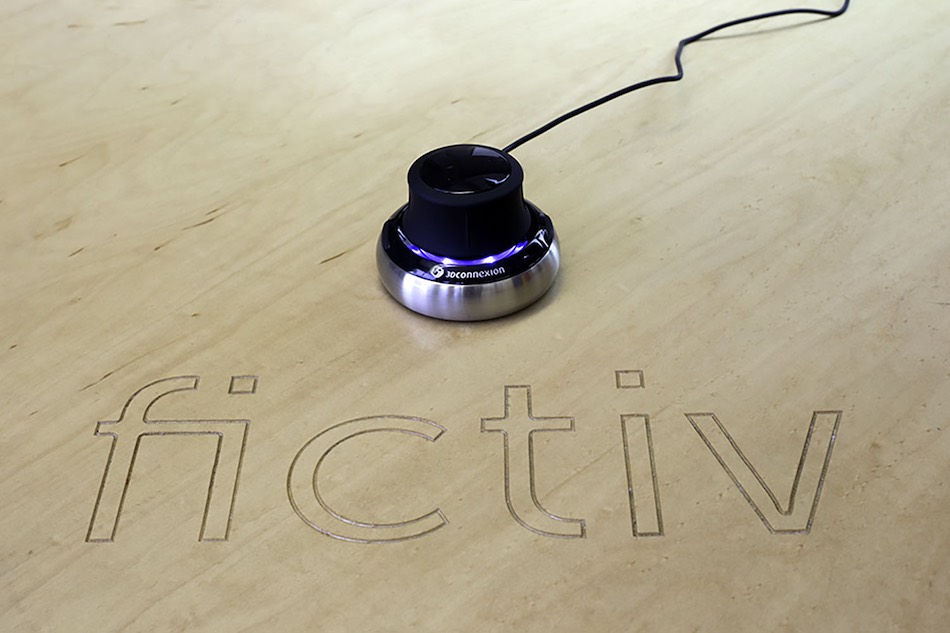
Today, we’re tearing down a popular 3D mouse, the 3Dconnexion SpaceNavigator.
For folks producing and manipulating three-dimensional CAD files, using a standard mouse and keyboard can be tricky. Welcome to the world of controlling rotation, position, and height using one hand! We’ll take a look at the components that make this mouse both highly usable and highly capable.
Usability: Heft and Feel
When you use the the SpaceNavigator, it feels very robust—and by robust, I mean it feels heavy. The hefty weight allows the user to easily rotate, pull, tilt, and slide the knob with one hand, without lifting the whole mouse into the air. Let’s take a look at what makes this mouse so usable.
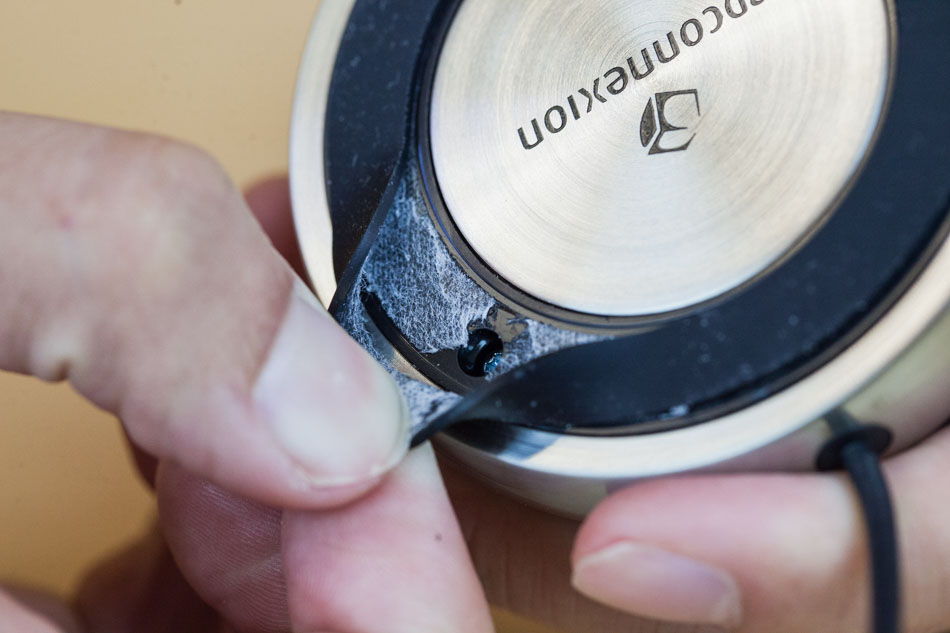
Flipping the mouse upside down, we begin by taking off the elastomer ring on the underside of the mouse. It’s a soft elastomer used to both cushion the weight of the mouse and provide just the right amount of friction for the resting surface, so the mouse doesn’t slip and slide when you’re using it. This piece is held in place using pressure sensitive adhesive (a fancy word for double-sided tape), which is likely die-cut.
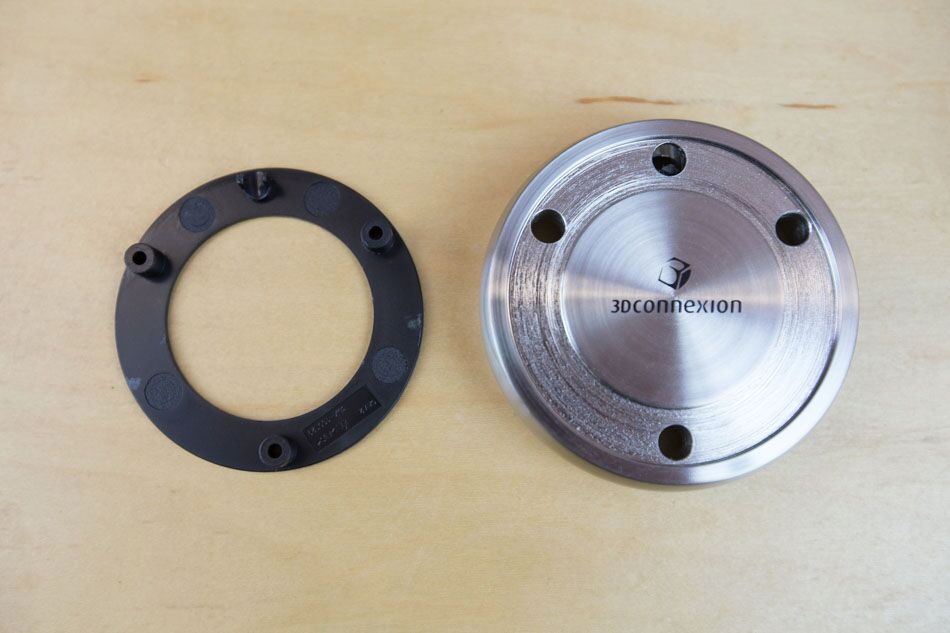
After removing the elastomer ring, we unscrew four Phillips screws that are holding both the bottom plastic bezel and the metal body of the mouse. The logo is painted onto the metal base, either by silk-screening or pad printing.
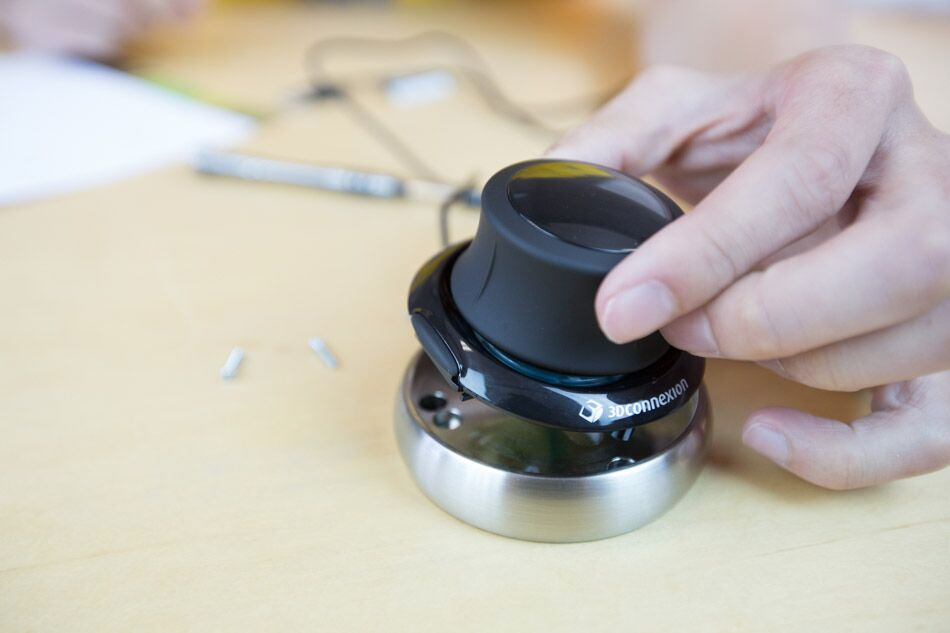
Houston, we have liftoff. The shiniest and heaviest part of the mouse is now isolated.
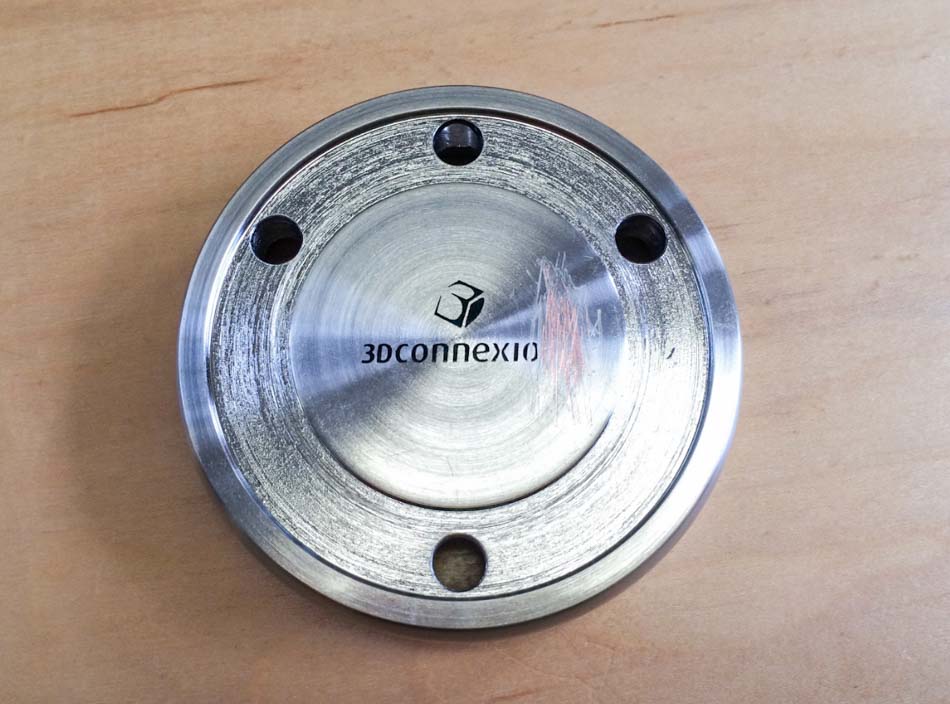
At first glance, the base seems to be brushed stainless steel based on appearance and weight. After close inspection, (by inspection, I mean take a screwdriver and scratch the heck out of the surface), a reddish-brownish material emerges—most likely copper plating coated with chrome plating, to give the base a premium look and feel and make it more corrosion-resistant.
This base contributes to the majority of the mouse’s 479-gram weight—the weight equivalent of three double cheeseburgers from McDonald’s! It also contributes to the mouse’s stability.
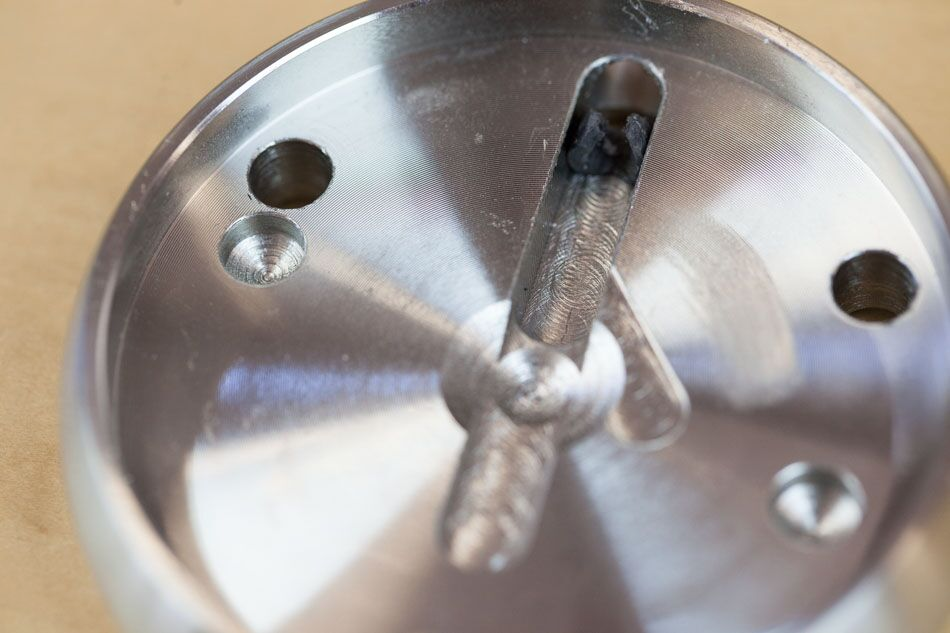
Based on the tool marks, we see that this piece has been CNC machined. In terms of the order of operations, the base is likely first cast in a mold, then post-machined, and then is plated for corrosion protection and appearance. Compared to CNC-machining from a solid block, casting to the rough shape first reduces wasted material and shortens required machining time; both are good cost-saving measures.
Surprisingly, there’s nothing else in the base. All the electronics must be in the knob. Before we dive into the electronics, let’s look at the the external design of the knob.
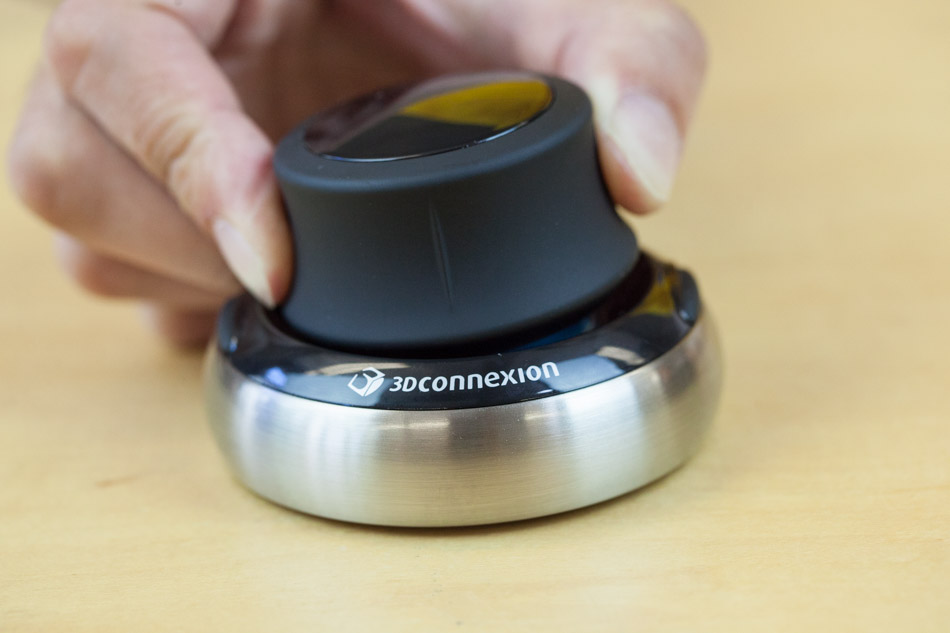
Notice the vertical groove on the knob? This groove functions similarly to the bumps on the “F” and “J” on a QWERTY keyboard. It allows a user to correctly position his or her hand on the mouse, without having to look down at the mouse.
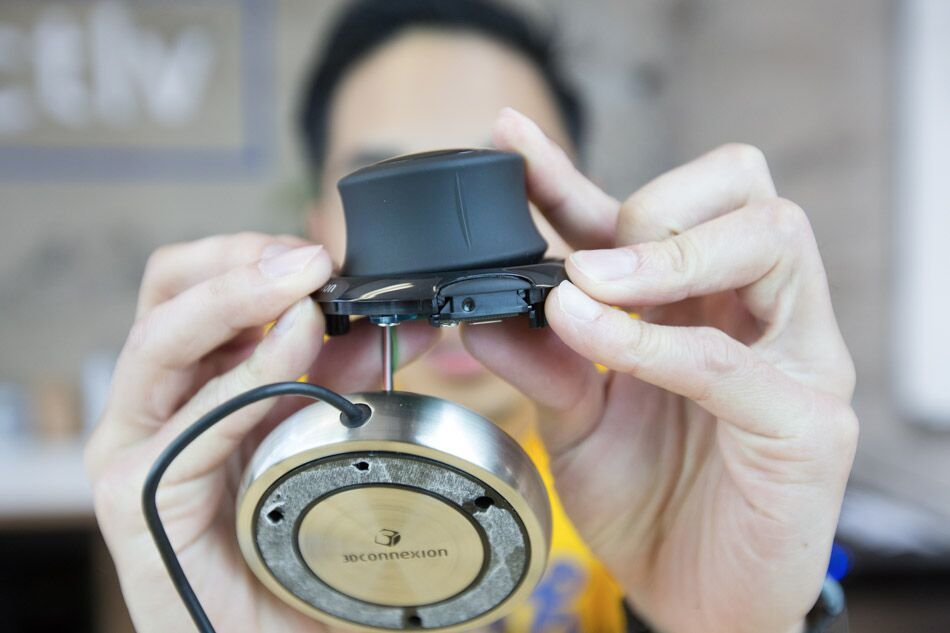
The exterior of the knob is coated with a soft touch matte finish to ensure comfort to those CADing for long periods of time.
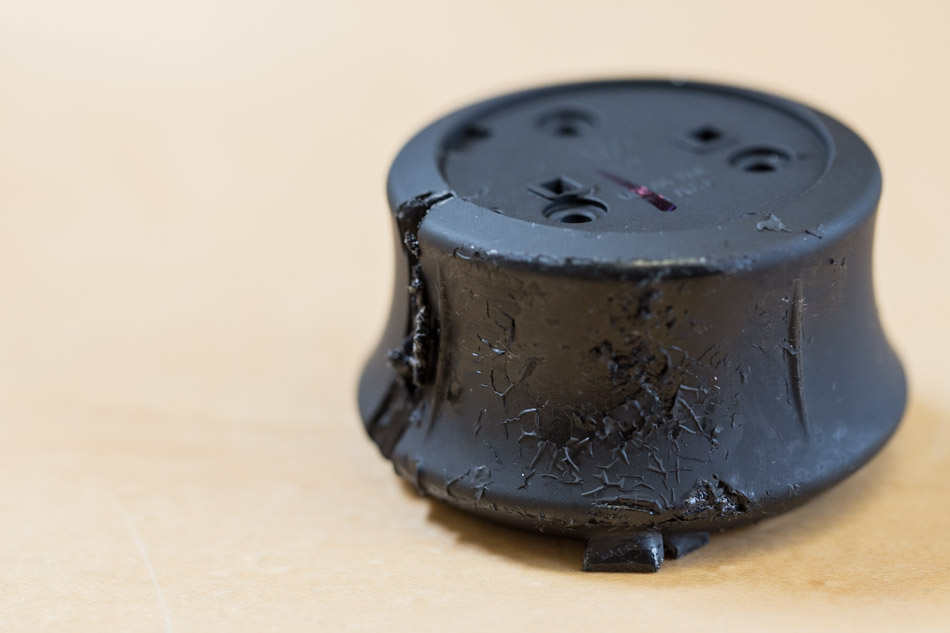
Rubbing acetone on the knob, we confirm that it is indeed a soft touch coating. The soft touch paint used here is impressively heavy duty. A lot of soft touch painted surfaces wear off with prolonged use, not this one (based on our own experience)!
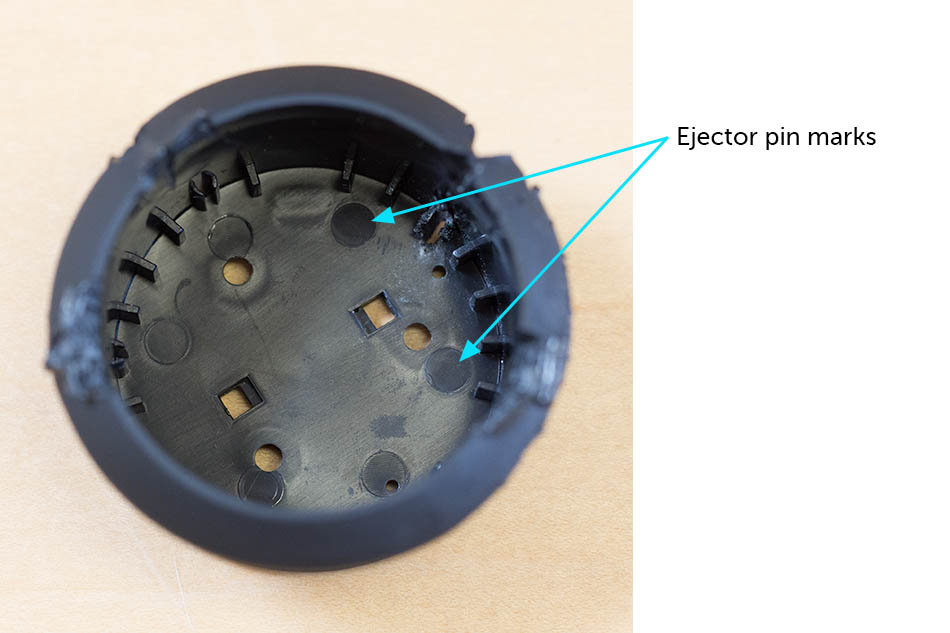
Here, we can see the ejector pins from the injection molded knob.
Capability: Precise Sensing
All righty, let’s take a dive into the mechanism that allows this mouse to control six degrees of freedom of motion (that’s a mouthful!).
Each degree of freedom represents one axis of motion. For example, me jumping up and down represents one degree of motion.
Tallying up the degrees of freedom for the mouse, we have:
- Pulling the knob up and pushing it down
- Tilting the knob to east and west
- Tilting the knob north and south
- Twisting the knob counterclockwise and clockwise
- Shifting the knob east and west
- Shifting the knob north and south
In CAD-land, this gives the user maximum capability for manipulating parts in three-dimensional space.
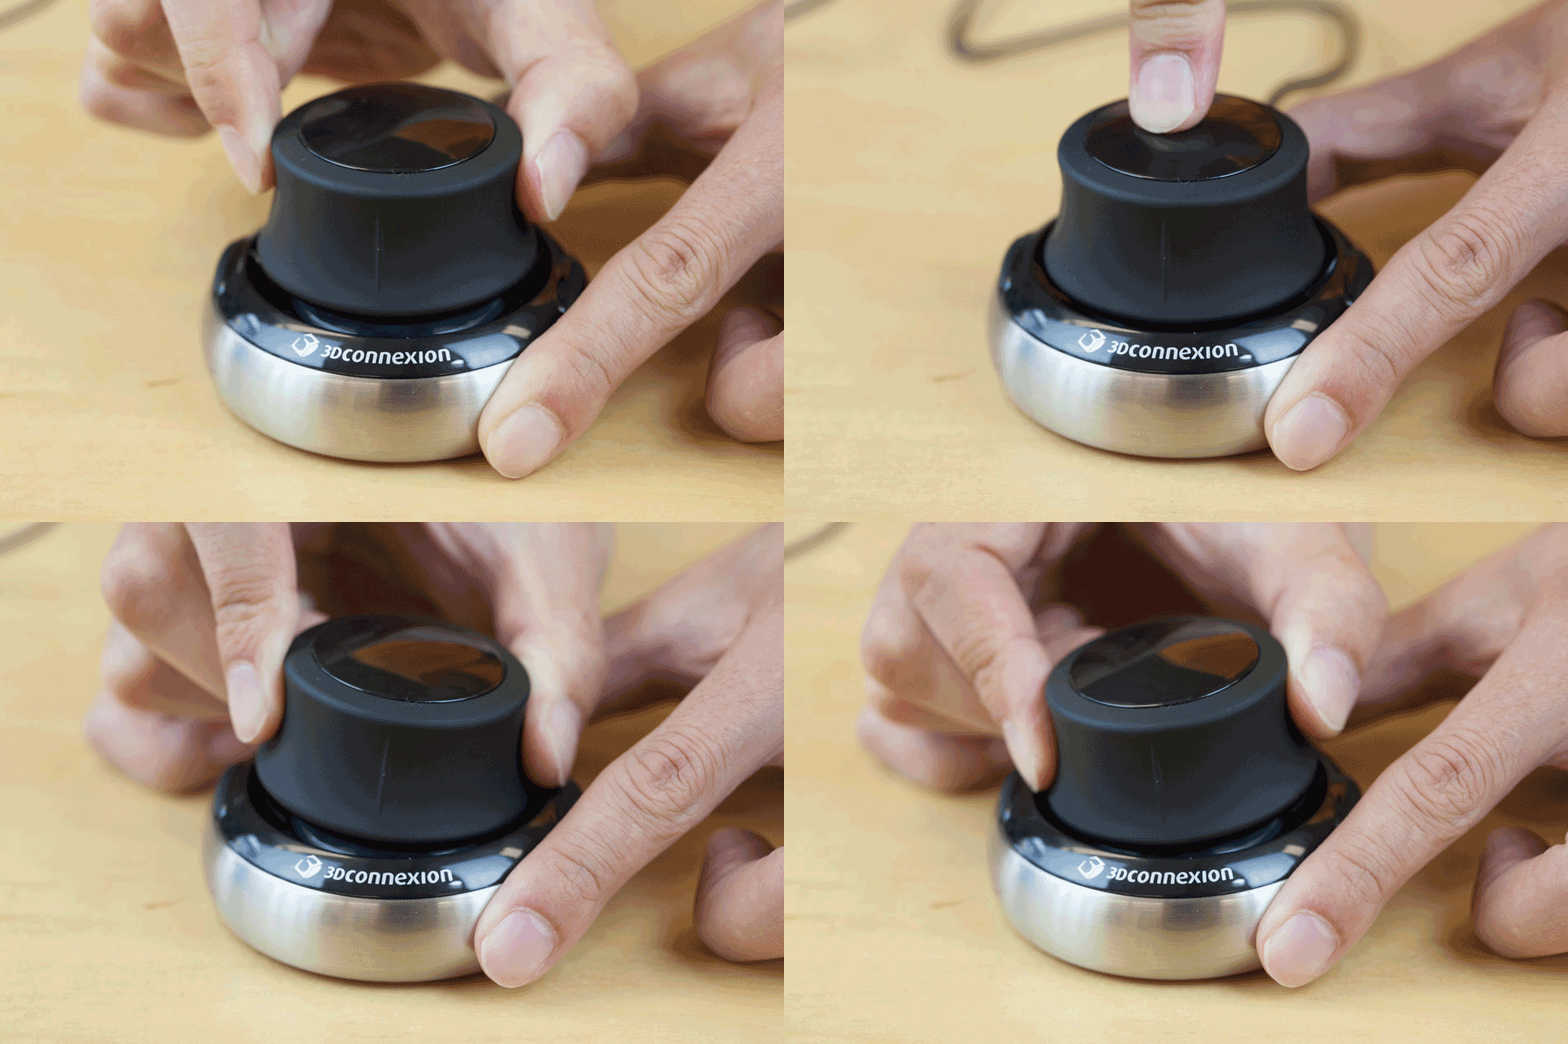
From a side view, we can see the push and tilting motions.
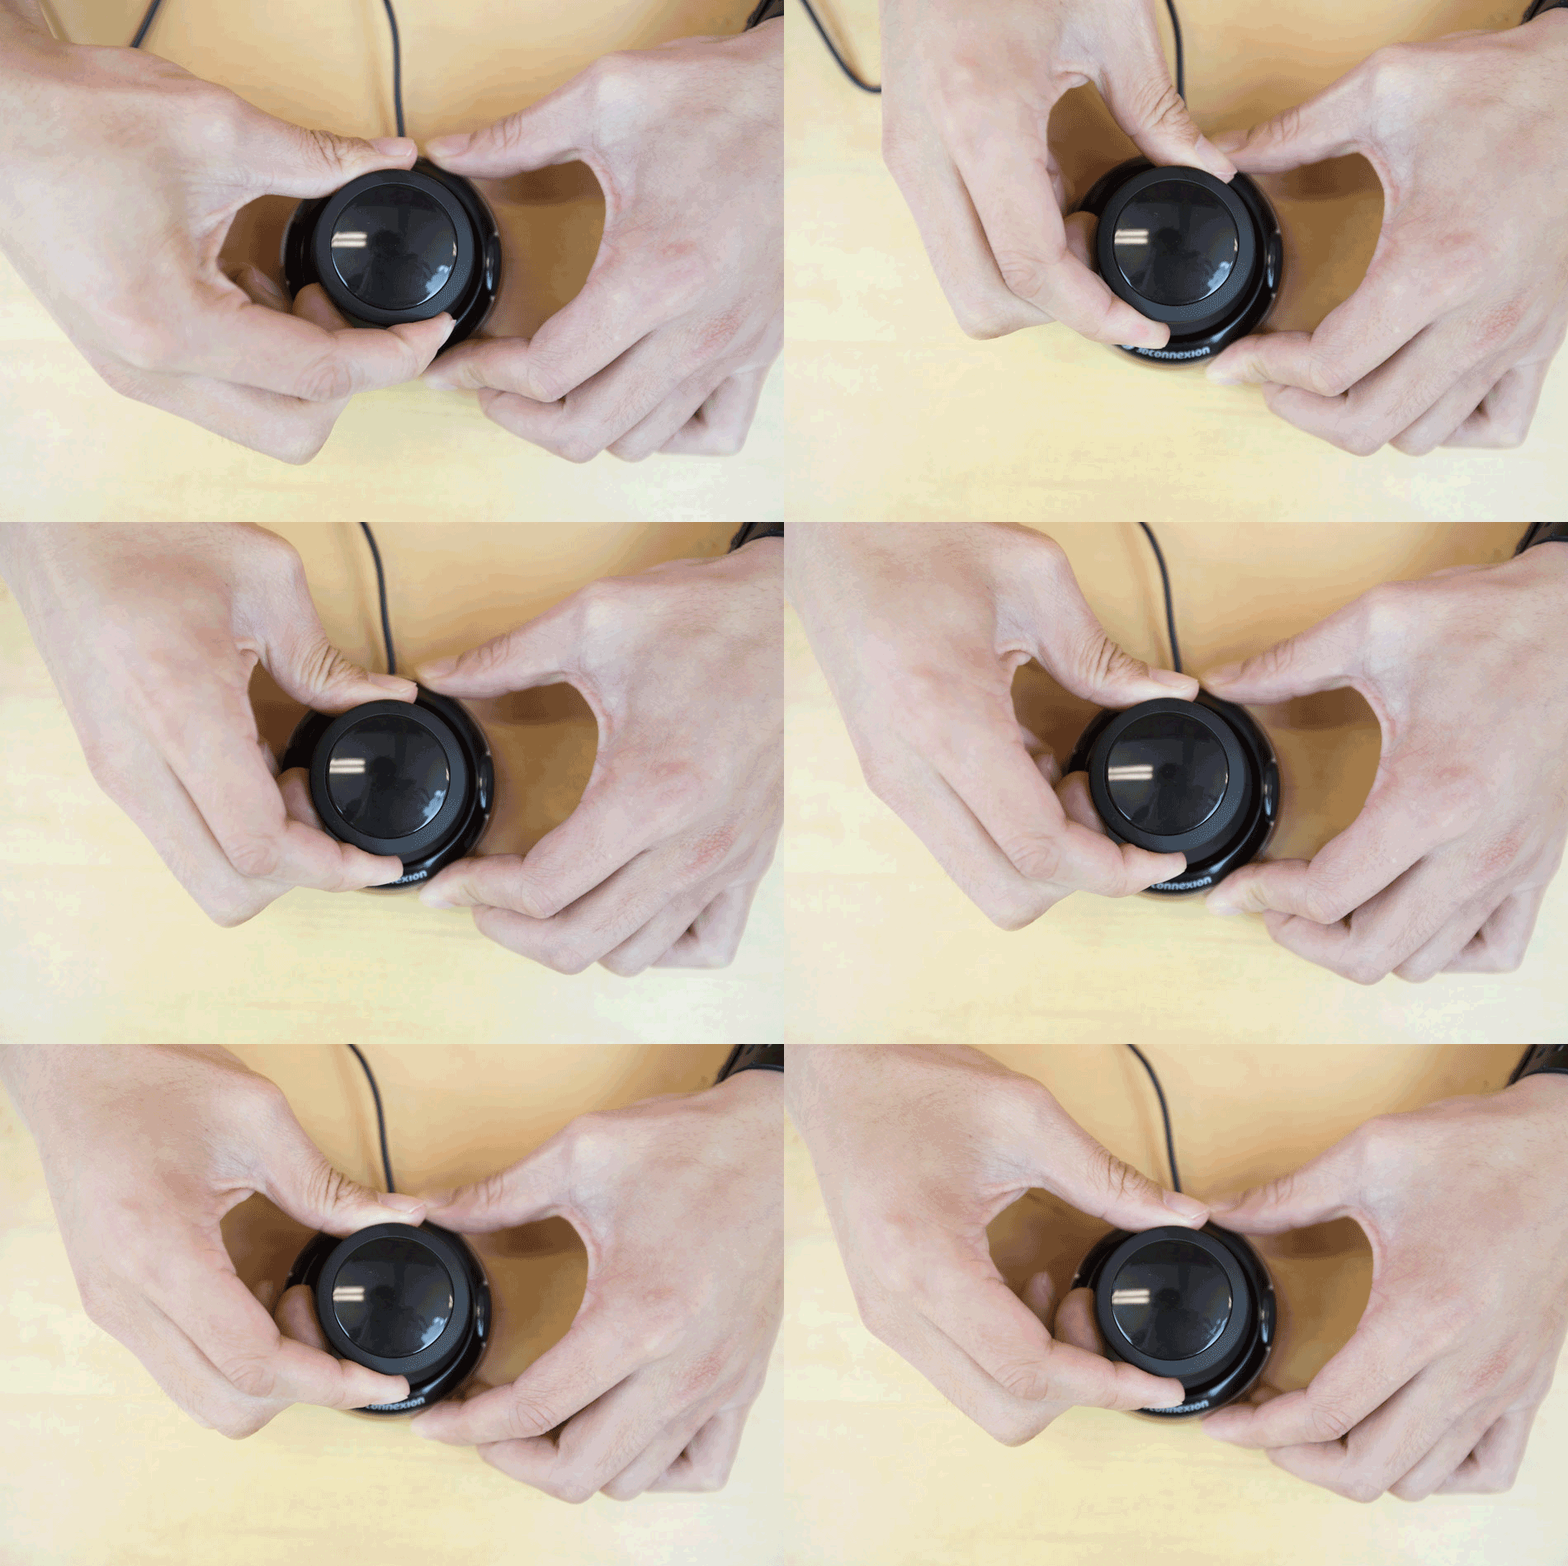
From a top view, we can see the shifting and twisting motions.
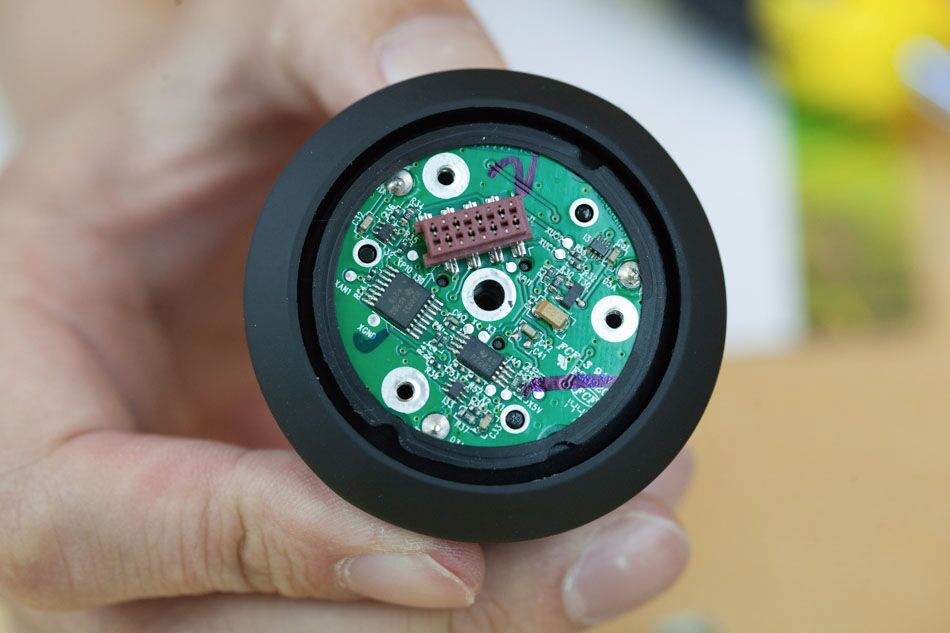
Here is the knob housing the brains of the mouse. The pen markings indicate these boards were inspected by humans before leaving the factory.
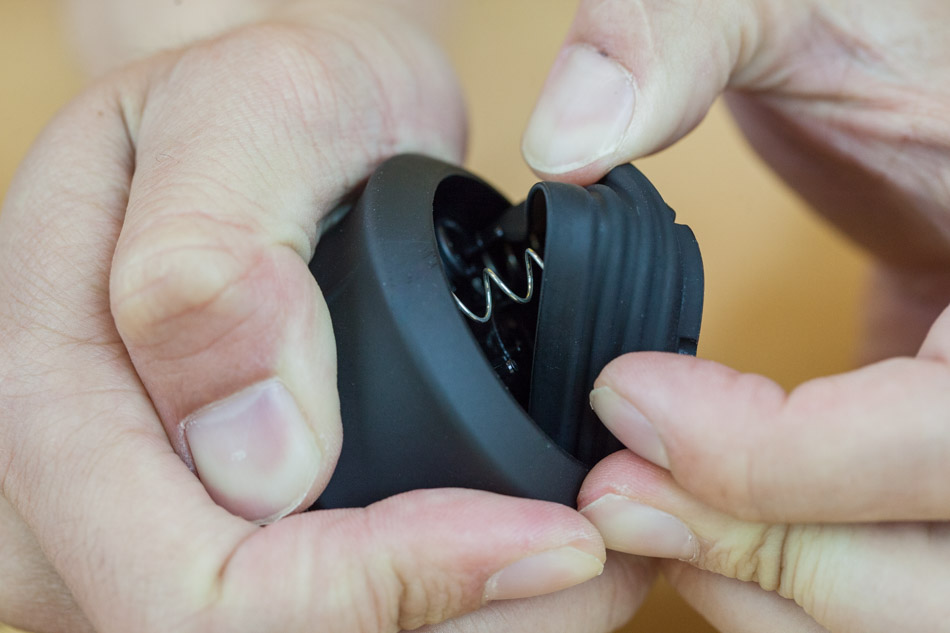
Pulling the board and rubber sleeve out, we see a spring peeking out. The rubber sleeve minimizes the amount of unwanted dust and light that makes it into the sensing unit.
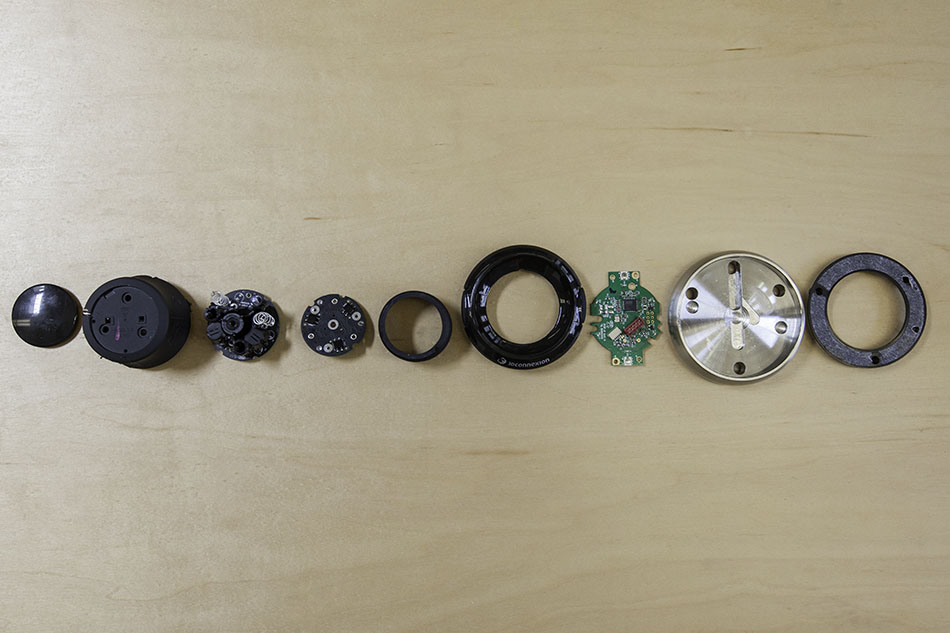
Three springs join the top and bottom circuit boards and together form the sensing assembly. The springs provide a tactile feel and enable users to precisely input a command (rotate, tilt, push/pull, shift) into the mouse. The springs are attached to the boards by solder.
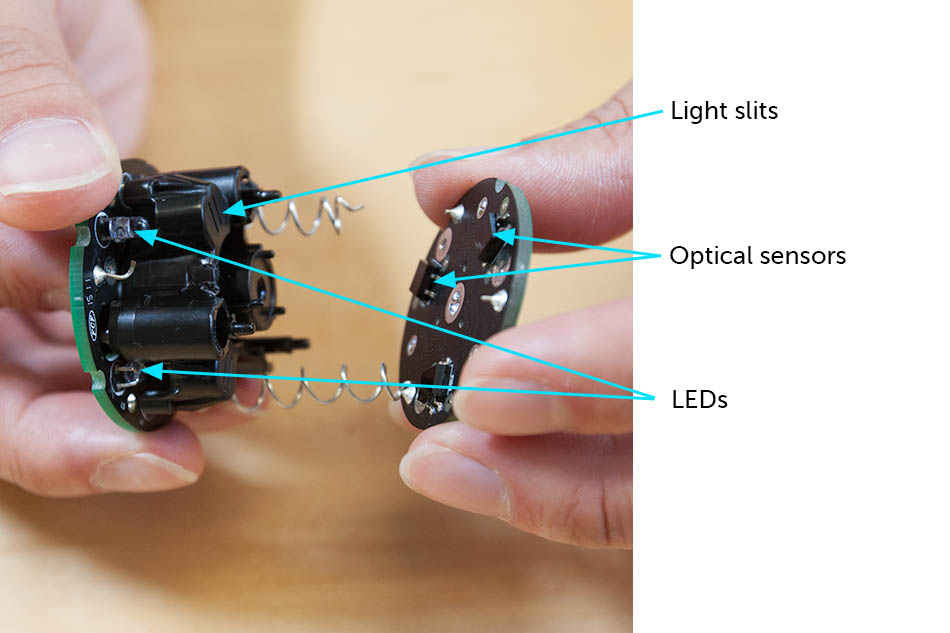
The sensing assembly is comprised of three optical sensors on the bottom board and six LEDs on the top board. By measuring both the magnitude and the difference of the electrical signal from the optical sensors, its precise location in three-dimensional space can be calculated.
Main Takeaways
The SpaceNavigator is the perfect example of when function meets form. Functionally, the optical sensing is impressive and precise. Physically, the mouse is robust and tactile. Together, the two make a badass mouse that can manipulate six degrees of freedom with one hand.
Thanks to the Reddit community members who helped us solve the mystery of what the base material was made out of: MrMachinist pointed out that copper plating is usually preceded before chrome plating to ensure the chrome properly adheres to the metal, and Alphgeek confirmed that this piece is strongly magnetic, as well.


